Loudness Adjustment
While working in a loudness-aware production environment, you will frequently encounter source material, which is not yet loudness-compliant, but can be made so by applying a simple overall amplification. If you have such a clip on your Clipboard, indicated by a yellow ear, you can do this loudness normalization by choosing one of the "Loudness normalization" options from the clip's context menu. This will create a new, loudness-compliant clip.
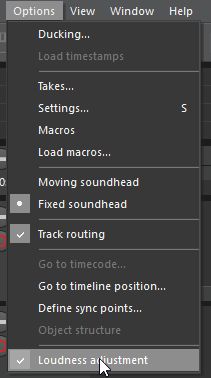
However, you may prefer not to create additional clips in your Clipboard just to create loudness-compliant source material. Instead, you can apply this loudness normalization "on the fly" when you actually use the clip in your timeline. You can do this by activating the "Loudness Adjustment" option in the Editor's Options menu:
If Loudness Adjustment is active, each clip, which you drag from the Clipboard to the editor timeline, is automatically adjusted for loudness compliance by applying an overall amplification to the whole clip. Of course, this only works, if the clip has a yellow ear. If it has a green one, nothing is changed, because the clip is already loudness compliant. If it has a red ear, the clip might be adjusted to bring it closer to loudness compliance, if possible.
You can switch Loudness Adjustment on and off at any time, and can also assign a keyboard accelerator to it.
Be aware, that Loudness Adjustment is not applied, if you copy or move a clip from the timeline to another position or track.