This page contains a brief overview of what you can do with the audio editor's speech to text functions.
Analyzing Spoken Text
A number of speech to text services exist around the WWW. Usually, they will want to be paid for their work. You or your company must set up a contract with the respective service (or install the service on a local HTTP server) and configure the service for your use.
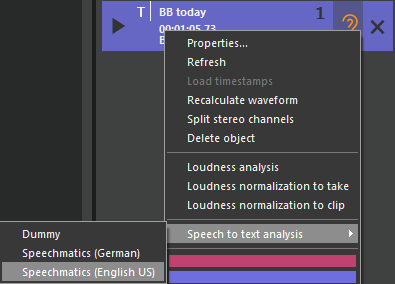
Load an audio file with spoken text into the clipboard, then right-click the file and click on "Speech to text analysis". If this menu item pops up, click on the desired service name in the sub menu to launch the analysis.
An icon is displayed in the clipboard item which changes while analyzing from 


While analyzing

An error occurred
With analyzed speech to text
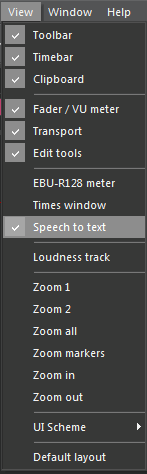
When analysis is finished successfully, the resulting text is attached to the audio. When you load the audio into the SingleTrack timeline, you can see the text in the speech to text pane. To see the speech to text pane, use the "View" menu.
Working with Speech to Text Data
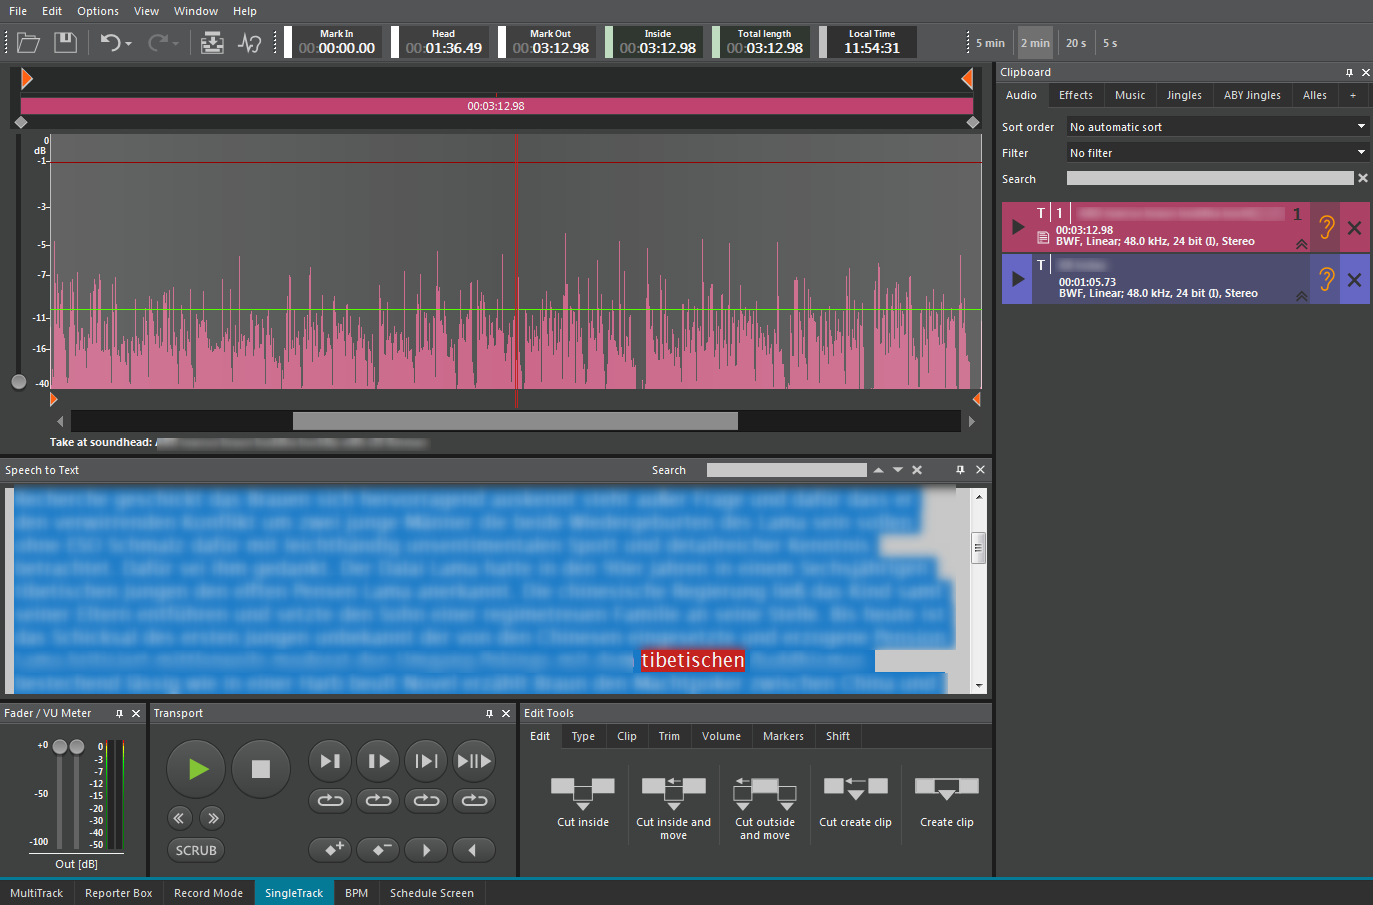
This is the SingleTrack screen with the speech to text pane below the timeline. You can move this pane around to any position you like.
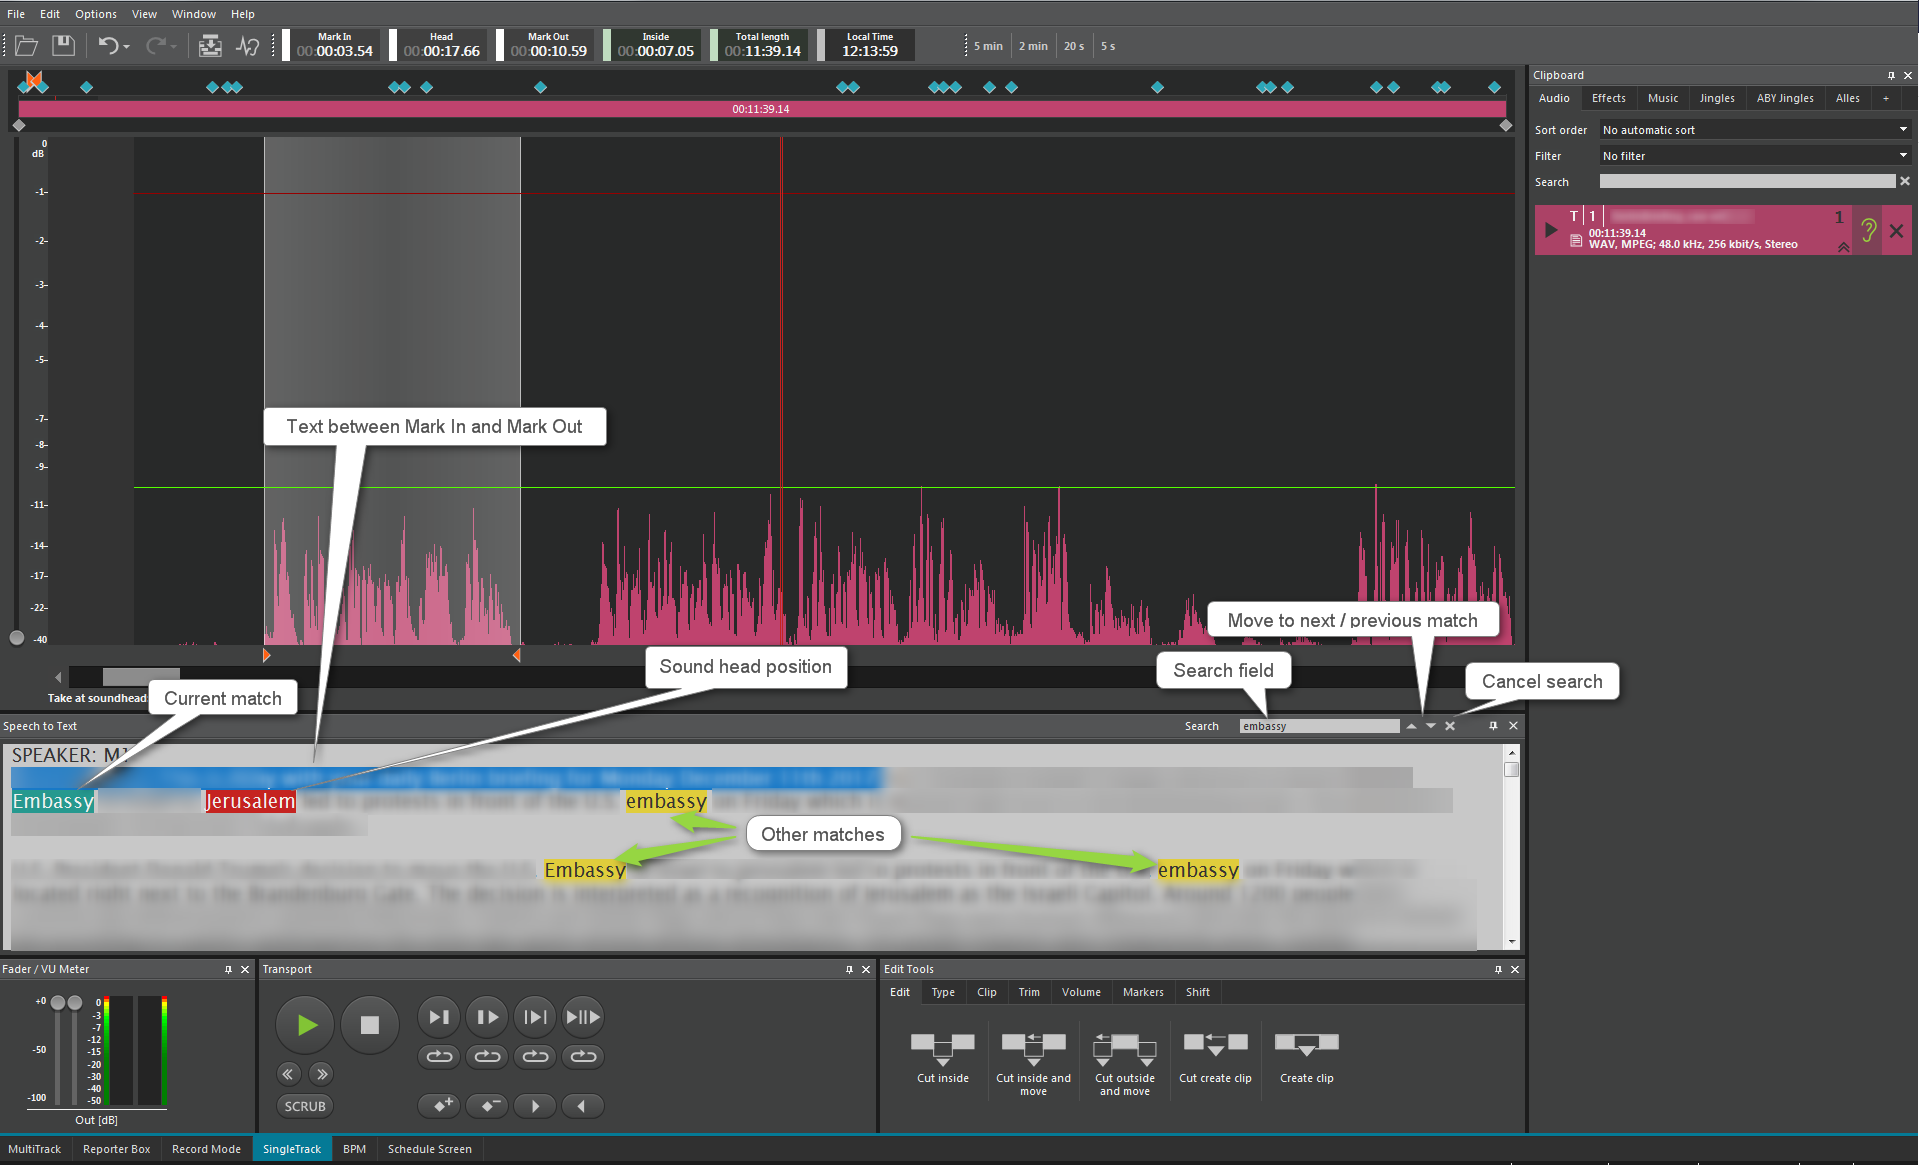
The highlighted text in the speech to text pane (blue background) corresponds to the area between mark in and mark out on the timeline.
You can use editing functions (cut inside / outside, cut inside / outside and move). The text will be edited along. Of course the text edit works only at word level; if you remove a part of a word from the timeline, the outcome in text is probably not what you expect.
When you start playback, a red "highlight" corresponding to the sound head position moves through the text:
On the other hand, select a word in the text to set the sound head to this word.
To find text in the text area, type the search string into the "Search" field, and press the ENTER key or click the down-arrow button. All matches are marked in yellow, and you can cycle through the matches by repeatedly pressing the ENTER key, or clicking the down arrow. SHIFT+ENTER, or the up arrow, cycle the matches in reverse direction.
To get rid of the search result and yellow markers, click the X button next to the "Search" field.
Saving Speech to Text Data
When the audio file is saved to the file system, to DBM, or to DPE, the text file is saved with the audio. In the file system, the text file has the same name as the audio file, but its extension is .s2t. In DBM or DPE, the storage location is implicitly determined.
When an audio file with text information is included in a project, the text information is implicitly embedded in the project.
Loading Speech to Text Data
When speech to text information is available for an audio file that is loaded from DBM or DPE, this information is implicitly loaded. When an audio file is loaded from the file system, and a .s2t file exists with the same file name, then the audio editor attempts to read speech to text information from this file.
When a project is loaded that contains speech to text information, then this information is implicitly loaded.
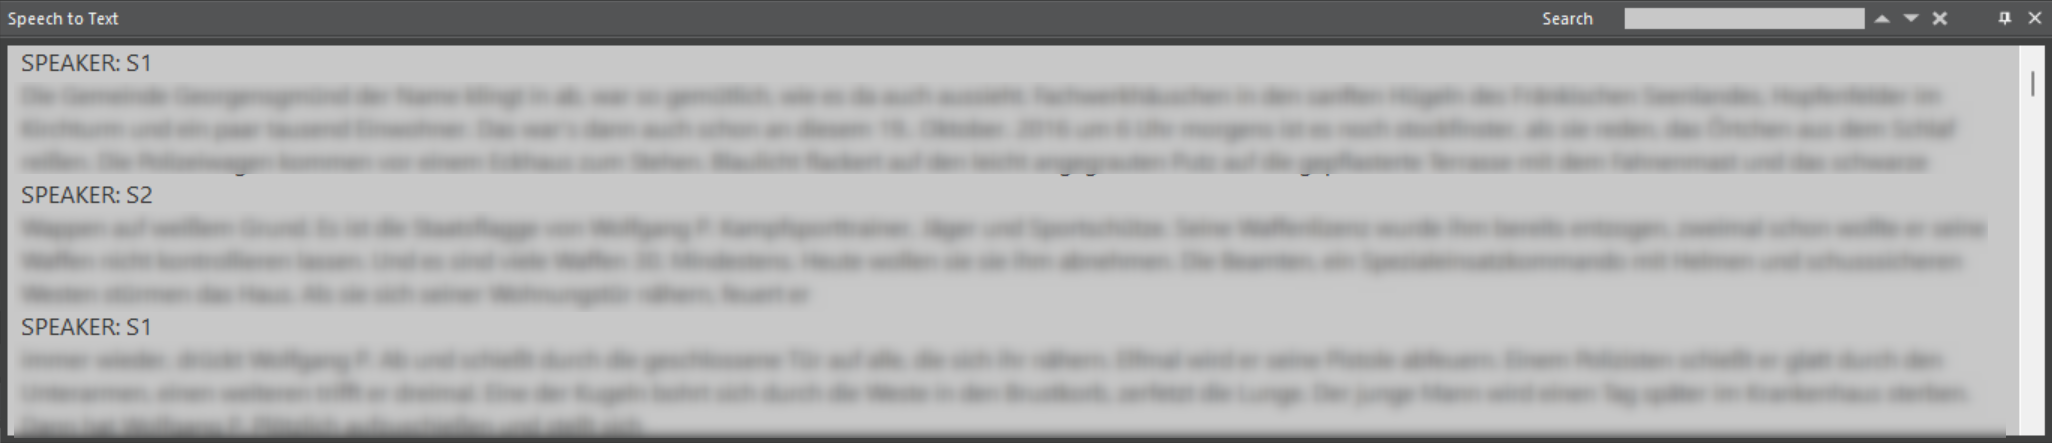
Multiple Speakers
When the audio contains passages of text spoken by more than one person, some transcription services can differentiate among these speakers, and insert tags indicating that a different person is now speaking. This ability may be subject to configuring the service accordingly.
When MTE detects such tags in the transcript, it inserts a line into the text saying “SPEAKER: xxx” where xxx is the speaker name as indicated by the transcription service.
You can modify the speakers assigned to passages of text. This is described on the page Working with Text.
These assignments may be incorrect, or you may want to replace the names “S1”, “S2”, etc. by real person names.
Highlighting Speakers
Starting with MTE version 8.2.1847.0, two new color parameters allow to colorize the “SPEAKER” lines: Color_S2T_SpeakerText and Color_S2T_SpeakerBackground. Both parameters are stored in the respective color scheme, e.g. MultiTrack|Settings|UIScheme_dark. The values are the same as for other color parameters, i.e. you can enter RGB values, color names, hexadecimal values etc. We recommend that you set either both parameters, or neither, because when setting only one of them, the other color value is defaulted by the “normal” color, which may lead to poor contrast.
Exporting the Transcript
When you click the right mouse button inside the transcript text, the following export options are available:
-
Save all text to file
-
Save selected text to file
-
Copy all text into Windows clipboard
-
Copy selected text into Windows clipboard
The “selected text” options, of course, are only available if any text is selected.
Text that is copied to the Windows clipboard can be pasted into other applications like Word. Typically, the key combination Ctrl+V is used to paste the text.
These operations create pure text without formatting. Line breaks which are created for display only (i.e. when the text is wider than the window) are replaced by space characters. “SPEAKER” lines, however, are always exported to separate lines.
Starting with MTE 8.2.1846.0, a parameter lets you control whether pauses (which are indicated by single or double line breaks in the transcript) are exported as such, or whether they are replaced by space characters. The name of this parameter is S2TExportWithPausesAsLinebreaks, and it is defined in MultiTrack|Settings. The value should be 0 or FALSE, or 1 or TRUE, with a default value of 1.