Working with Groups and Stories
Groups and Stories help you to organize entries of a table. A group or story is an element of a table, and it contains other elements of the same table.
Technically, groups and stories are interchangeable, and you can even turn an exiting group into a story, and vice versa. However, groups are intended to be bags with more or less related stuff inside, while stories are elements of a broadcast.
Groups and stories also offer a kind of bulk processing; for example, when you send a group to DigAIRange or to an audio editor, all its elements are sent.
Create a Group or Story
Click on the "New Group" 

The created group/story appears with a green (default) font in the ENTRIES list.
Alternatively, click "New group entry" or "New story entry" in the "Entry" menu, or press the assigned accelerator key.
Note: The "New Group" and "New Story" operations can be removed from/added to the GUI by parameters which the administrator can set.
Initial Class
Whenever you create a new entry in a table, whether group, story, or other, the new entry is assigned an initial class. In some cases, this initial class depends on the entry type, but in most cases it is dictated by the setting from the parameter Digas | Database | DSN | Table | Default | Class. Groups and stories, however, can have specific initial classes, defined by th parameters Digas | Database | DSN | Table | Default | ClassGroup and Digas | Database | DSN | Table | Default | ClassGroup respectively. If these parameters are not defined, groups and stories inherit the default class from the Class parameter.
Wrapping an Entry into a Story or Group
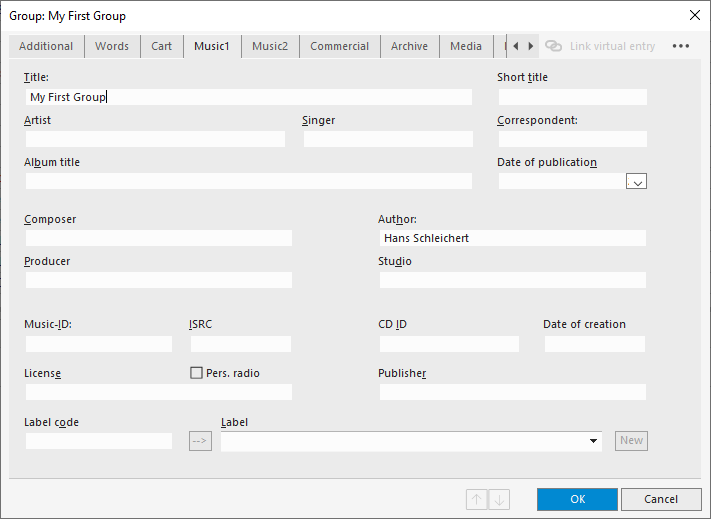
Sometimes you may want to create a group or story that contains just one entry. The entry's context menu offers you convenient shortcuts for these action: "Wrap into group" or "Wrap into story". When you use this operation, the "Copy Data" dialog pops up. It lets you select which metadata should be copied from the entry to the group. By default, all fields are checked.
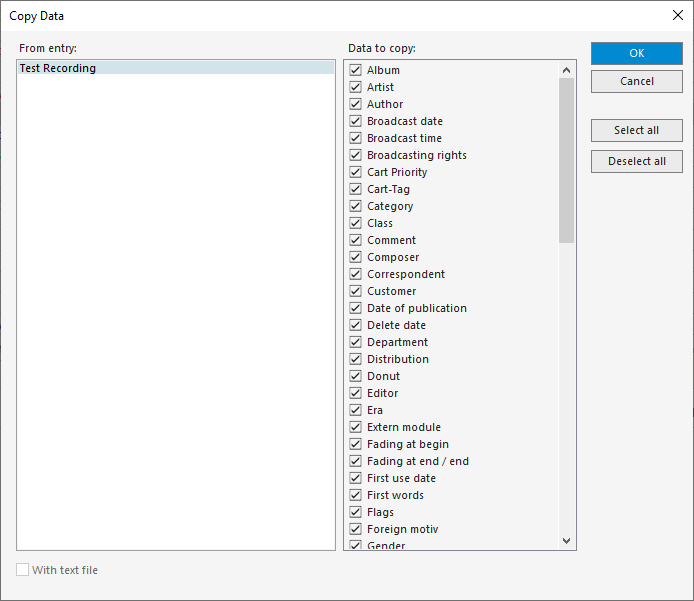
Select or deselect fields as desired, then click OK. This will take you to the entry mask where you can adjust the metadata that is stored with the group or story.
Note that the operations "Wrap into group" and "Wrap into story" may be unavailable, depending on parameters which your administrator can set.
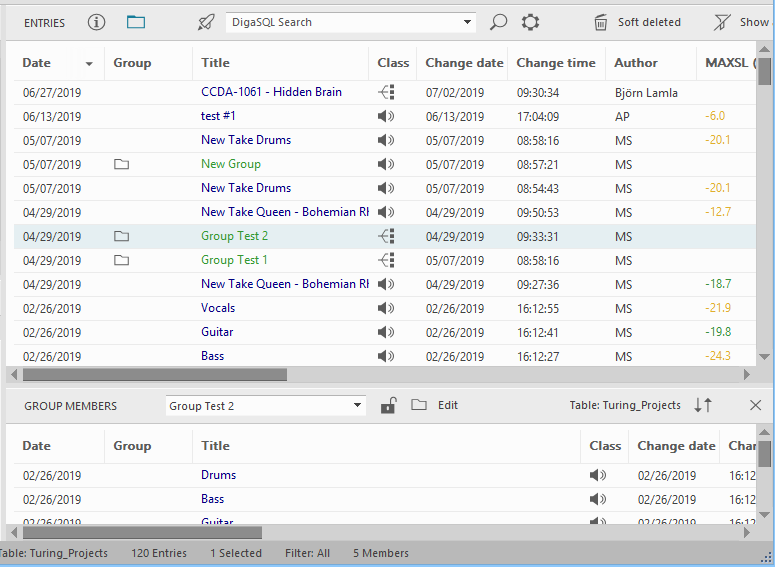
Group Members View
As soon as a group has been created, the entries can be assigned and managed in the GROUP MEMBERS window on the lower half of the entry list.
By clicking on the Group icon 
The GROUP MEMBERS view also allows you to select other groups via the drop-down menu. Pressing the Lock button 

Adding Entries to a Group or Story
A group or a story bundles database entries. This section explains how you add database entries to an existing group.
- Display the group or story in the "Group Members View" as explained in the previous section.
- Select the entry or the entries which you want to add to the group or story.
- Now you have a choice of three methods:
- Drag the selected entries into the Group Members View. ("Drag" means: Move the mouse pointer to a selected item, press the left mouse button and hold it down, then move the mouse cursor to the Group Members View and release the button.)
- Select "Add to current group" or "Add to current story" from the context menu. (To open the context menu, either right-click on a selected entry, or press the menu key on the keyboard.)
- Use the keyboard accelerator "Add to current group/story". (To assign this accelerator, use the "Settings" dialog as described here.)
.png?inst-v=189dbd6b-826c-49e5-9e97-4484919f4ee9)
- Click "Show group" to open the group that contains the clicked entry in the bottom area.
If the item "Show group" is not contained in the menu, then the entry is not a member of any group.
If the item reads "Show groups", then the entry is a member of two or more groups. - When you click "Show groups", a dialog is displayed which lists all those groups.
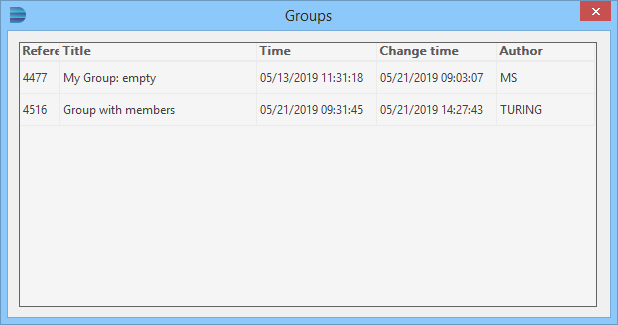
You can move and resize the dialog, or swap and resize its columns. Its size, position, and column arrangement are saved as a per-user setting. - A click on a group in this dialog opens this group in the bottom area.
Arranging Groups
For adding members to a group, drag the items from the ENTRIES list into the GROUP MEMBERS window. The order of the group entries can be changed within the group by simple dragging an entry into a new position. The number of group members is displayed in the Status Bar below.
Within the same table, the grouped items are just linked; their audio files are not copied or moved. However, if you switch to another table and drag an item to a group, the original database entry will be copied to the table the group belongs to.
With the Delete button 
To copy a group to another table drag it via Drag&Drop to the desired table in the TABLES list. A confirmation window appears. If the request is denied, the empty group will be copied. If confirmed, all audio entries will be copied together with the group. When cancelling, the process will not be started at all.
The Group criterion is integrated in the selection tree (c.f. section Using a Filter in Finding Entries). By opening the criterion Group, entry groups can be selected by the specific sub-criteria. Groups matching the criteria are displayed immediately in the ENTRIES area.
Editing a Group's Properties
To open the entry mask for the group that is displayed in the GROUP MEMBERS view, press the Edit button 
Video Entry Group
In case a group contains video entries, they can be watched consecutively in the EasyPlayer 

Finding the Current Group
Sometimes you may want to display the group with which you are working in the "ENTRIES" grid. To do so, assign a key combination to the function "Find open group" (e.g. Alt+G; see .Settings Dialog). Then press that key combination to display the group entry.
Filtering for Groups
See Finding Entries.
Sending Groups Over the StoryConnect Gateway
See StoryConnect Tab.