Installation of DPE WebApplication
For installing the DPE Web Services use DpeSetup.exe. It is possible to install several different DPE versions in parallel. It is not possible to upgrade an existing installation as it is recommended to install a new version parallel first, then switch over to this new version and finally remove the previous version.
Welcome
Start the „DpeSetup.exe“ under a user account which can be elevated to an administrator role:
Click Next.
Windows User
This dialog defines the Windows User the DPE Service will run with in IIS and if the Windows authentication is used for accessing the DpeCoreDb.
Database Instance
Select the SQL server\instance that will hold the “DpeCore” configuration database.
You will see a dropdown menu to select the target instance if the “SQL Browser Service” is active. Otherwise you can enter it manually.
Credentials for DpeCore Database
These credentials will be used by DPE Services to access the SQL DPE Core Db. If the dropdown field Authentication Mode is set to Windows Authentication the DPE Application Pool User is used.
Select SQL Server Authentication to manually enter SQL credentials.
DpeCoreDb database name
The database name always starts with “DpeCoreDb”; you have to select an already existing database via the dropdown list.
Additionally the dropdown list shows the DpeCoreDb version number in brackets.
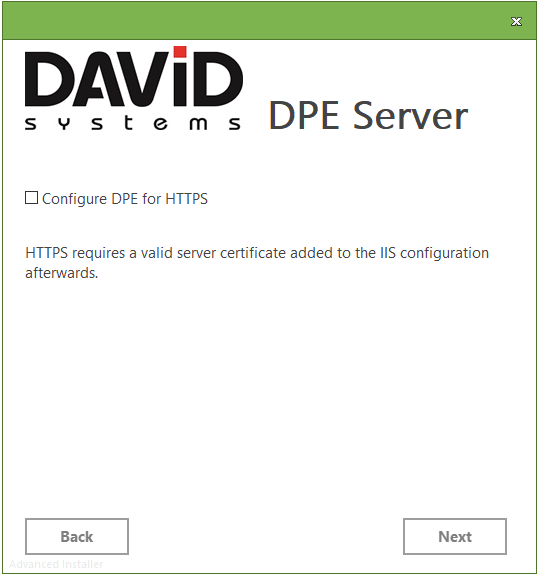
Secure Communication
Check Configure DPE for HTTPS for using DPE over HTTPS.

Summary
This dialog asks you to confirm the previously entered data and starts the installation.
Click “Install” to execute the installation.
Installation Report
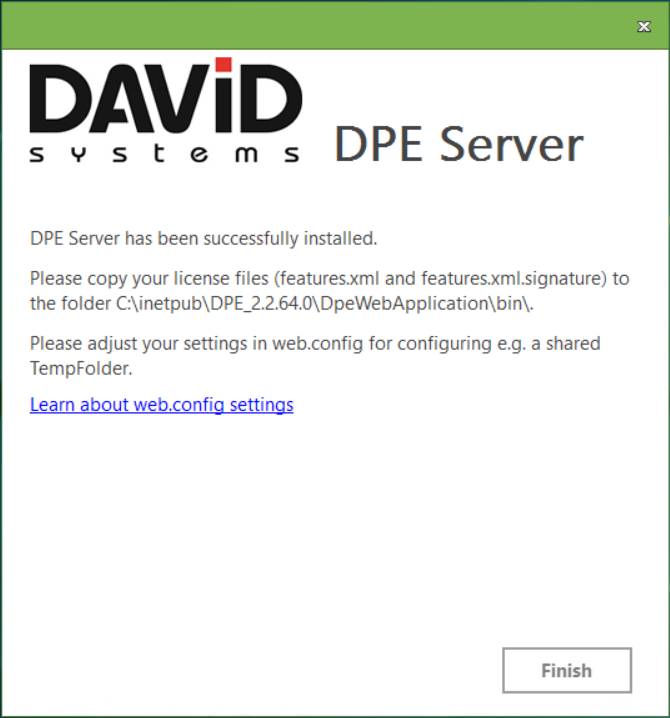
After the installation the final setup screen will confirm the successful installation.
The Summary also reminds to copy the license file to the displayed folder and adjust the web.config file, if needed.

Licensing
A license is needed to activate DPE and its components. You will receive two files:
- features.xml
- features.xml.signature
Both have to be copied into the folder displayed in the installation setup Installation Report. However, additional license files (named featuresModuleX.xml) can be added to temporarily unlock additional functions without changing the original Features.xml, e.g. for testing reasons.
Typically this is the folder C:\inetpub\DPE_[Version]\ DpeWebapplication\bin\. In case of any licensing problem, please contact DAVID support (support@davidsystems.com).
Codec Installation for Audio Conversion
Codecs have only to be installed on DPE Server machine when on-the-fly conversion is configured to work in-process of DPE. Normally all audio processing is done through workflows on AudioProcessor machines.
DPE supports all audio formats that are supported by the DigaSystem. Therefore the audio32.dll is used and sometimes supported by external audio codecs like LAME MP3 for playback and audio conversion. This currently affects the DPE SubclipEditor and the DPE ContentManager.
ESSENTIAL MP3 CODEC FOR ON-THE-FLY AUDIO CONVERSION
Audio files in the Content Manager and Subclip Editor are converted on-the-fly into the format MP3 128kbit/s for playback. This conversion requires the LAME MP3 codec that can be obtained at DAVID Systems.
The file lame_enc.dll has to be copied into the subdirectory “…\DpeWebapplication32\bin” of your DPE installation.ADDITIONAL CODECS
Some additional codecs might be needed for special cases (e.g. the AAC format); they can be ordered from DAVID Systems. They can be normally installed within the operating system to be available.
In order to be able to show videos in the content manager ON THE SERVER COMPUTER the administrator of windows server 2012 has to install the "Desktop Experience" feature on the server.
- Open the "Server manager"
- Select "Manage", "Add Roles and Features"
- Click "Next" until you are in the section "Features" • Select "User Interfaces and Infrastructure", "Desktop Experience"
- Finish the wizard by clicking "Install"
- Reboot the computer
