Installing BrowserBridge on Windows
- Launch the setup file "BrowserBridge.exe"

- Press "Next"
- Select the installation path

- Optionally install the DPE Adobe Premiere Pro Extension
The DPE Adobe Premiere Pro Extension, is only required if you intend to use Adobe Premiere Pro 2019 or higher on an x64 operating system with DPE BrowserBridge.
- Install BrowserBridge

- Finish installation
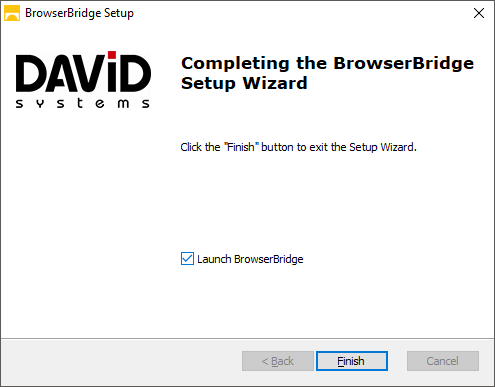
- You can launch BrowserBridge directly after the installation. By default, BrowserBridge starts automatically after each system restart.
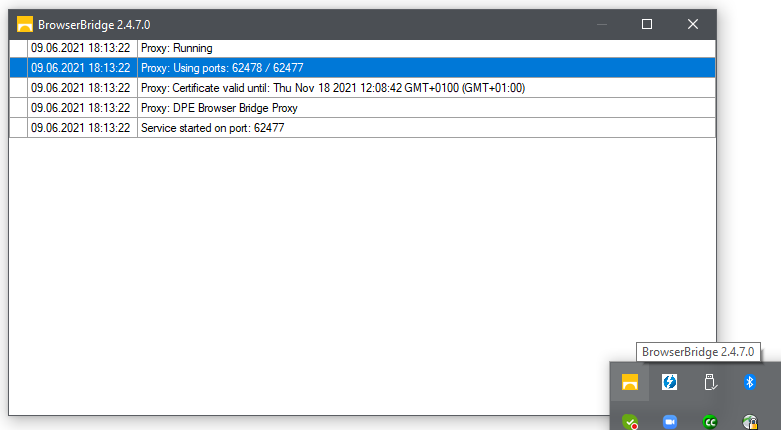
Verify if BrowserBridge is running
If started, the BrowserBridge icon should now appear in the Windows system tray. Double clicking the icon opens the log window.
Browser bridge will check for update at every start and download new version if needed.
Troubleshooting if the communication to Adobe Premiere fails:
1. Check the folder "C:\Program Files\Common Files\Adobe\CEP\extensions" you must find a folder with the name "com.davidsystems.browserbridge"
- Solution: uninstall and then install BrowserBridge with correct option "Install the DPE Adobe Premiere Pro Extension" again. Then restart Adobe Premiere
2. Start Premiere Pro and check with a command prompt "netstat -a" if the port "TCP 127.0.0.1:8001" is open for LISTENING
- Description: via this port the BrowserBridge handover the project data to Adobe Premiere pro
- Solution: see #1