Installing Workflow Server
Workflow Server Setup
Workflow Server is an application containing the following components:
- Workflow Scheduler: creates workflow instances based on a schedule
- Workflow Table Watcher: creates workflow instances based on changes of a DigaSystem table
- Workflow Folder Watcher: creates workflow instances based on changes in a file system folder
- Workflow Worker: executes workflows
Workflow Server is based on the DAVID SAF (Station Automation Framework), see also SAF Server and Admin
Prerequisites
- Microsoft .Net 4.5.2 or higher
- Running DPE Server (can be installed on another server)
- Check DPE Firewall Settings
- The according DPE licenses (obtainable at DAVID Systems) to run the Workflow System and its modules
A time synchronizing mechanism (like NTP) for all machines used with DigaSystem for aligning the computer clocks with a central reference time for proper fetching of table updates.
Check Windows Server power options and set it to “High performance” to get best processing performance
After installation: If Workflow Server needs to access network shares then check if you have to authenticate share usage in the SAF Server startup script, also see Using SAF Server Startup Scripts and Running a SAF Server as Windows Service.
Installation Procedure
- Execute WorkflowServer.exe and click Next on the Welcome screen.

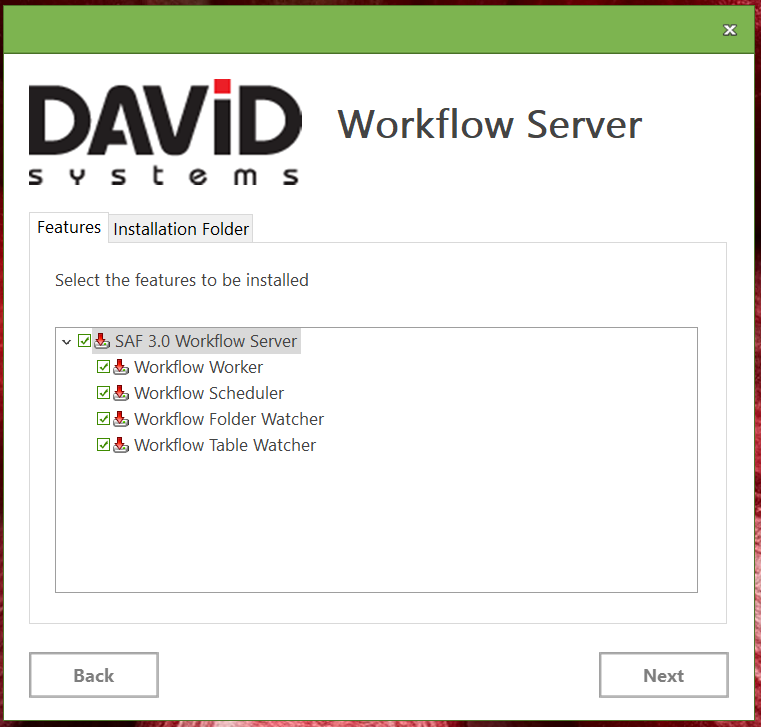
- Select the modules you want to install. These modules will only work with a valid license. To choose the Installation Folder open the according tab.
- Enter the DPE Service Root Address (see also DPE Server) to set the connection between Workflow Server and DPE Services: "//hostname:Port/DPEWebApplication” The default is set to the local machine (if not defined port 80 is used). If your DPE Server is configured to use HTTPS prefix the address with https://
Enter the DigaSystem credentials to be used by Workflow Server. Click Install to start the installation process.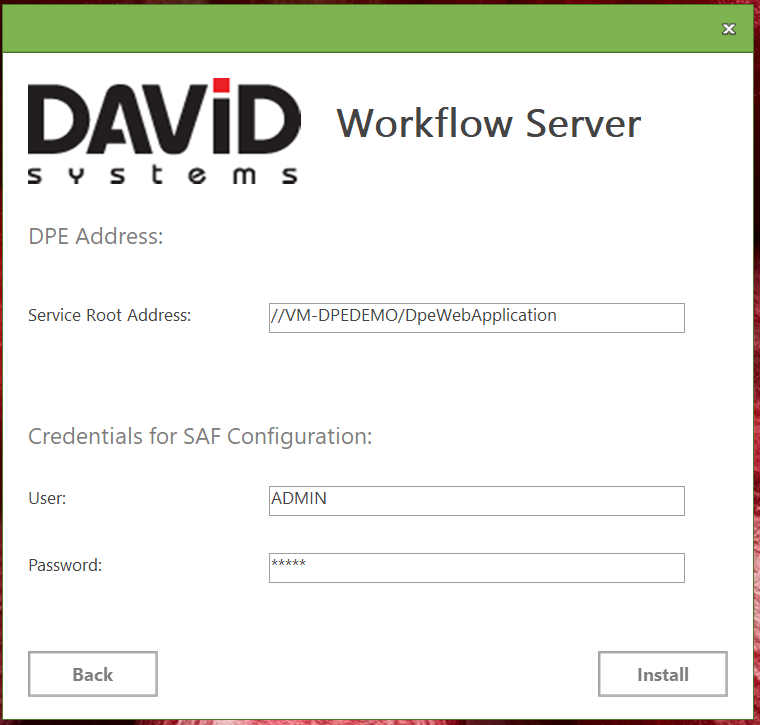
- The final window confirms the successful installation and offers to optionally open the SAF Administration tool and/or the SAF directory in an Explorer Window.
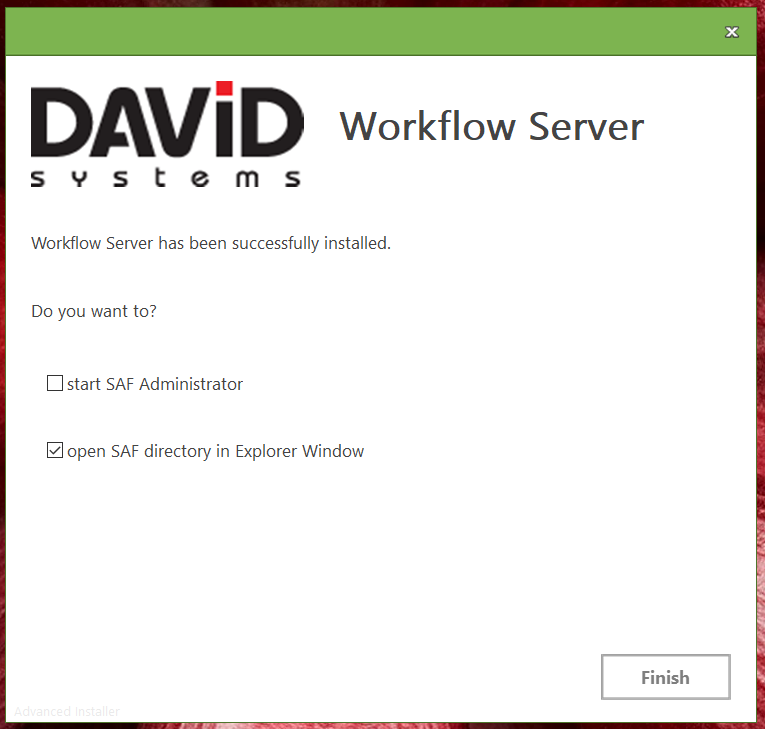
If you Finish the installation with the option “Start SAF Administrator” it will take about 1 minute for SAF Administrator to start. Meanwhile this message will be displayed:
If the respective Computer.PAR file is missing, backend creates automatically a new one.
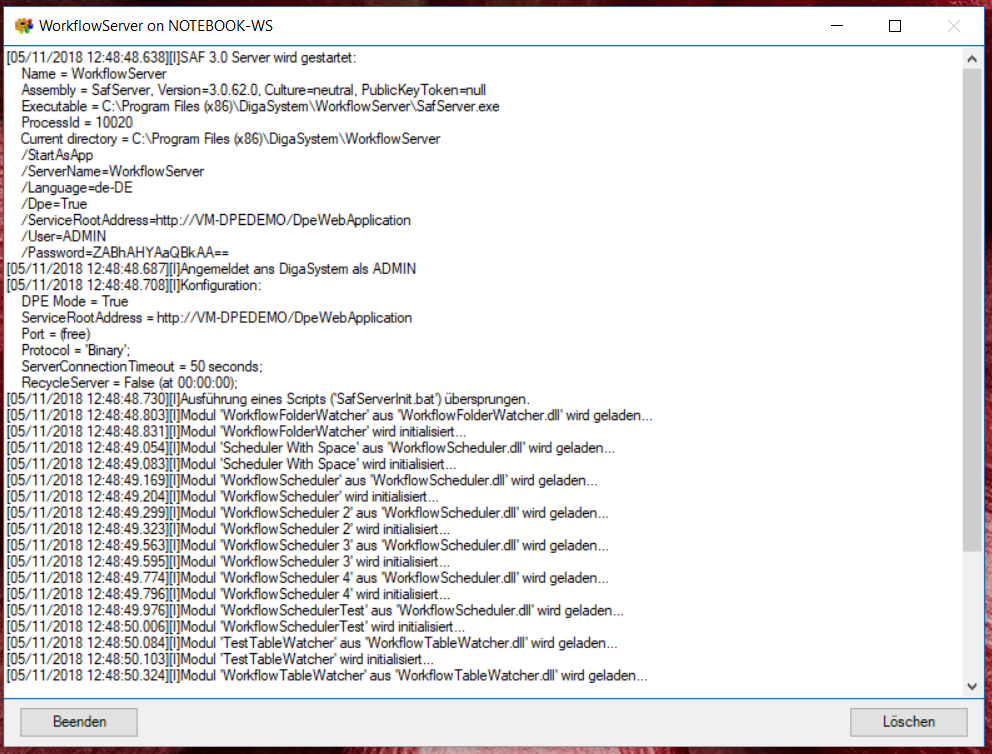
Workflow Server will be started as desktop application. In a productive environment, we recommend to run Workflow Server as Windows Service and not as a desktop application, see Running a SAF Server as Windows Service.