Working with Stories and Groups
Entries within the same table can be organized into stories/groups.
- Working with stories/groups requires the "Content Manager Option: Story" (License: ContentManagerGroup).
- If both of above are not granted controls to create, view, open and modify story/group content will not be available.
Create a Story/Group
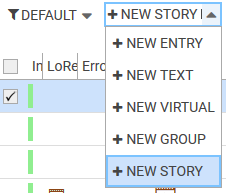
- Click the [NEW STORY] icon for a story [NEW GROUP] icon for a group (Located in the drop down menu underneath [NEW GROUP] resp. [NEW ENTRY].
- The „Details pane“ opens for filling out metadata of the new story resp. group.
- Enter e.g. the title of the new story resp. group.
- Enter further metadata as you require.
- Click [Create] to confirm.
- The created story resp. group opens automatically in a new tab and appears also in the entry area.
Wrap Entries to a Story/Group
- Select entries which are not Stories/Groups
- Click the [WRAP] icon

- Now choose if the new story/group will inherit its properties from the selected entry (or if you selected more than one entry, then choose the entry).

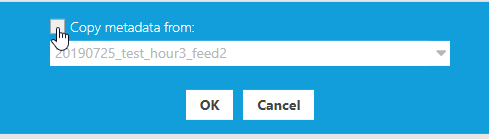
- If more entries are selected, check the checkbox and choose the entry to inherit properties from :
- The details area enters the edit mode, edit your new story/group and save.
- The story/group is created and opened in the group area and includes all the entries you selected before clicking the [WRAP] icon.
Opening Story/Group
Open a Story/Group from list- or thumbnail-view
- Select a Story/Group and press Enter key.
or
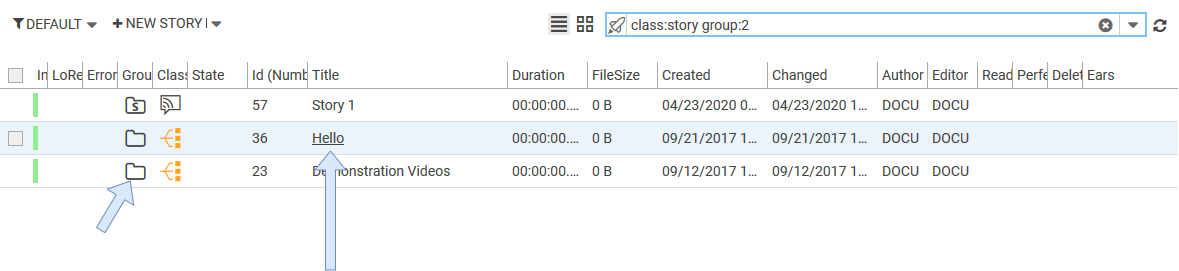
- Click on the Story resp. Group title (thumbnail view and list view), which gets an underline on hover for stories/groups.
or
- If the group column is available (in list view), click on the folder icon.
This opens the Group Area, just below the Entry Area.
Open parent Stories/Groups from list
This feature requires configuring group column with either ParentCellTemplate or GroupAndParentCellTemplate. See configuring grids in Dpe web applications for more information on cellTemplates.
If the cell template is rightly configured and an entry is part of one or more stories/groups then a link icon will appear in the grid column.
Clicking on the icon will open all the stories/groups to which an entry belongs.
Adding Entries to Story/Group
- If entries are added to a story/group, that do not originate from the same table, the entry is copied at the story/group's table automatically in the background (The status is set to 'Recording' in this case and will change to Existing after copying finished)
- It is not allowed to add stories/groups into other stories/groups.
Drag & drop operation
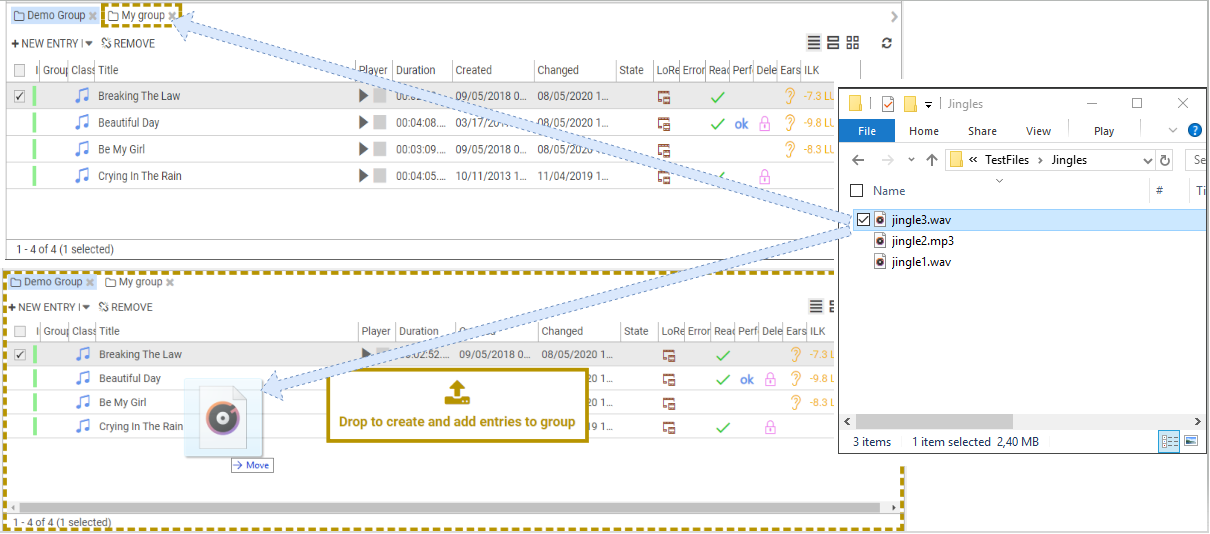
External sources
External files can be drag and dropped onto the Group Area and to the respective Group tab. A new entry is automatically created in the table to which the group belongs and also added to the group.
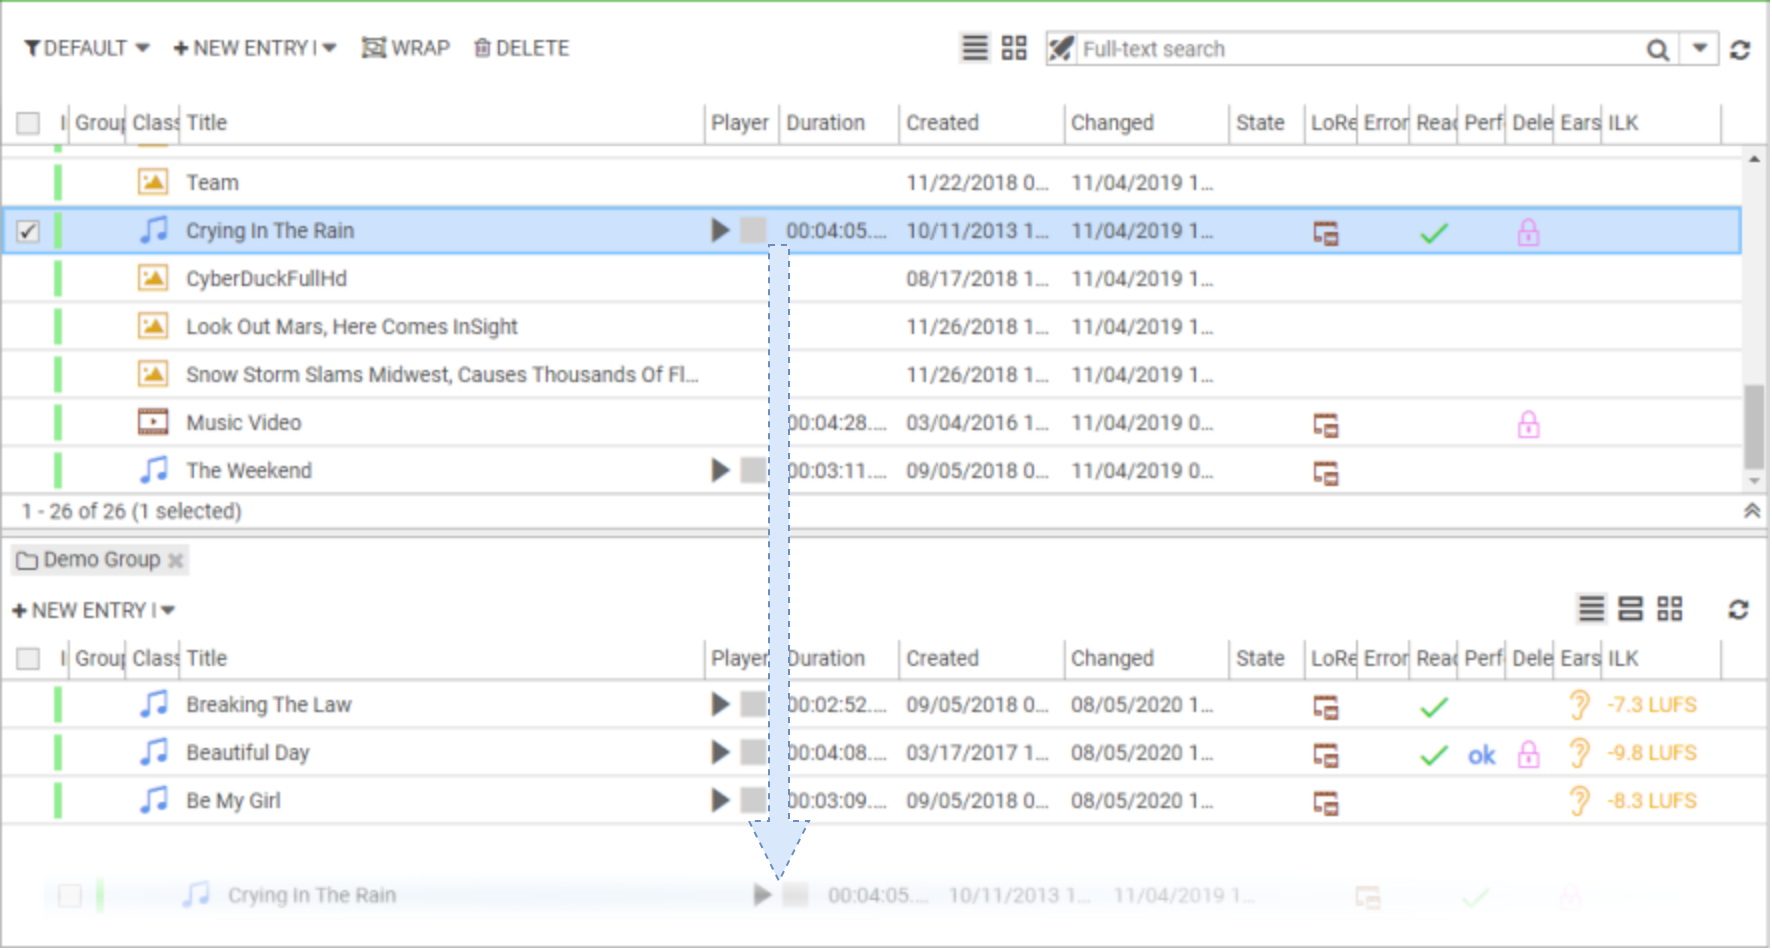
Internal sources
Entries can be drag and dropped from Entry Area to Group Area and from one group to another group. Dropped entries are automatically added at the end of the item list. An entry can be added multiple times in a group and can be rearranged at will.
Adding entries by keyboard Shortcuts
- Select Entry/Entries to add
- Press CTRL+C copying them to clipboard
- Select group header or group line to add
- Press CTRL+V for pasting them to group
Copying entries by drag & drop
Drag entries while pressing the CTRL modifier on the Keyboard and drop them into the Group Area or any other opened Group (shown on the top-left of the Group Area). This will create copies of the items and add these to the group.
Removing Entries from Story/Group
- Select an entry in the Group Area
- Click [Remove] button
Deleting Entries from Story/Group
Deleting an entry means soft deleting an entry and also removing its reference from other stories/groups.
- Select an entry in the Group Area
- Open Details Pane
- Click [Delete] button in Details area.
Working with Multiple Stories/Groups
- If an additional story/group is opened, it appears in a new tab next to the old one in the Group Area. Simply select between tabs to change the active story/group, either by clicking or using the arrow keys.
- To close a story/group press the [x] button. Closing all stories/groups closes the entire Group Area.
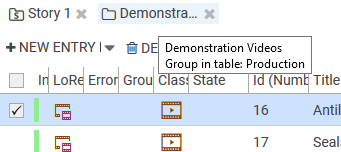
- Stories/Groups from different tables can be opened simultaneously. In order to see which table a story/group belongs to hover over it.
Opening Groups in External Applications
For basics see: Opening entries in external applications.
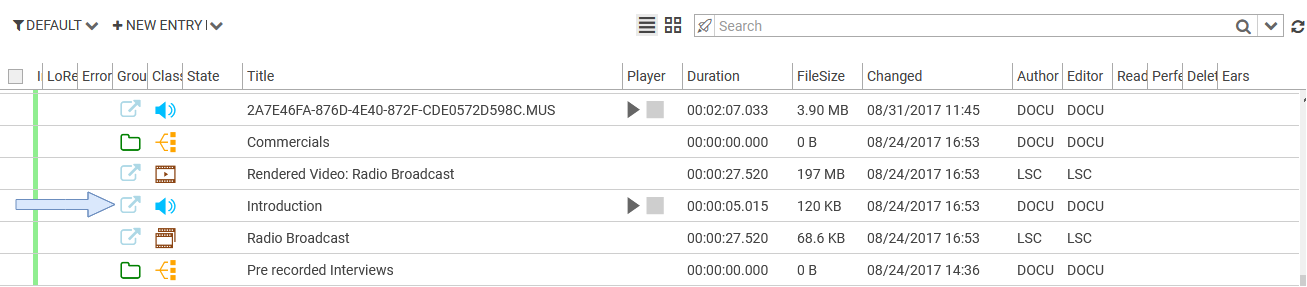
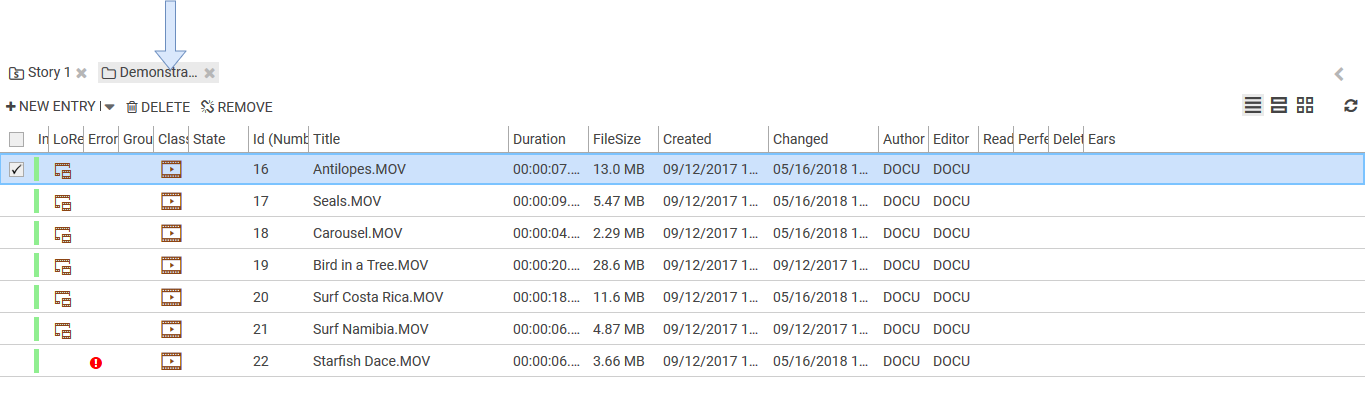
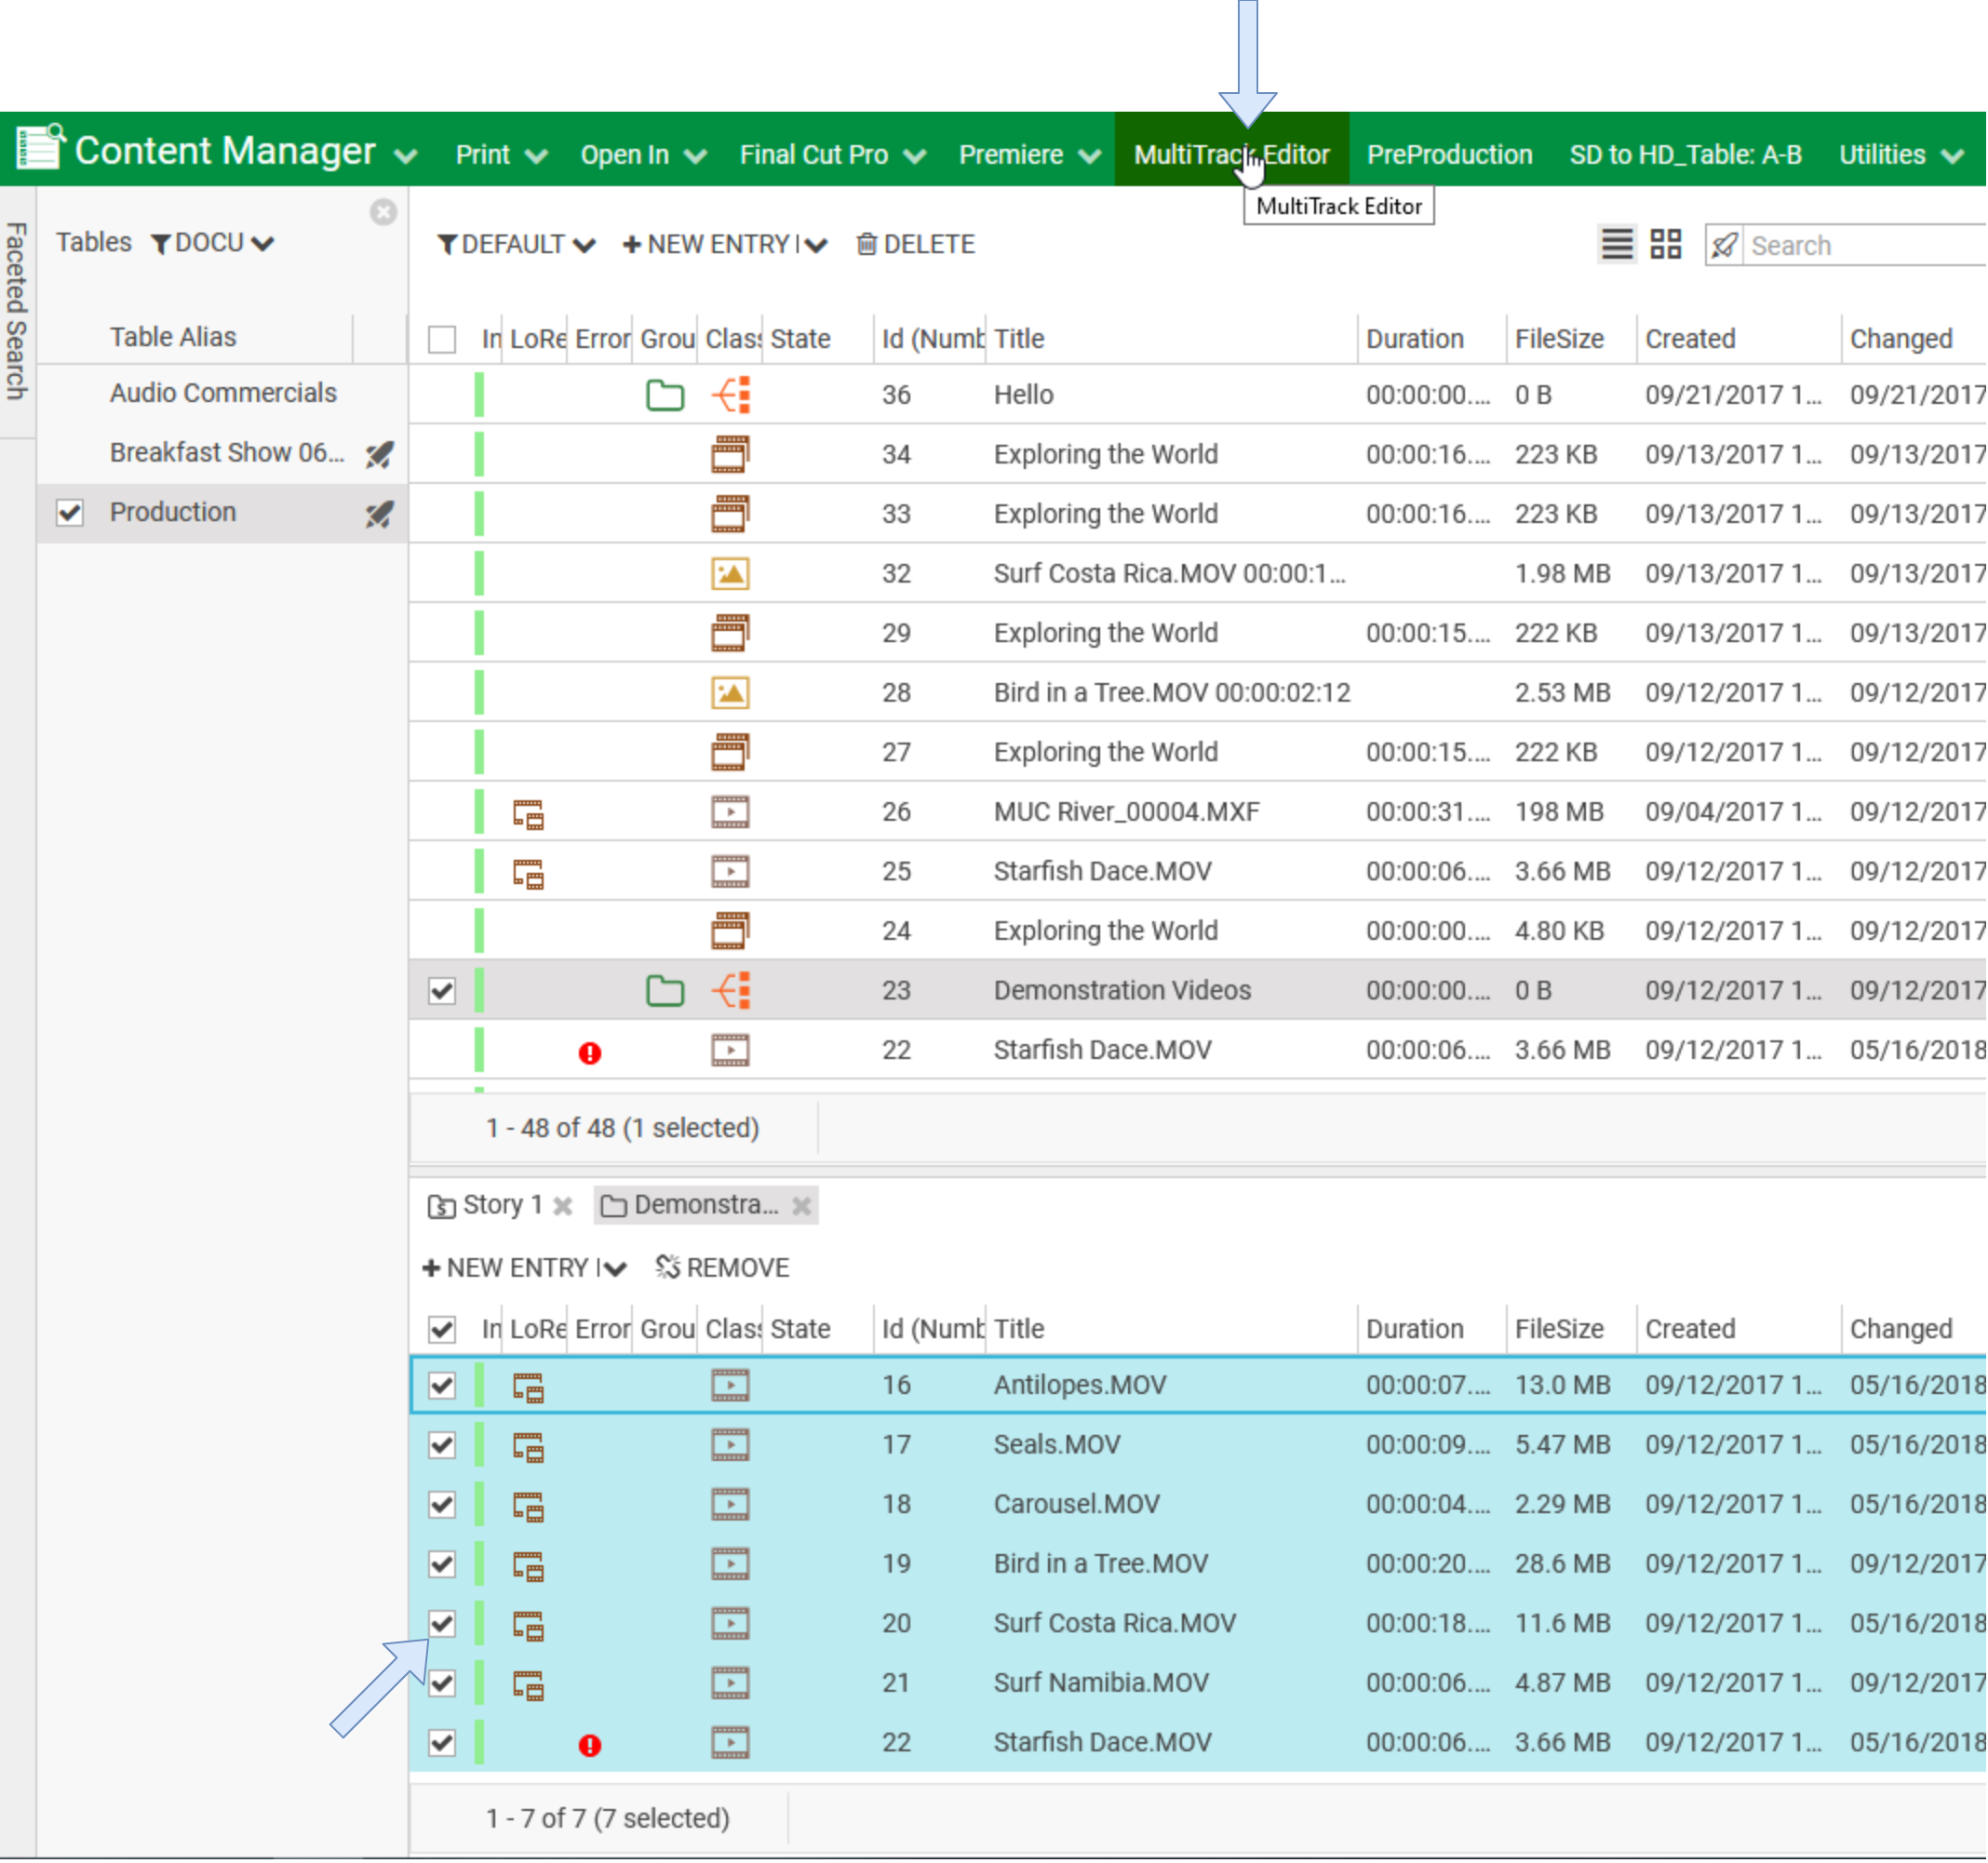
- Select which entries you want to open (e.g. to select all entries of a story/group, click on the square in the first column as shown in the screenshot below)
- Click on the desired plugin in the Top Menu. Only some plugins support groups, such as MultiTrack, SingleTrack and EasyTrack Editor.
This is a key feature! It enables you to select and sort entries before transferring them as a batch to an external application, such as Adobe Premiere or FinalCut Pro.
Auto-refresh of stories/groups
The auto-refresh in Content Manager enables the users to keep their entries synchronized in the lists with the newest data without performing a manual update (via the refresh button on the right side of the search bar).
If your administrator has enabled the auto-refresh for the tables in which belong your opened stories/groups, once a user updates an entry belonging to your opened stories/groups, the visible story/group tab will automatically be refreshed with the newest data. For the other tabs that require an update, the refresh happens when re-opening them.
The story/group tab contains only non-deleted entries. The Entry Area contains entries with respect to the search and selected filter.
This means that if you (soft-)delete via the DELETE button in the Entry or Story/Group Area, the (soft-)deleted entries will appear/be hidden accordingly.
e.g. I have applied a filter for viewing deleted entries in my Entry Area. I delete an entry in a group which belongs to the same table as the Entry Area. My Entry Area will be auto-refreshed with the entry I deleted according to my filter (and the search).
Working with different views
There are three different ways of viewing the group area.
You can change between the different ways of view by clicking onto one of the Buttons on the right side of group the group area.
The first is the "List view"
Second is "Story view"
Third is "Thumbnail view"
Working with List view
By clicking on the fist of those three buttons you activate the "list view"
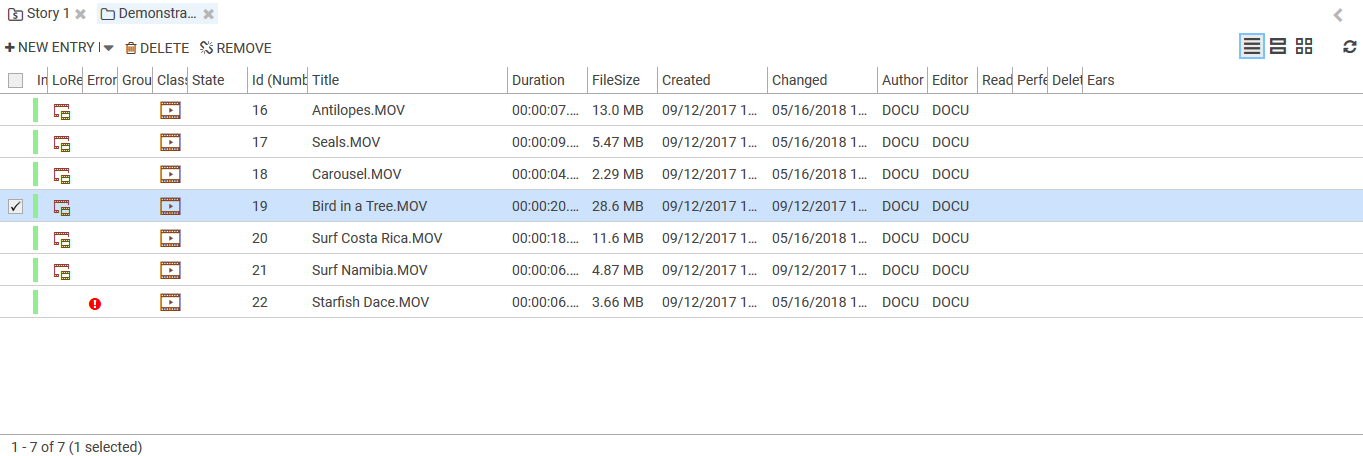
Every entry within a group is shown in a list, you can open the entry by clicking on it.
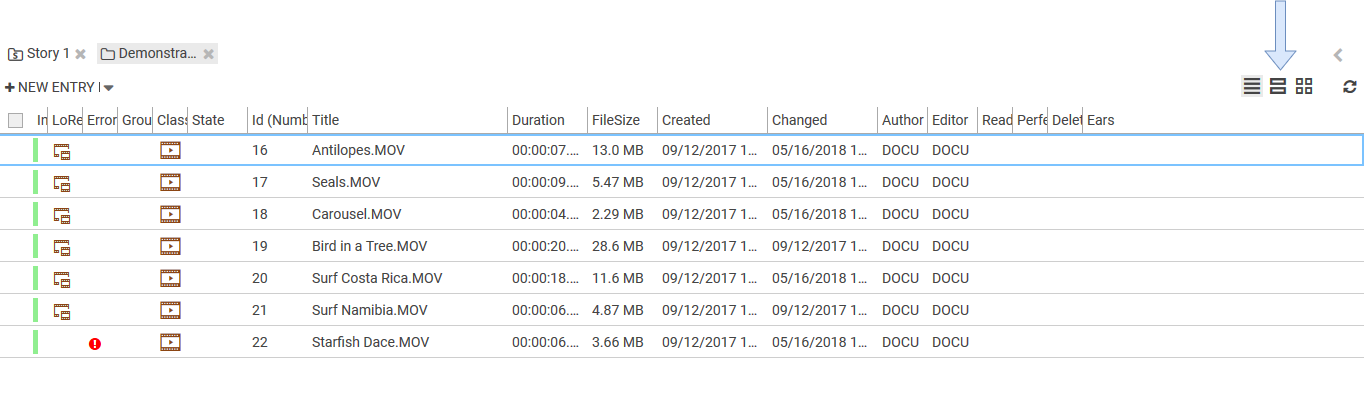
Working with story view
By clicking onto the second Button you activate the story view.
- Story view is only available with license DPE2.
Now you can see the story content of every entry within that group.
Entries area divided by a thin vertical line between all entries.
It is possible to select one or more entries (via checkbox on the left side)
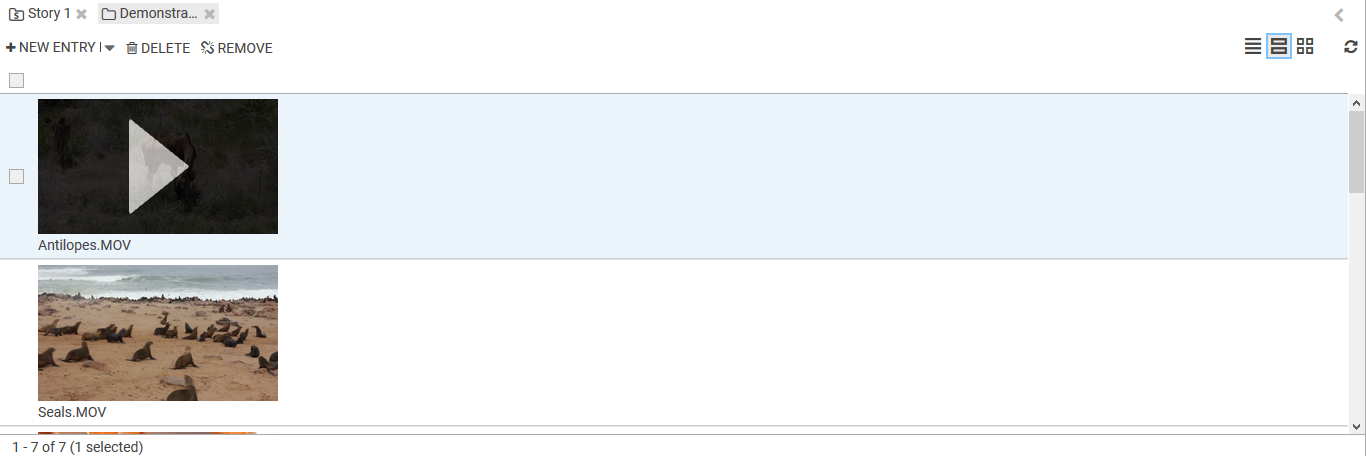
Working with Thumbnail view
If you click on the third Button you activate the Thumbnail view.
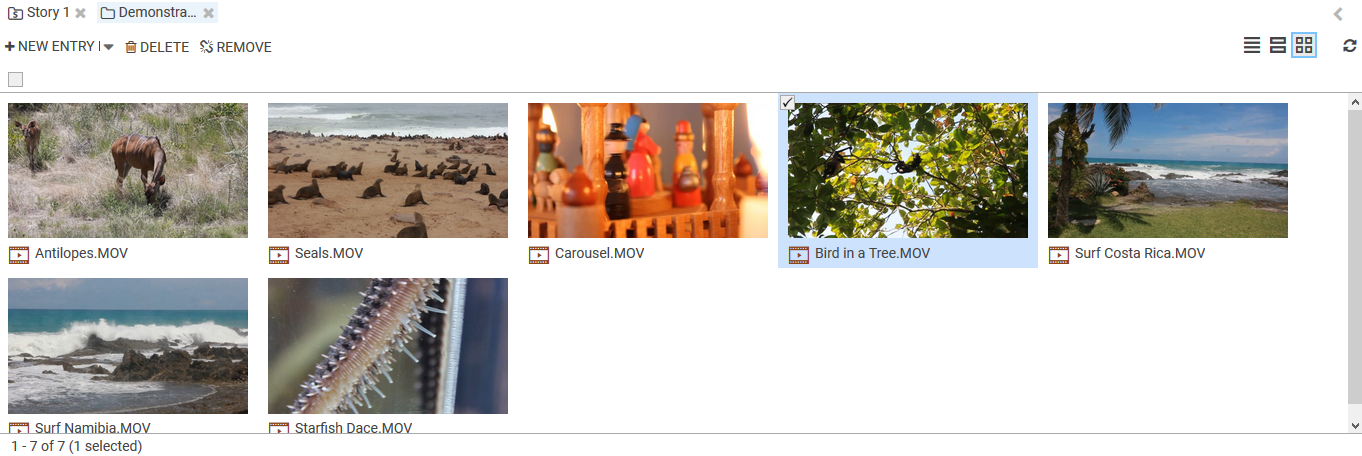
Now you can see all entries displayed in a thumbnail view.
You can start viewing entries in the thumbnail view e.G. audio data (on the left side).
you can select one or more entries by clicking on the check box in the top left corner of the entry.
If you want to add one or more new entries to your group in story view, you have to work similar as to list-/thumbnail view.