Installing AdSync
- Execute AdSyncServerSetup.exe and click Next on the Welcome screen.
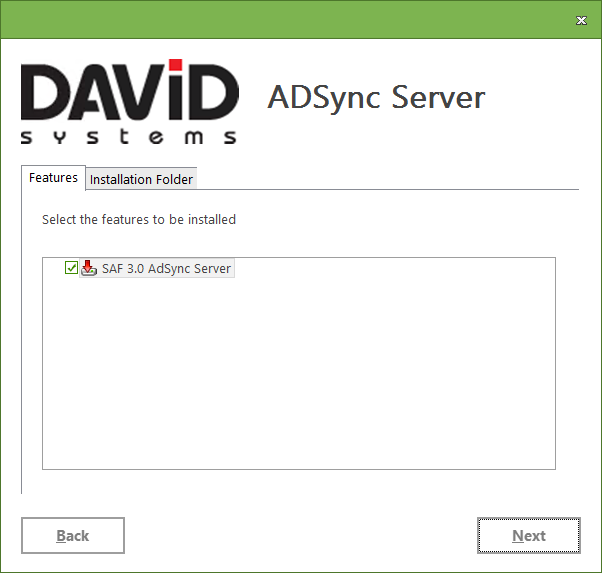
The ADSync module is pre-selected, therefore you can click on Next or change the Installation Folder.
Configuration
The configuration of previously installed module instances will be kept and only the modules themselves will be updated, if they are marked in this dialog. Unchecked modules, that are currently installed, will be removed; however the configuration will not be deleted and will be available when reinstalling those components.
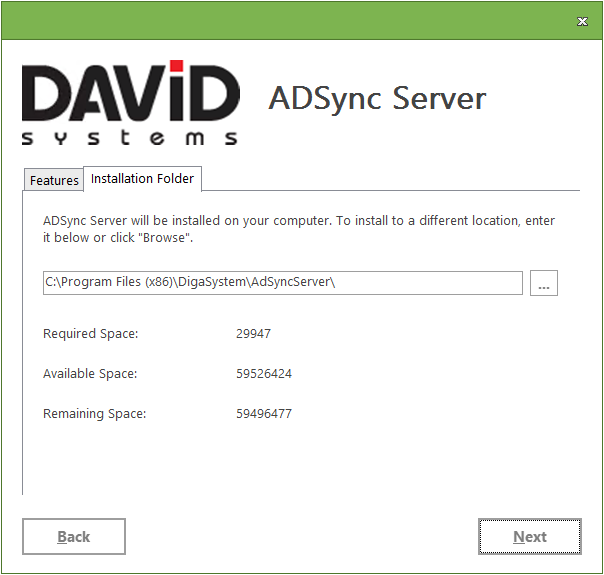
If you want to specify where AdSync should be installed change to the tab Installation Folder to choose the installation directory. Click on Next.
SAF Configuration Screen
DPE Address: SAF needs to be able to access the DPEServices, whose default Service Root Address is "/ServiceRootAdress=//[Comupter Name]/DPEWebApplication".
Credentials for SAF Configuration: Enter the credentials of the DigaSystem account SAF will run with after the installation.
Click Install to start the installation process.
- Finish installation
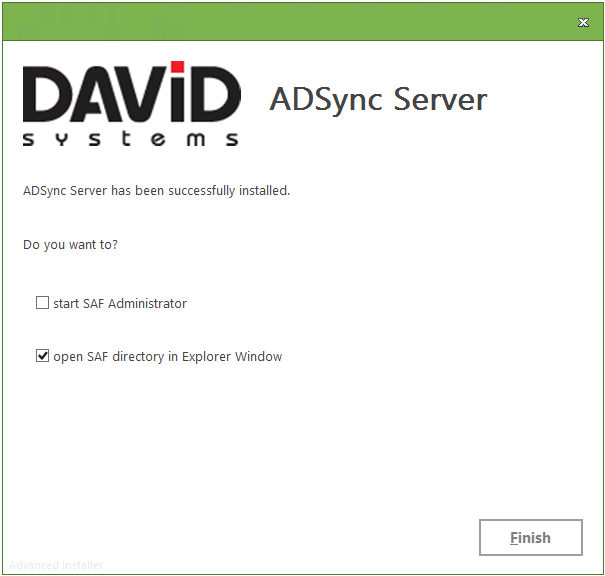
The final window confirms the successful installation and offers to optionally open SAF Administration tool and/or the SAF directory in an Explorer Window. - If you Finish the installation with the option "Start SAF Administrator" it will take about a minute for SAF Administrator to start.
Meanwhile this message will be displayed:

If the respective Computer.PAR file is missing, backend creates automatically a new one.