Print Entry
This section is part of Top Menu and Plugin Configuration in CM, from which it is possible to Printing an Entry.
The PluginCmPrint can be used to Print Metadata and or Media Assets of one or more DigaSystem entries. It is also possible to print a group or story including all members
| Key | Value | Description |
|---|---|---|
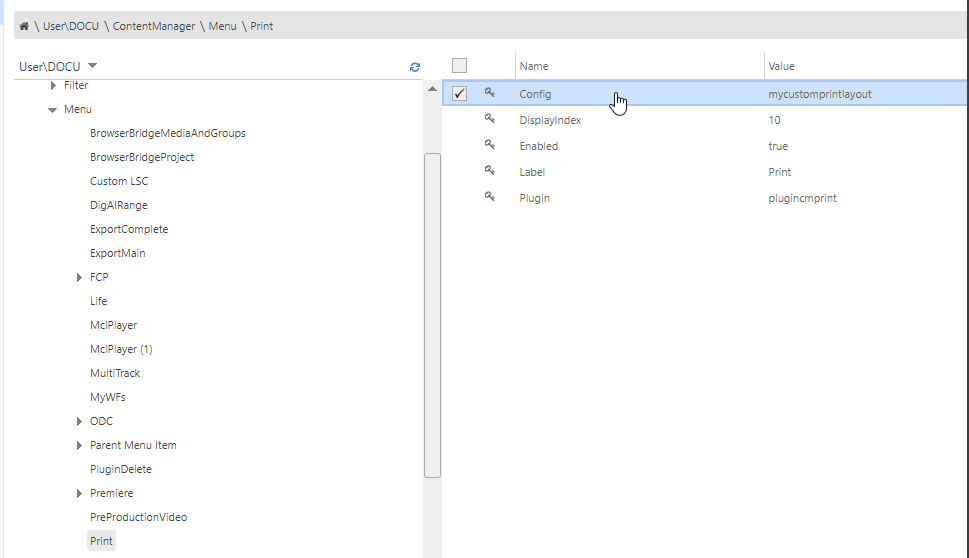
| Plugin | pluginCmPrint | Specifies which plugin is used. |
| Config | Name of the template or JSON formatted string | Defines which Print template is used |
| ... |
Adding Print Templates
A Print template is a layout which specifies what and how a metadata information will be printed.
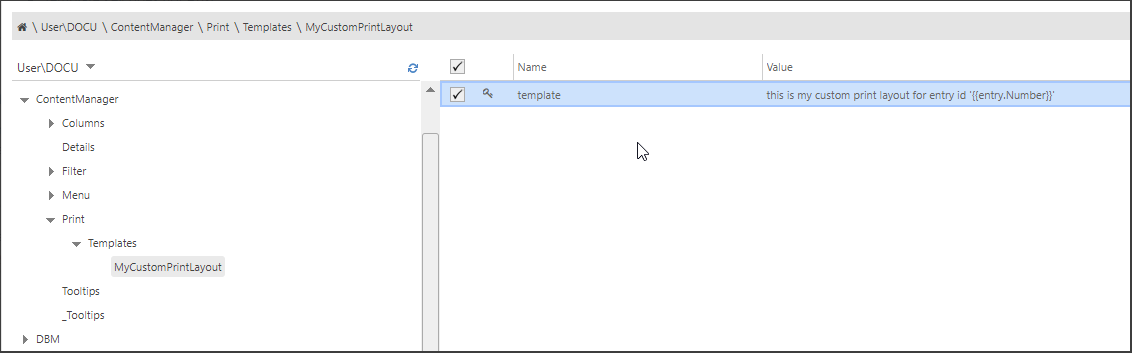
Custom Print Templates are added at ContentManager|Print|Templates|<templateName>, similar to Details Pane Configuration .
As selection of the applied Print Template happens in the Config key of the respective pluginCmPrint menu entry, only 'Template' key is used for storing the template.
Data Binding in print templates can be done via both model and entry objects.
If your template configuration contains some errors or the configuration you referenced in 'Config' does not exist, you will get an error message, and a default template will be used as fallback for printing selected entries.
Setting the Config Key
Config key species the template with which the selected entry/entries will be printed.
This key can be configured in two possible ways:
- Simply add a <templateName> which is configured inside ContentManager|Print|Templates|.
- In this case, all the selected entries will use this template as print layout.
- In this case, all the selected entries will use this template as print layout.
- Specify different templates for different types of entries. This configuration also allows to print groups and stories including their children.
Extend Config parameter
Config Group printing
XML{ "EntryTemplate": "TemplateName1", "GroupTemplate": "TemplateName2", "MemberTemplate": "TemplateName3", "PrintMembers": true, // Default = false "PrintParent": false }- EntryTemplate defines the "templatename" used for an entry
- GroupTemplate defines the "templatename" used for an entry of type group / story
- MemberTemplate defines the "templatename" used for the children of a group/stories
- PrintParent (Default = True) allows to suppress printing of Group/Story entry. In this case GroupTemplate is not needed
- PrintMembers (Default = false) allows to print out all members of a selected story/group, even if theses members are "not selected". If set to False MemberTemplate is not needed.
Basic example
- Define your basic Print Template
- Add a new menu entry and reference your template name in the Config key
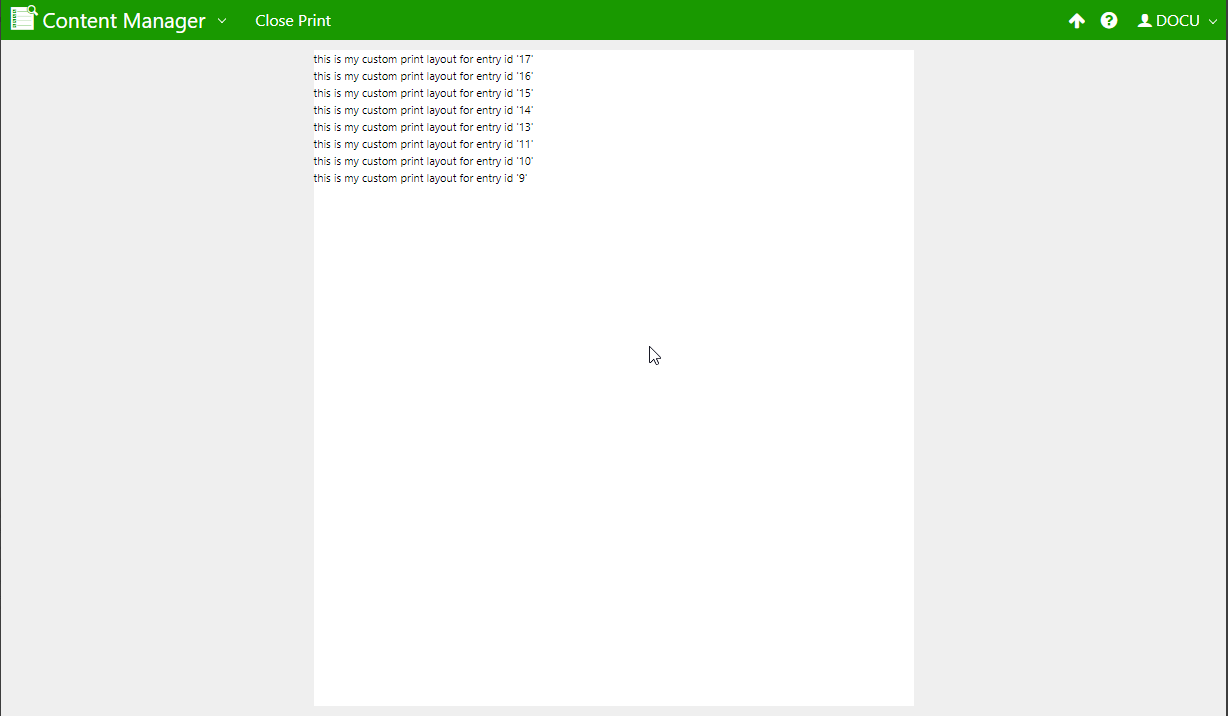
- for getting the Print Preview page
Styling
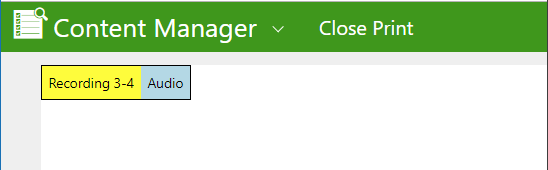
You can also use CSS for applying colors and styling to your template, e.g.
1 |
|
which results in:
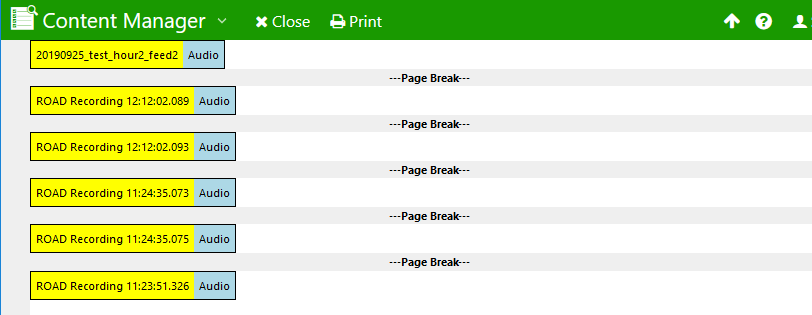
{{#if showPageBreak}}
	<div class="page-break"></div> <!-- Adds Page Break -->
{{/if}}
which results in:
Metadata with rtf text
<style>
    .outerDiv {
      padding: 10px;
      margin: 0px;
    }

    table#data {
        margin: 0px;
        width: 100%;
        font-size: x-large;
    }
    td#td01 {
        border: 0px solid black;
        border-collapse: collapse;
        padding: 5px;
        width: 30%;
    }
    td#td02 {
        border: 0px solid black;
        border-collapse: collapse;
        padding: 5px;
        width: 70%;
    }

    #data tr:nth-child(odd){background-color: #f2f2f2;}
</style>
<div class="outerDiv">

<table id="data">
    <tr>
        <td id="td01" class="title">Datum Uhrzeit:</td>
        <td id="td02" class="title">{{format-date model.CreateDate}}</td>
    </tr>
    <tr>
        <td id="td01" class="title">Schlagzeile:</td>
        <td id="td02" class="title">{{model.Title}}</td>
    </tr>
    <tr>
        <td id="td01" class="title">Autor:</td>
        <td id="td02" class="title">{{model.Author}}</td>
    </tr>
    <tr>
        <td id="td01" class="class">Klasse:</td>
        <td id="td02" class="class">{{model.Class}}</td>
    </tr>
 </table>

{{#if entry.hasRtf}}
<table id="data">
    <tr>
        <td id="td01" class="class">Text Länge:</td>
        <td id="td02" class="class">{{format-duration entry.TextDuration}}</td>
    </tr>
</table>
	{{rtf-editor model=entry source=legacyController.rtfSource readOnly=true}}
{{/if}}