-
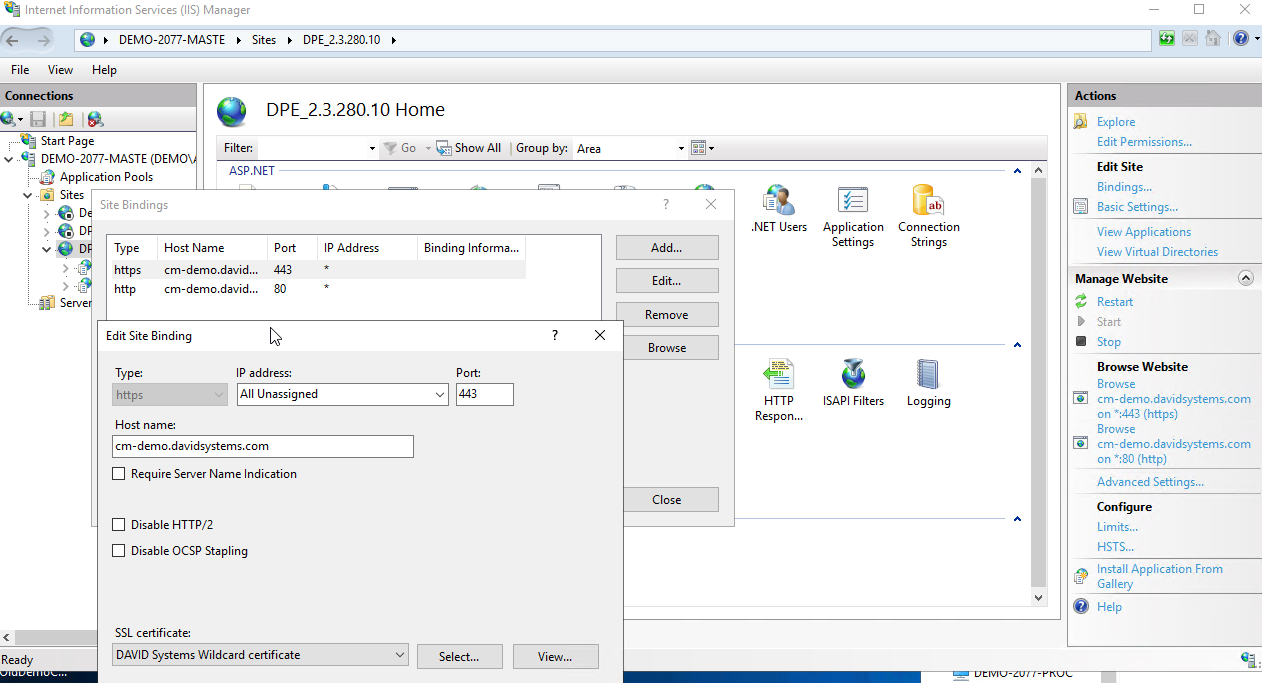
Make sure in your IIS site, under Edit Bindings - you have configured both a HTTP and HTTPS site.
-
Install the IIS tool; URL Rewrite. It is an official extension to IIS and has been installed together with Server Manager up to version 9. From version 10 onwards, URL rewrite must be installed manually. Microsoft’s free EXE should be downloaded, which can be found here:
LINK
-
After the installation, the web page’s root directory has to be accessed. The IIS Manager should not be open during this time. The web.config file is required. If it does not exist yet, it needs to be created again.
Once created, open it with a text editor to insert the following text:<?xml version="1.0" encoding="UTF-8"?> <configuration> <system.webServer> <rewrite> <rules> <rule name="Redirect to HTTPS" enabled="false" stopProcessing="true"> <match url="(.*)" /> <conditions><add input="{HTTPS}" pattern="^OFF$" /> </conditions> <action type="Redirect" url="https://{HTTP_HOST}/{R:1}" redirectType="SeeOther" /> </rule> </rules> </rewrite> </system.webServer> </configuration>
-
Now the document can be saved and we can open the IIS. Here you have to navigate to the website in question and open URL rewrite. The rule, which has just been created, should appear. This looks (approximately) like the following:

-
However, the rule is still deactivated. To activate it, find the menu item Enable Rule and click on it.

Now http requests are now forwarded automatically to https. Test it by opening the website in any browser.