-
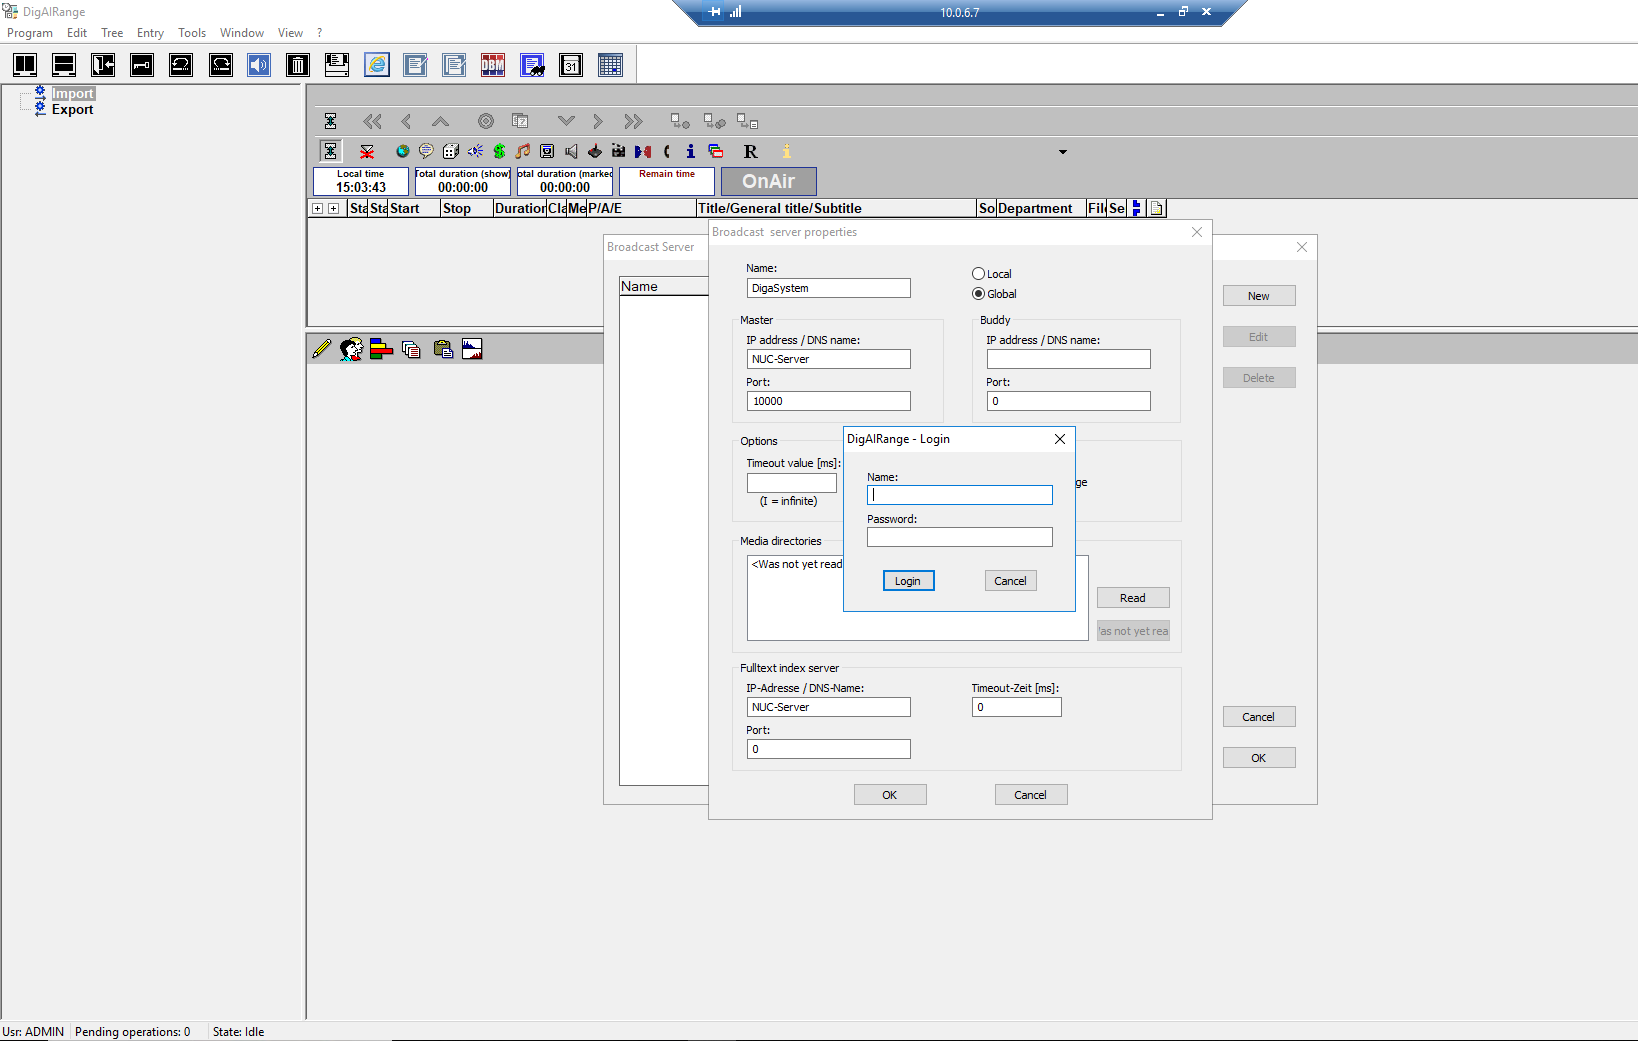
Log into DAR as admin, and select 'Server Properties' from the Program menu.
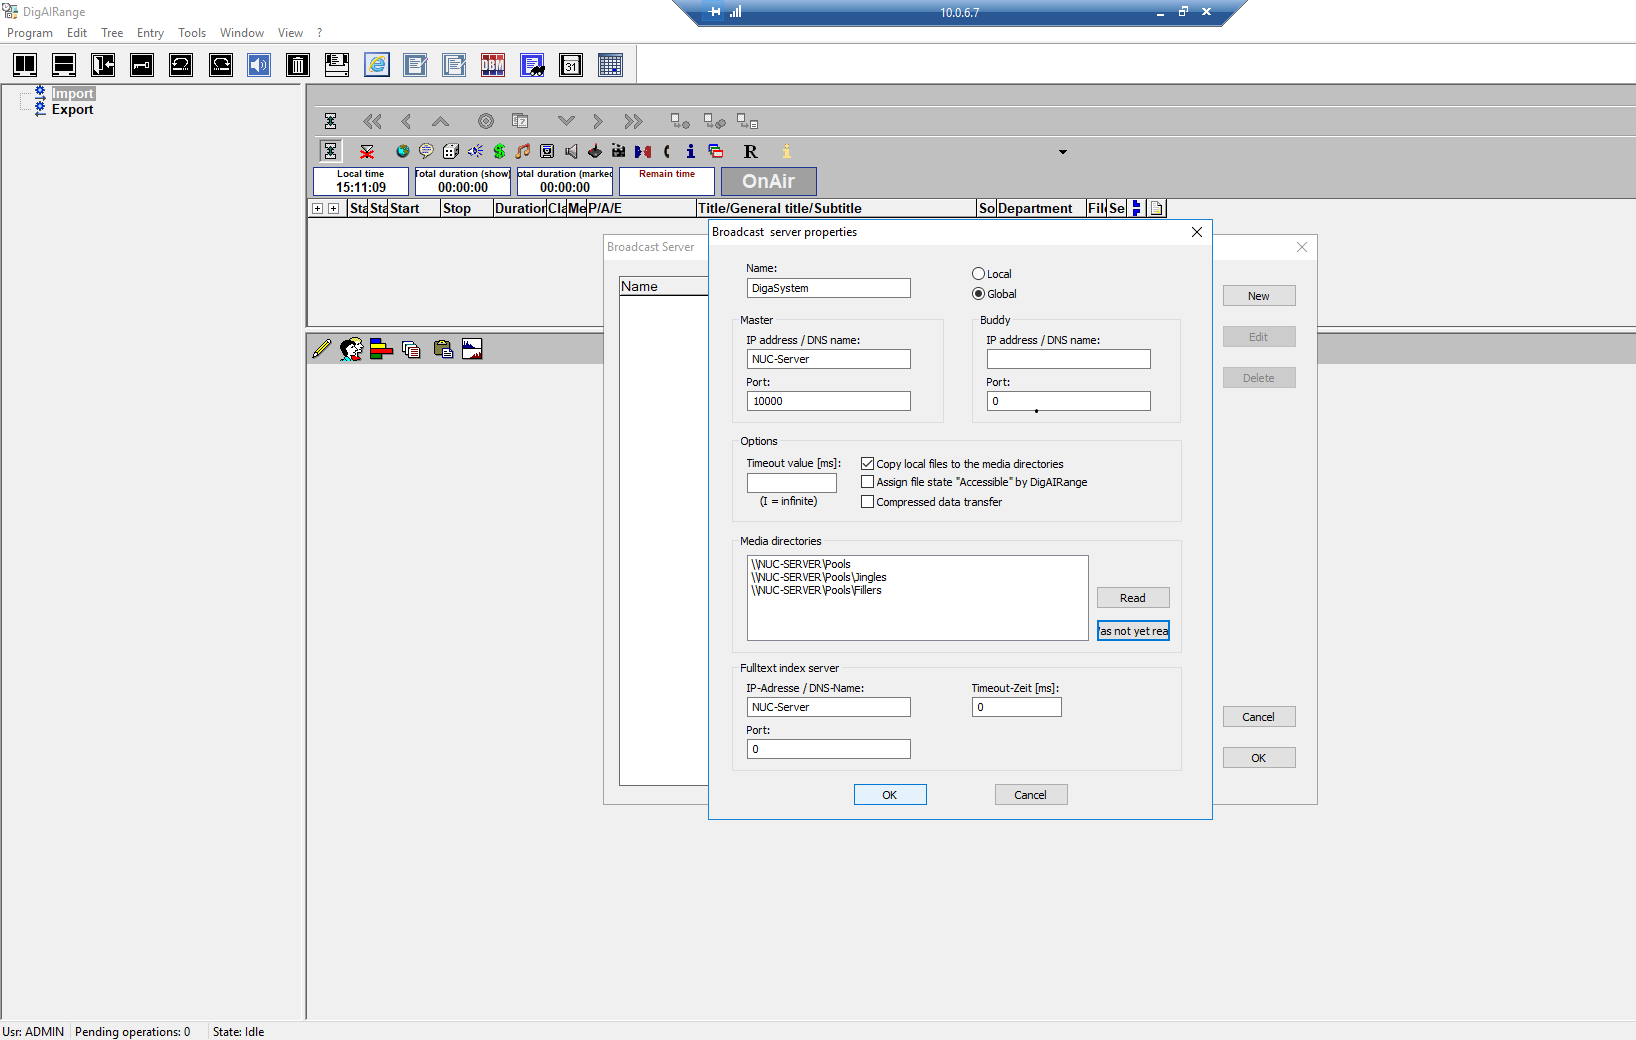
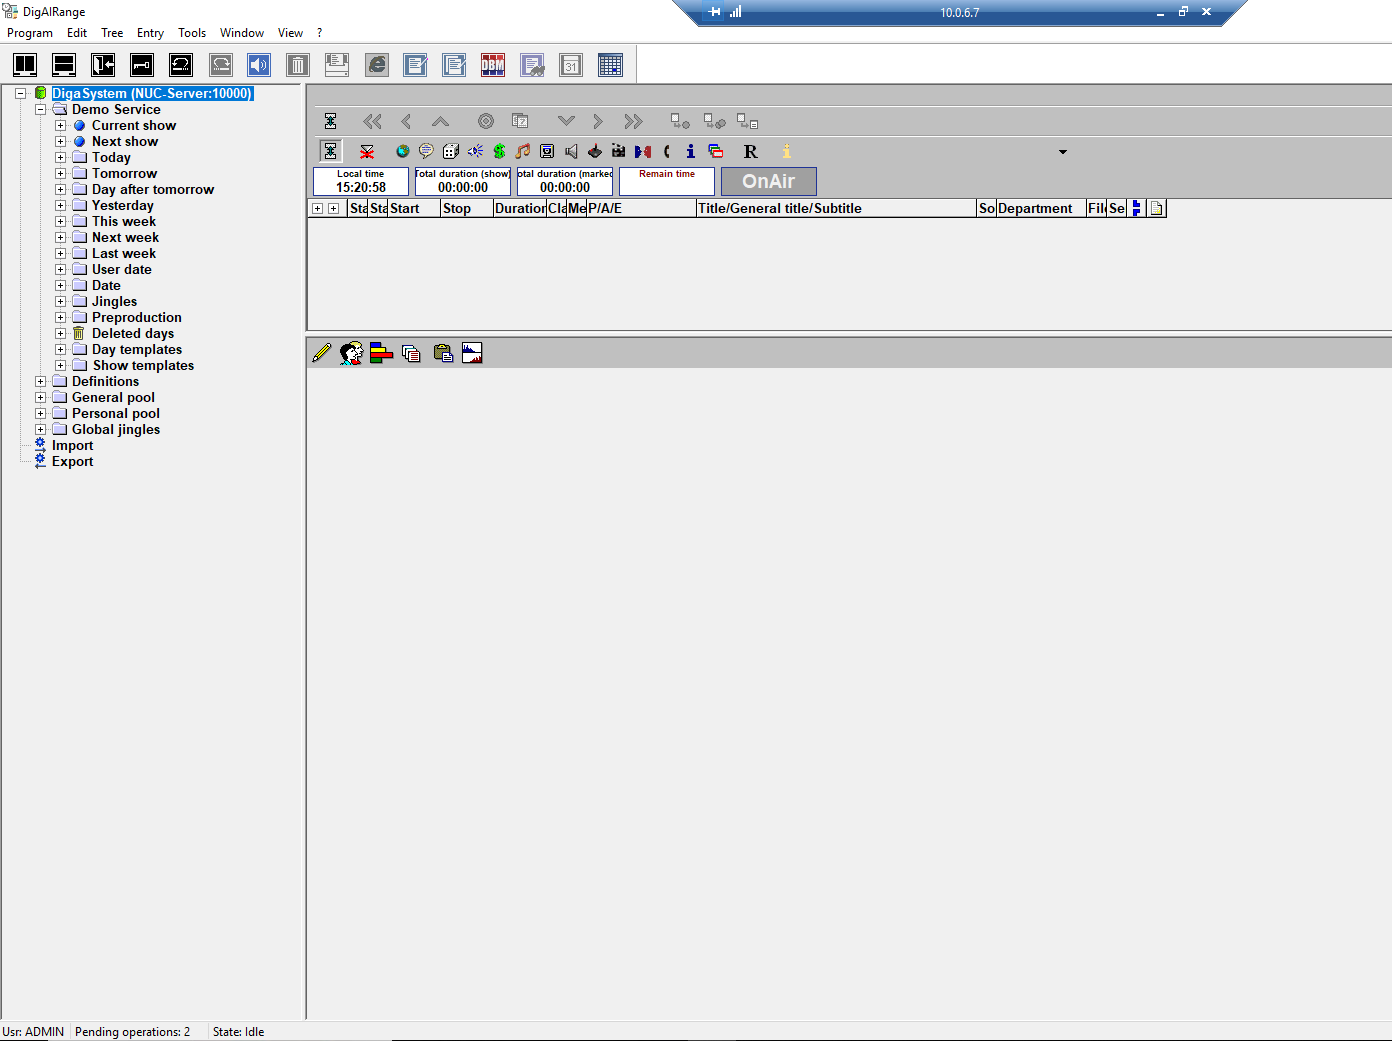
2. This is the window you will see.
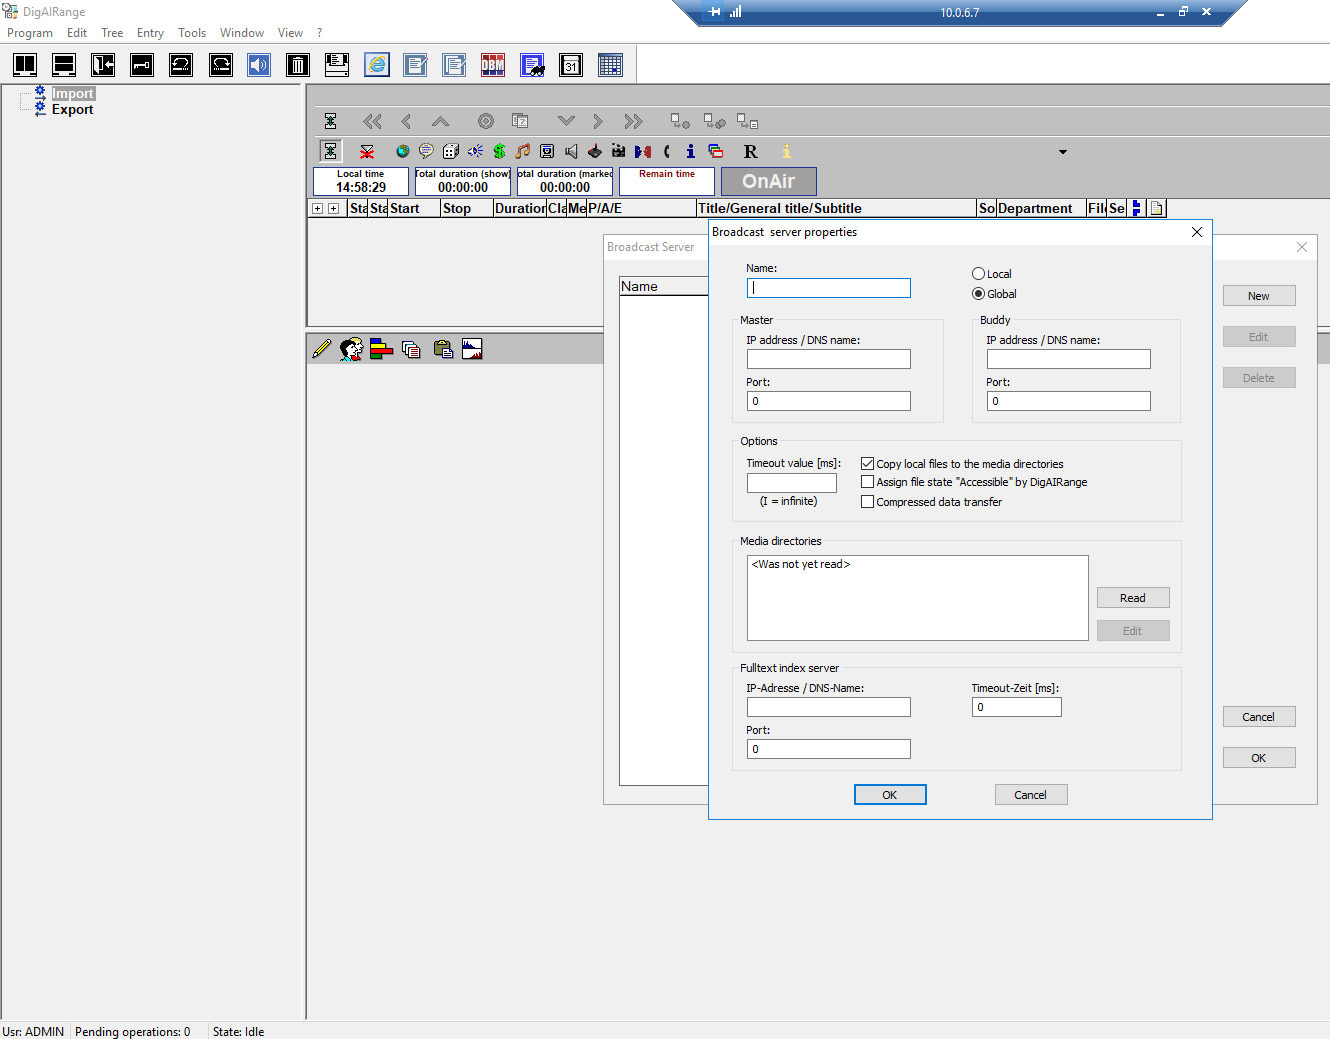
3. Enter the following into the fields shown (replace NUC-Server with the DNS name/IP of the computer hosting the database). If the db name is different than DigaSystem, use that. Port 10000 is the default.
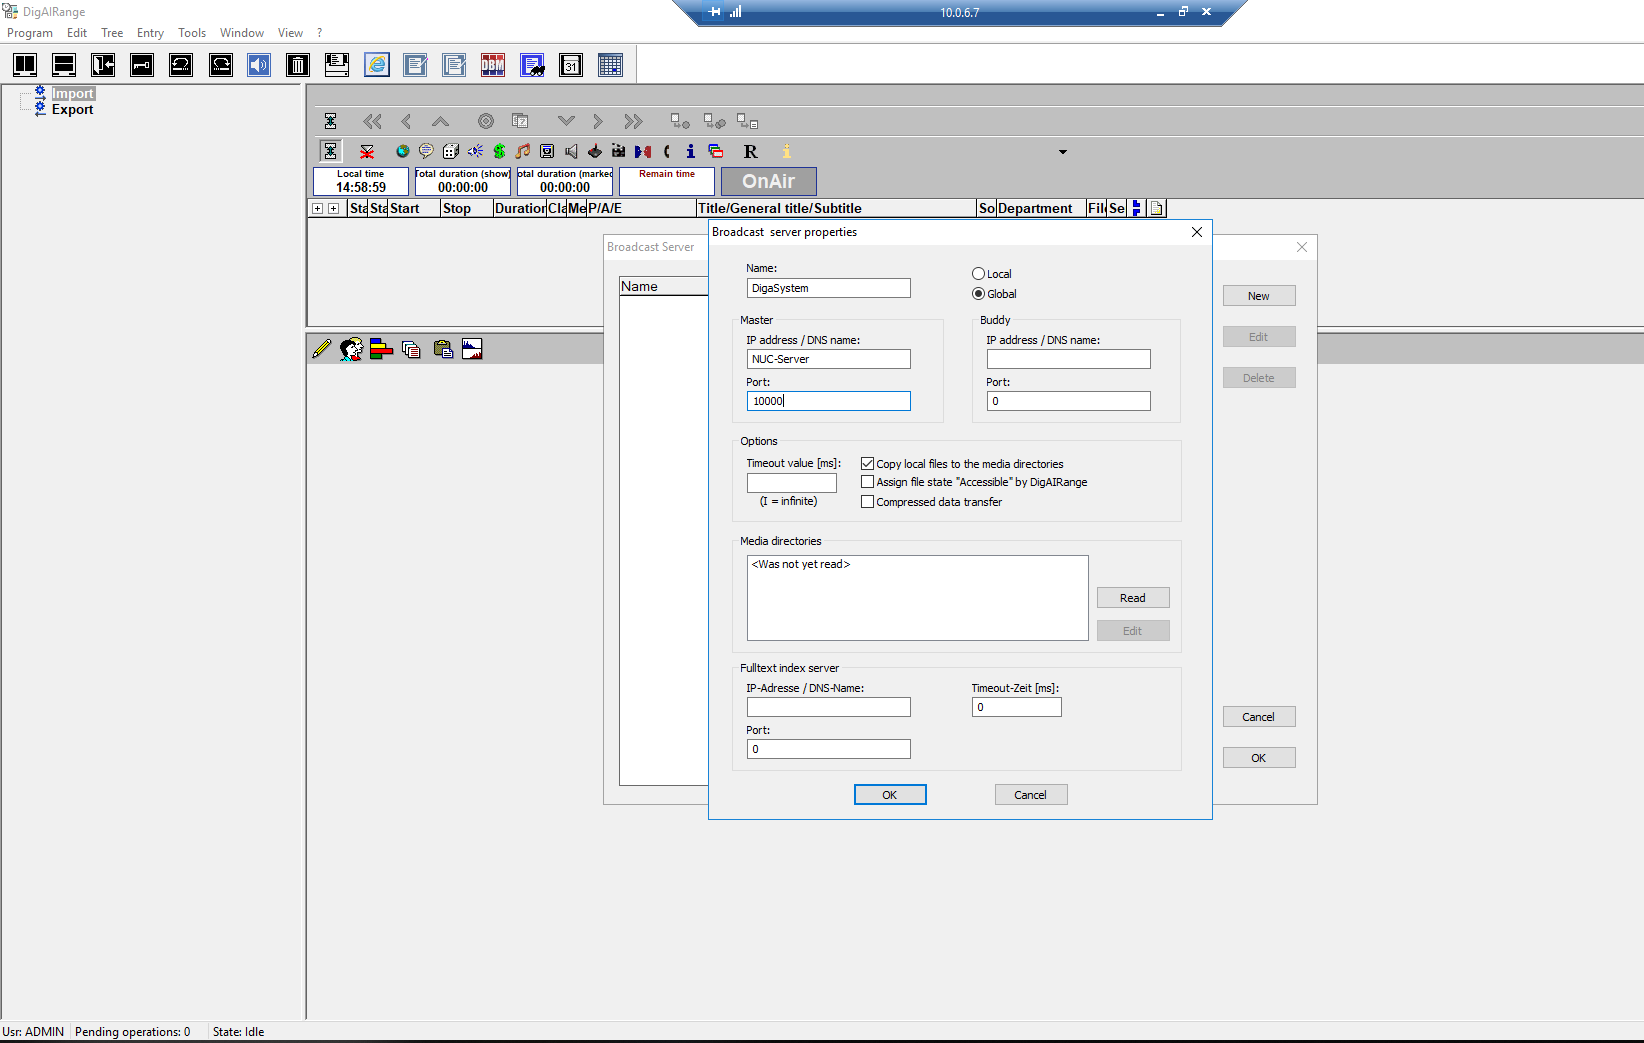
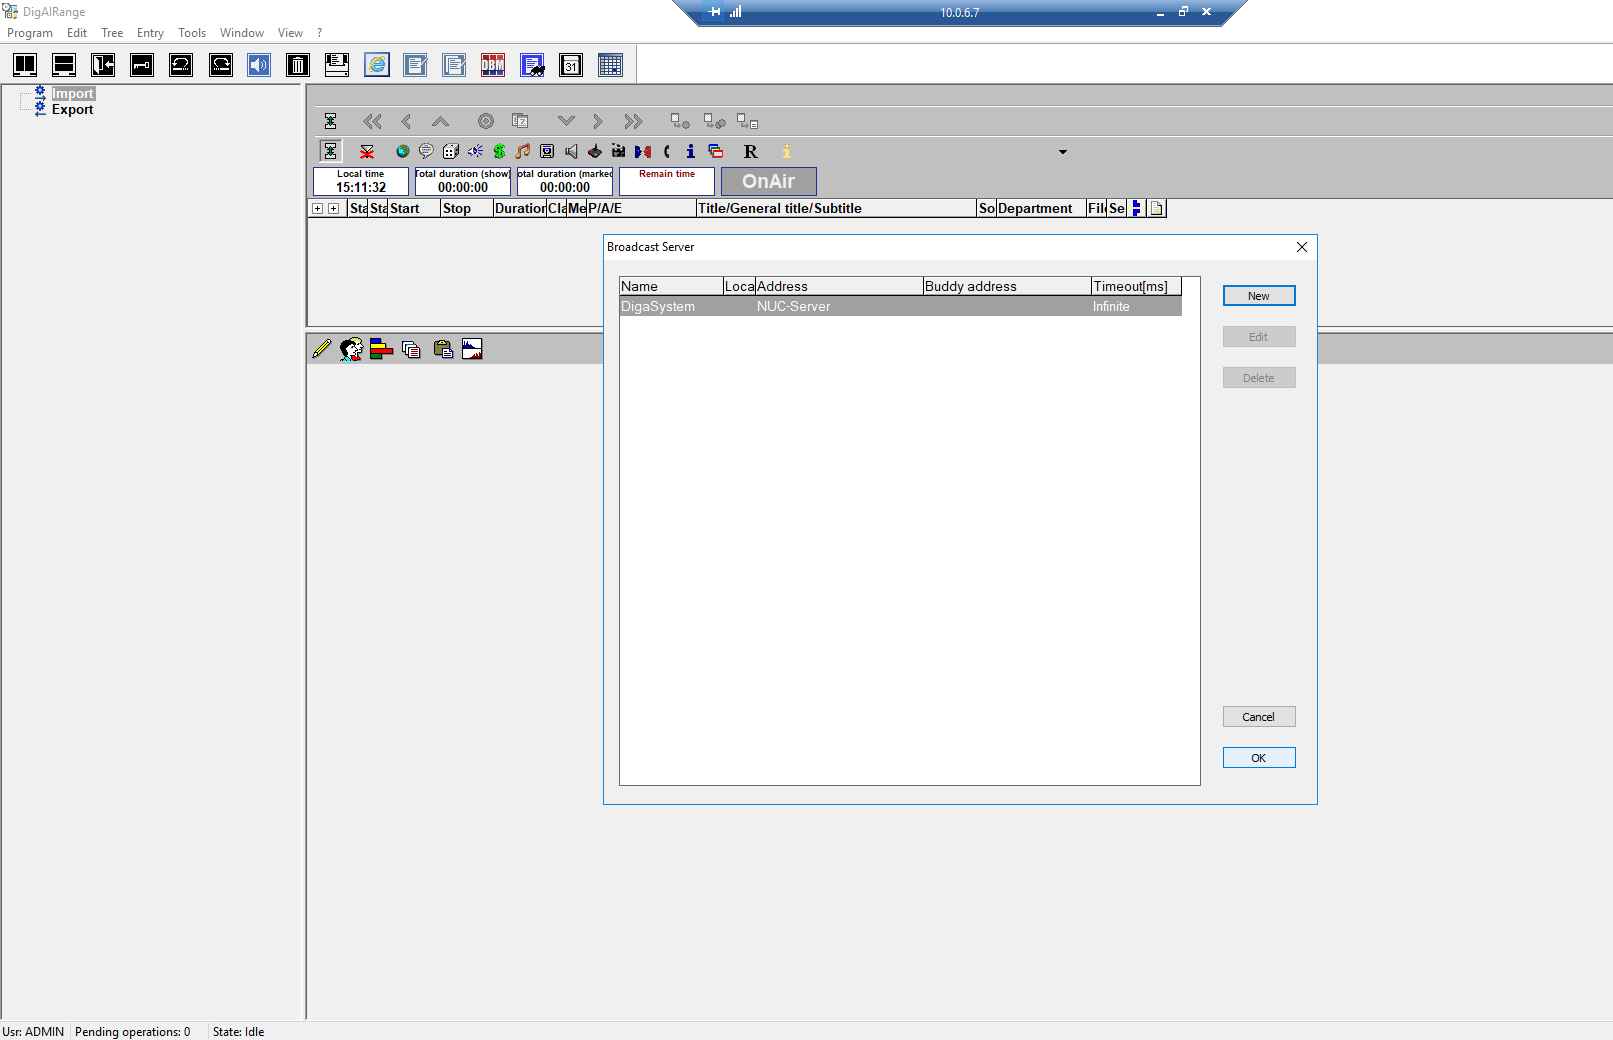
4. You may be asked for the login info, again.
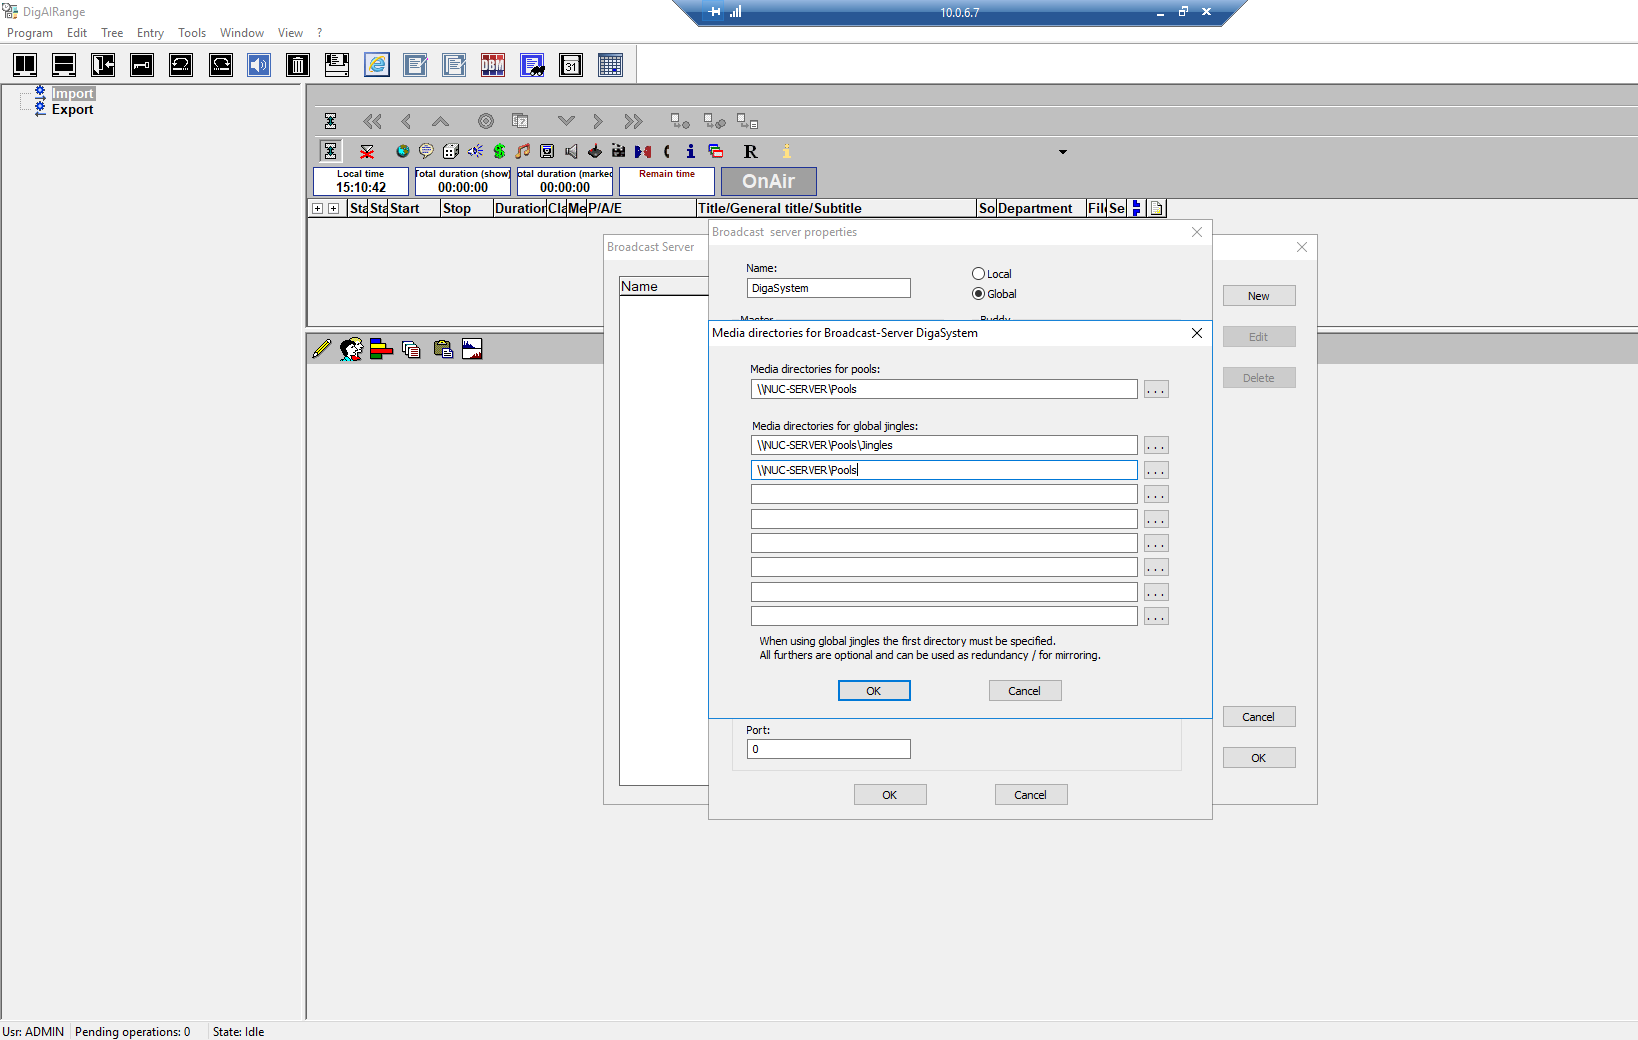
5. You will be prompted for the media directories to be used by DAR/Turbo.

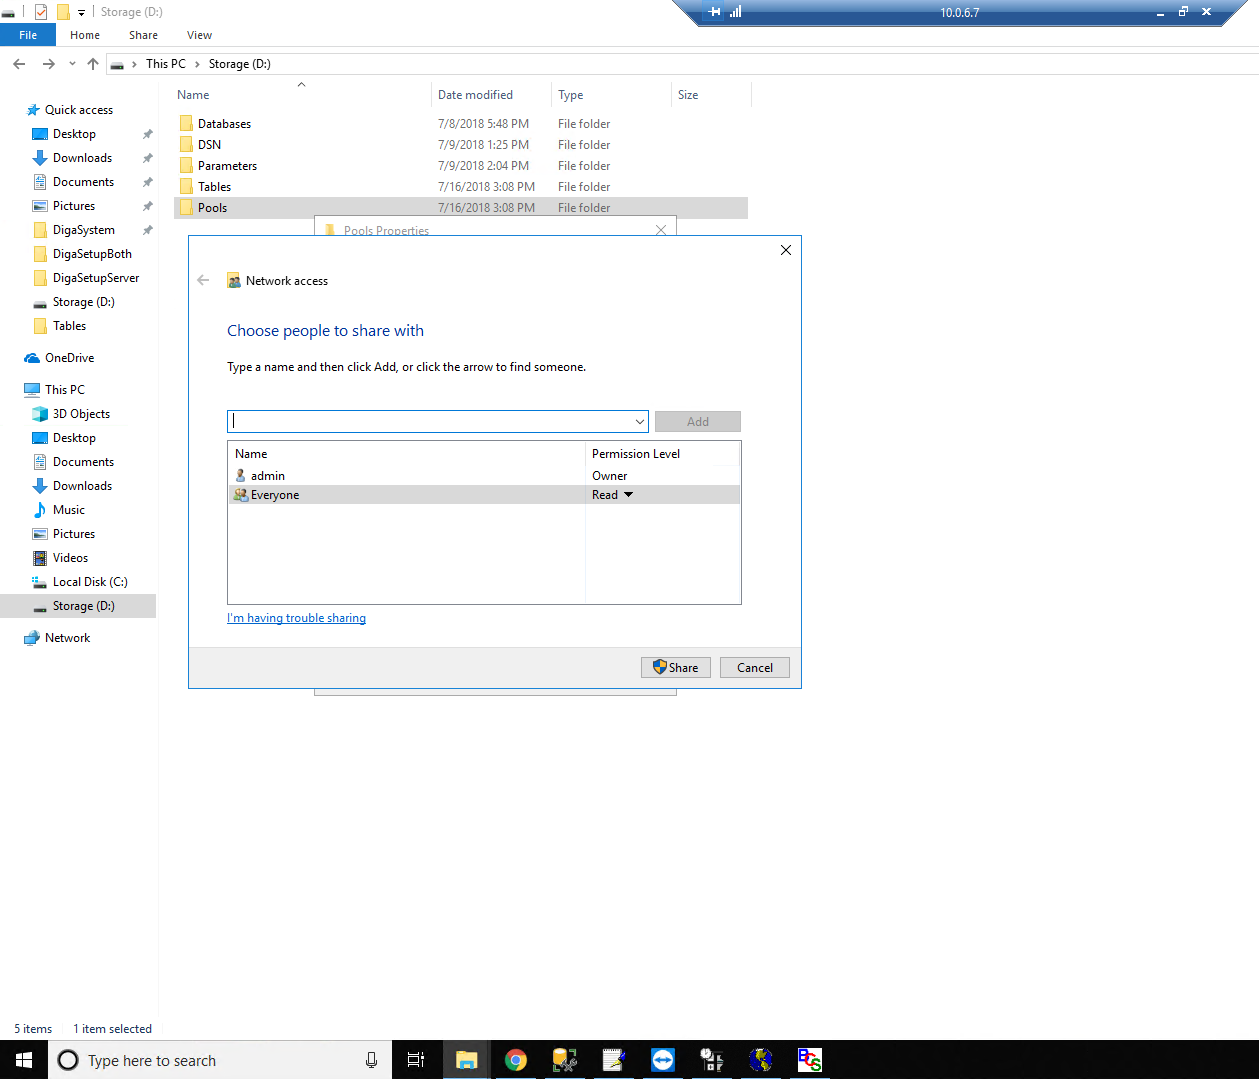
6. Navigate to the directory in which you have your pools folder. Create it if it is not there. Be sure to share the folder.
7. Enter the network path.

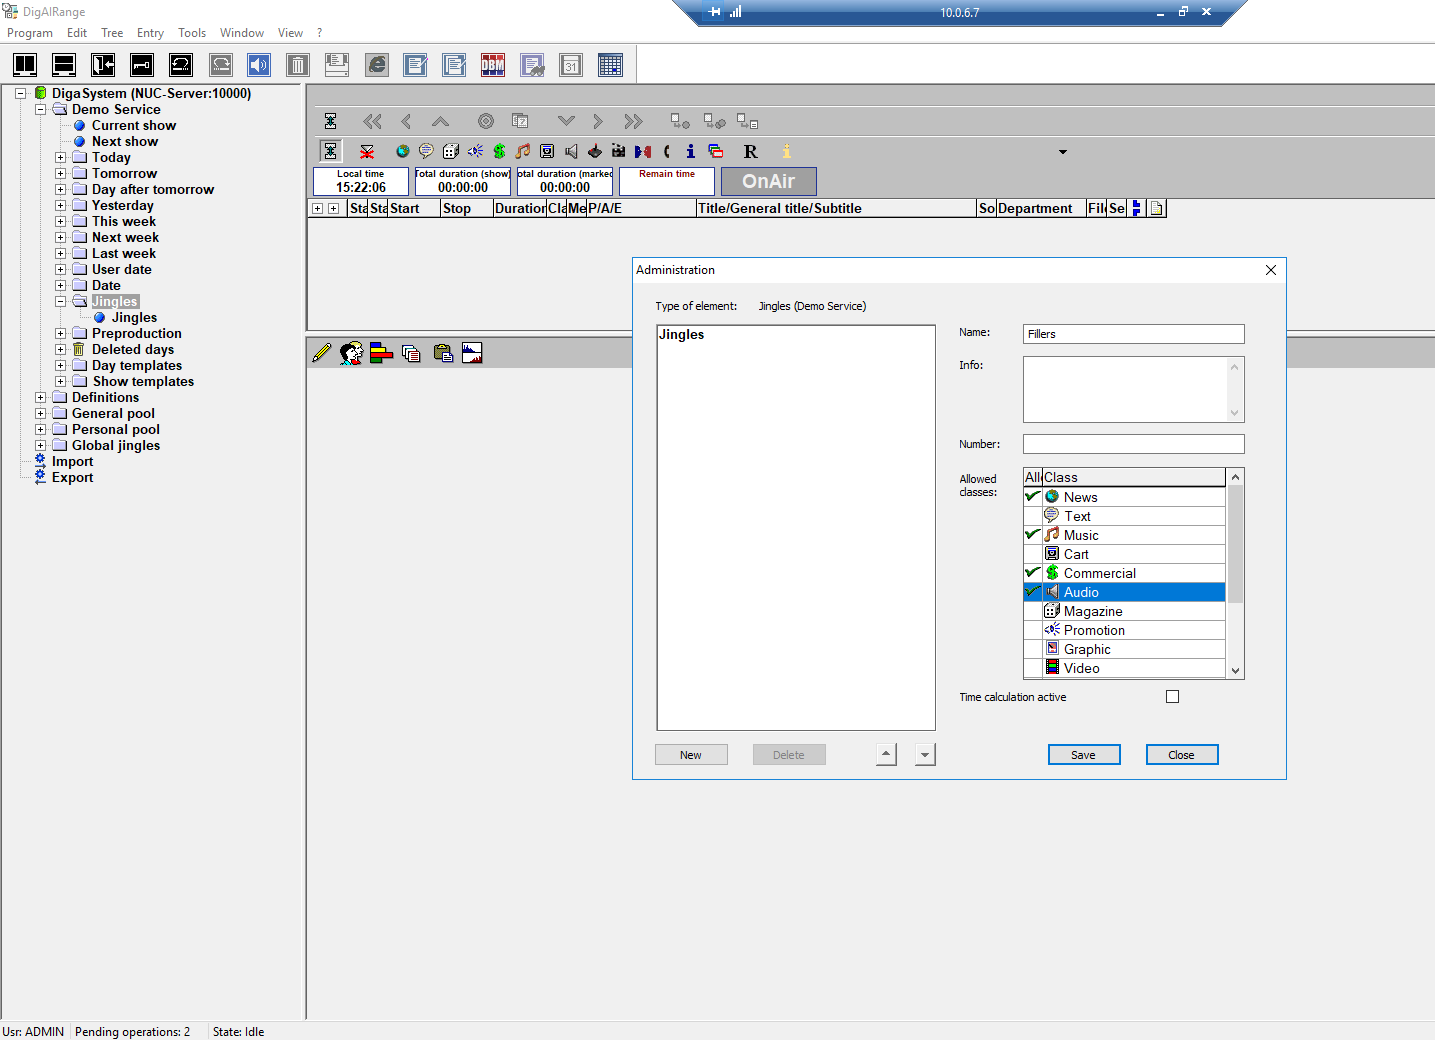
8. Enter the directory(s) for jingles (create them if they already haven't been— make sure they're shared if they haven't been created until now).
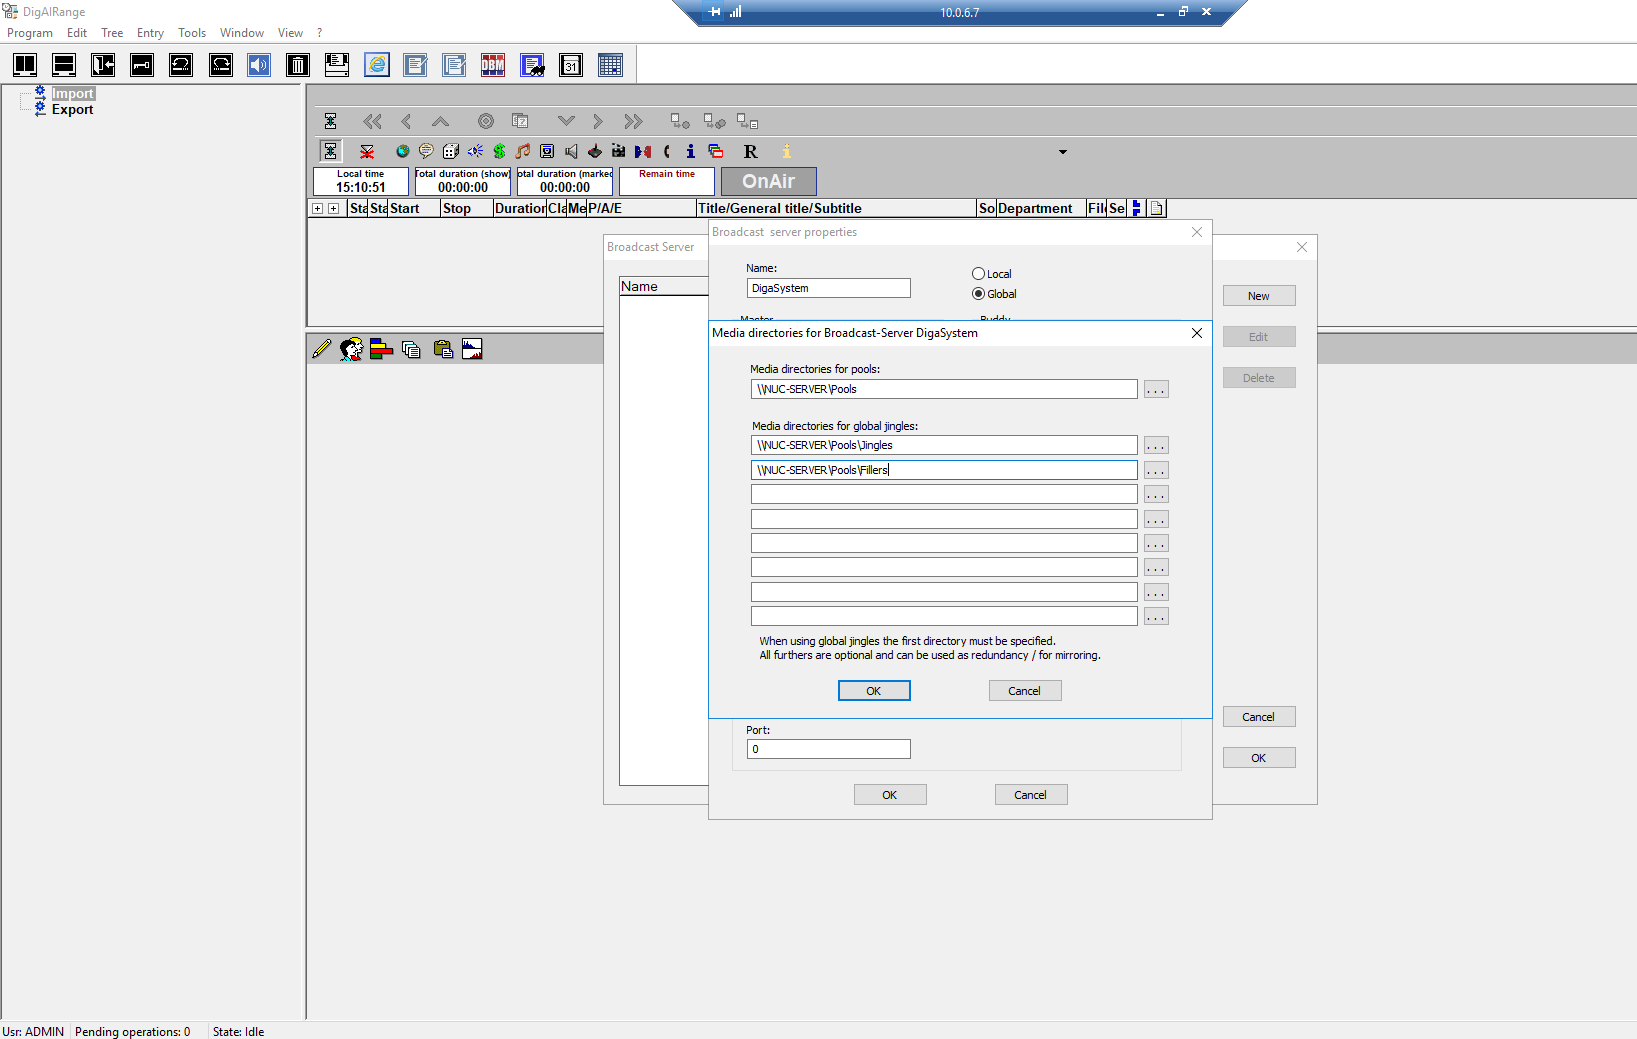
9. The pool for 'Fillers' also goes in here. Do the same as with 'Jingles'.
10. Verify that 'BCS Properties' looks something like this.
11. Click ok to return to the BCS pane.
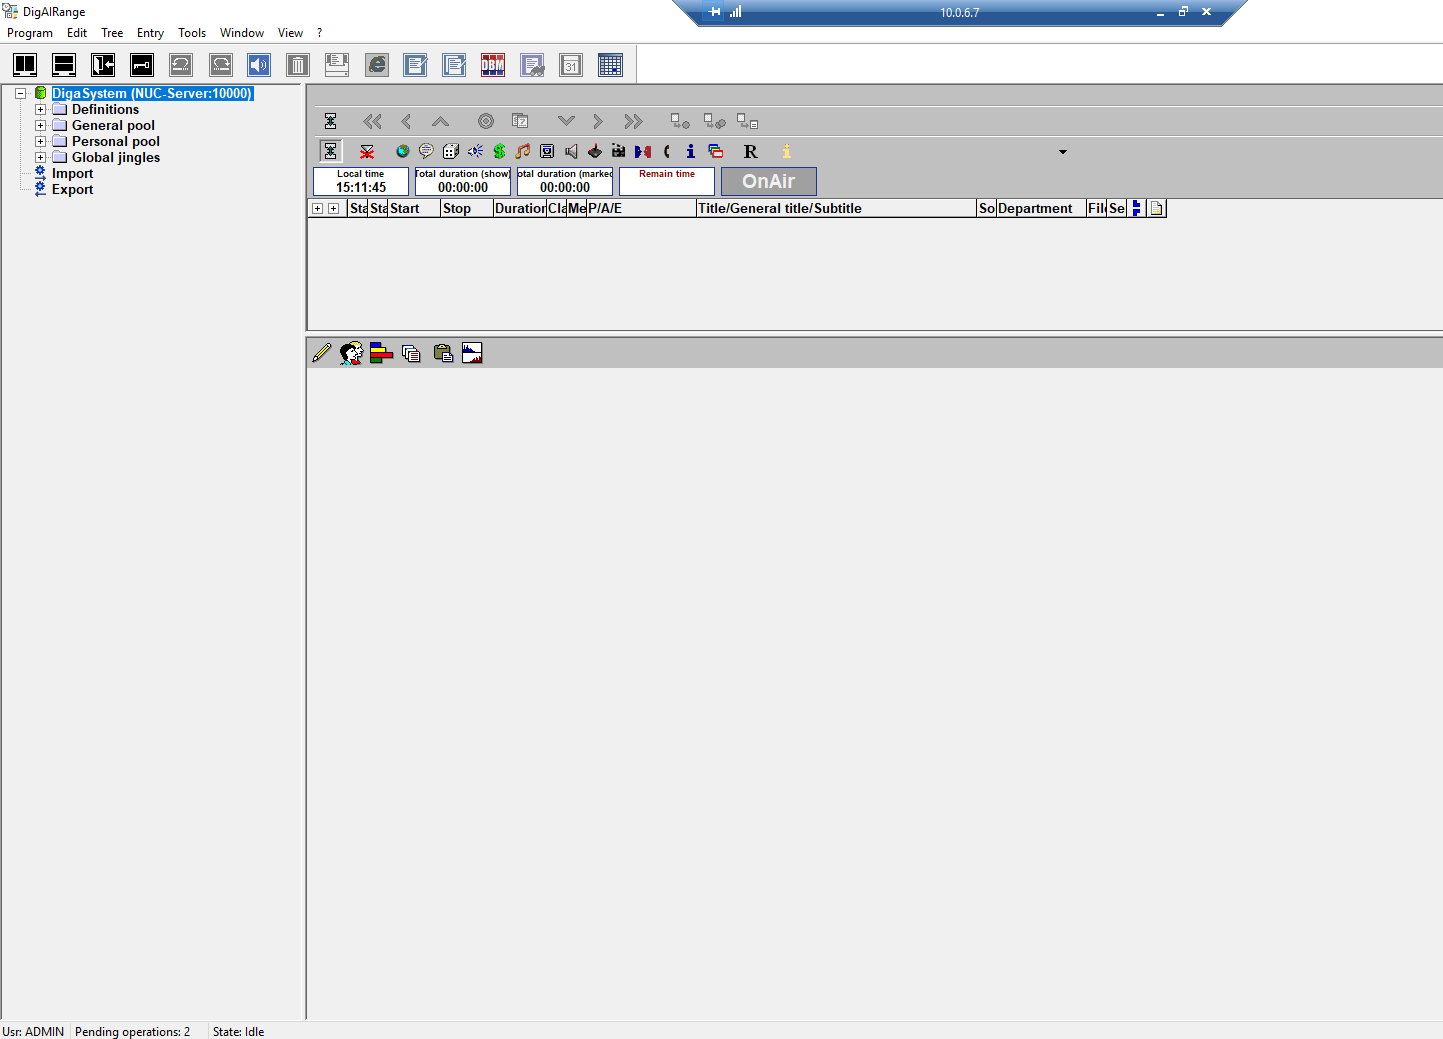
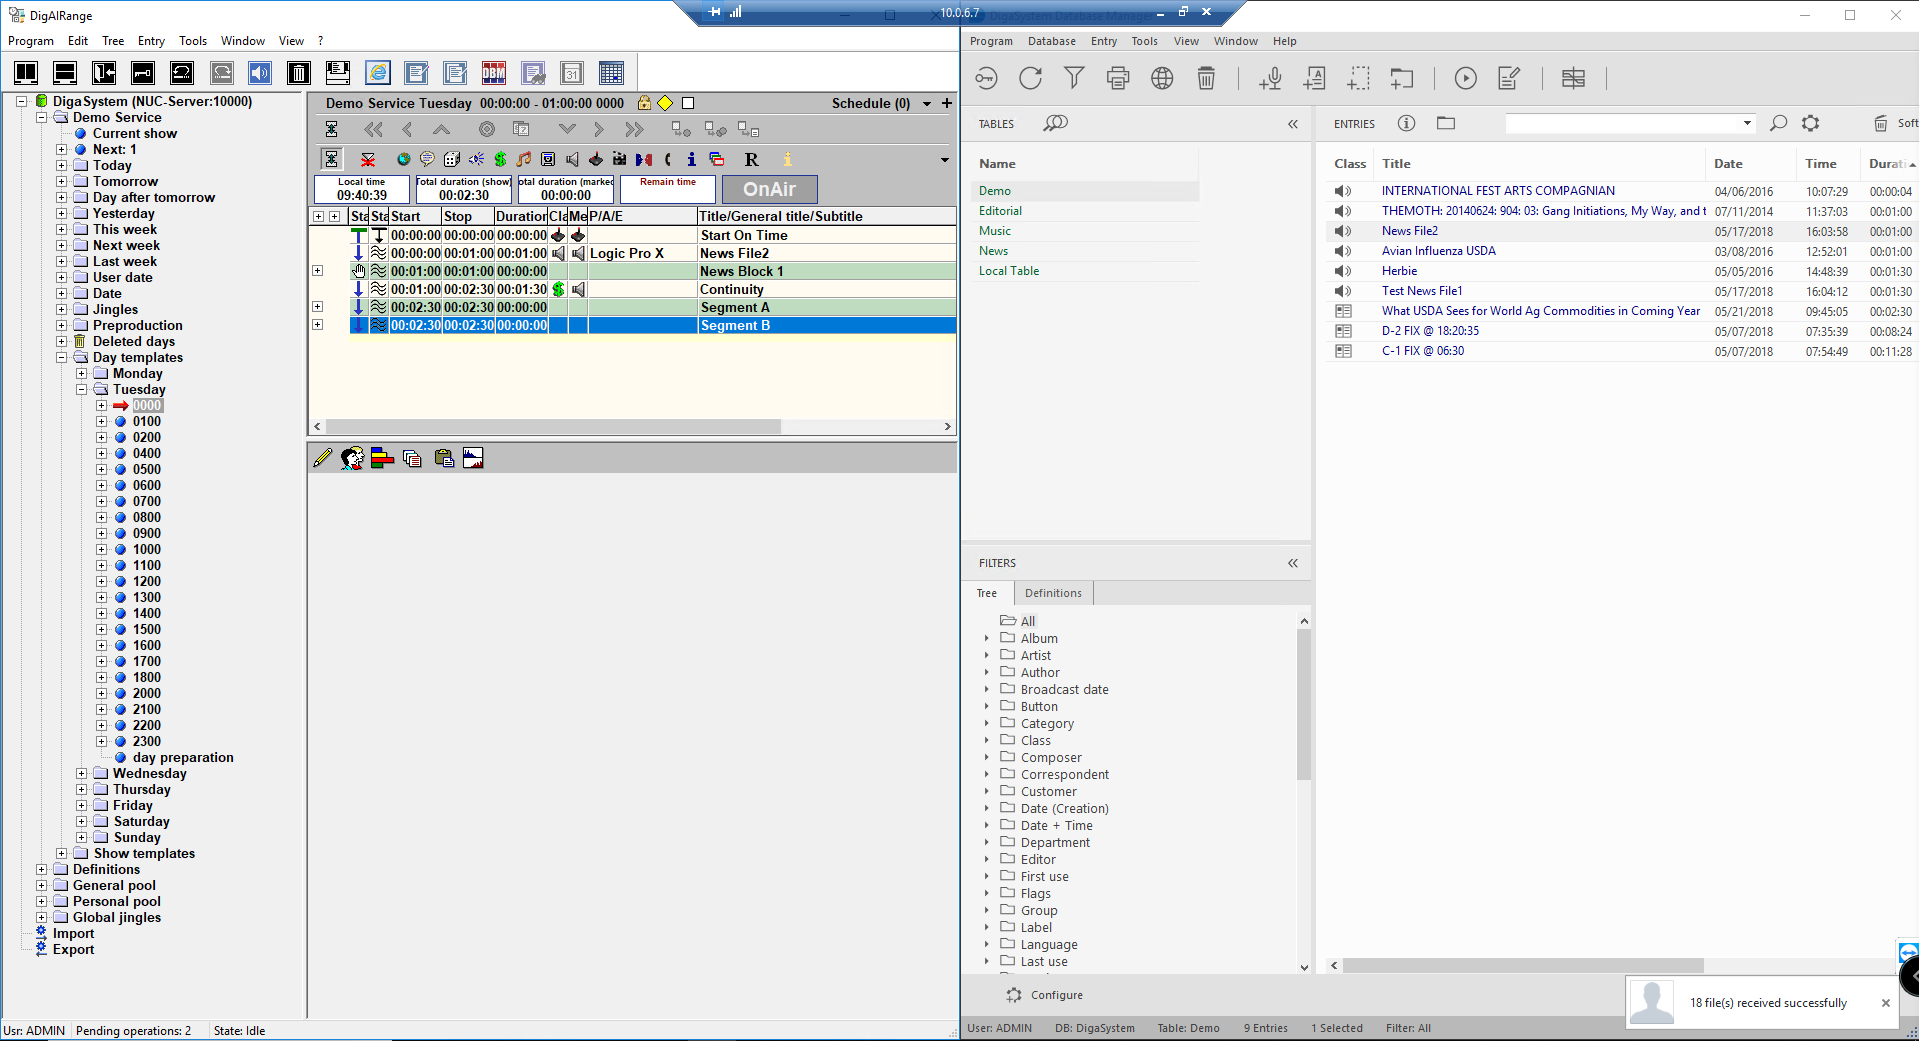
12. Expand the DigaSystem database. It should look something like this.
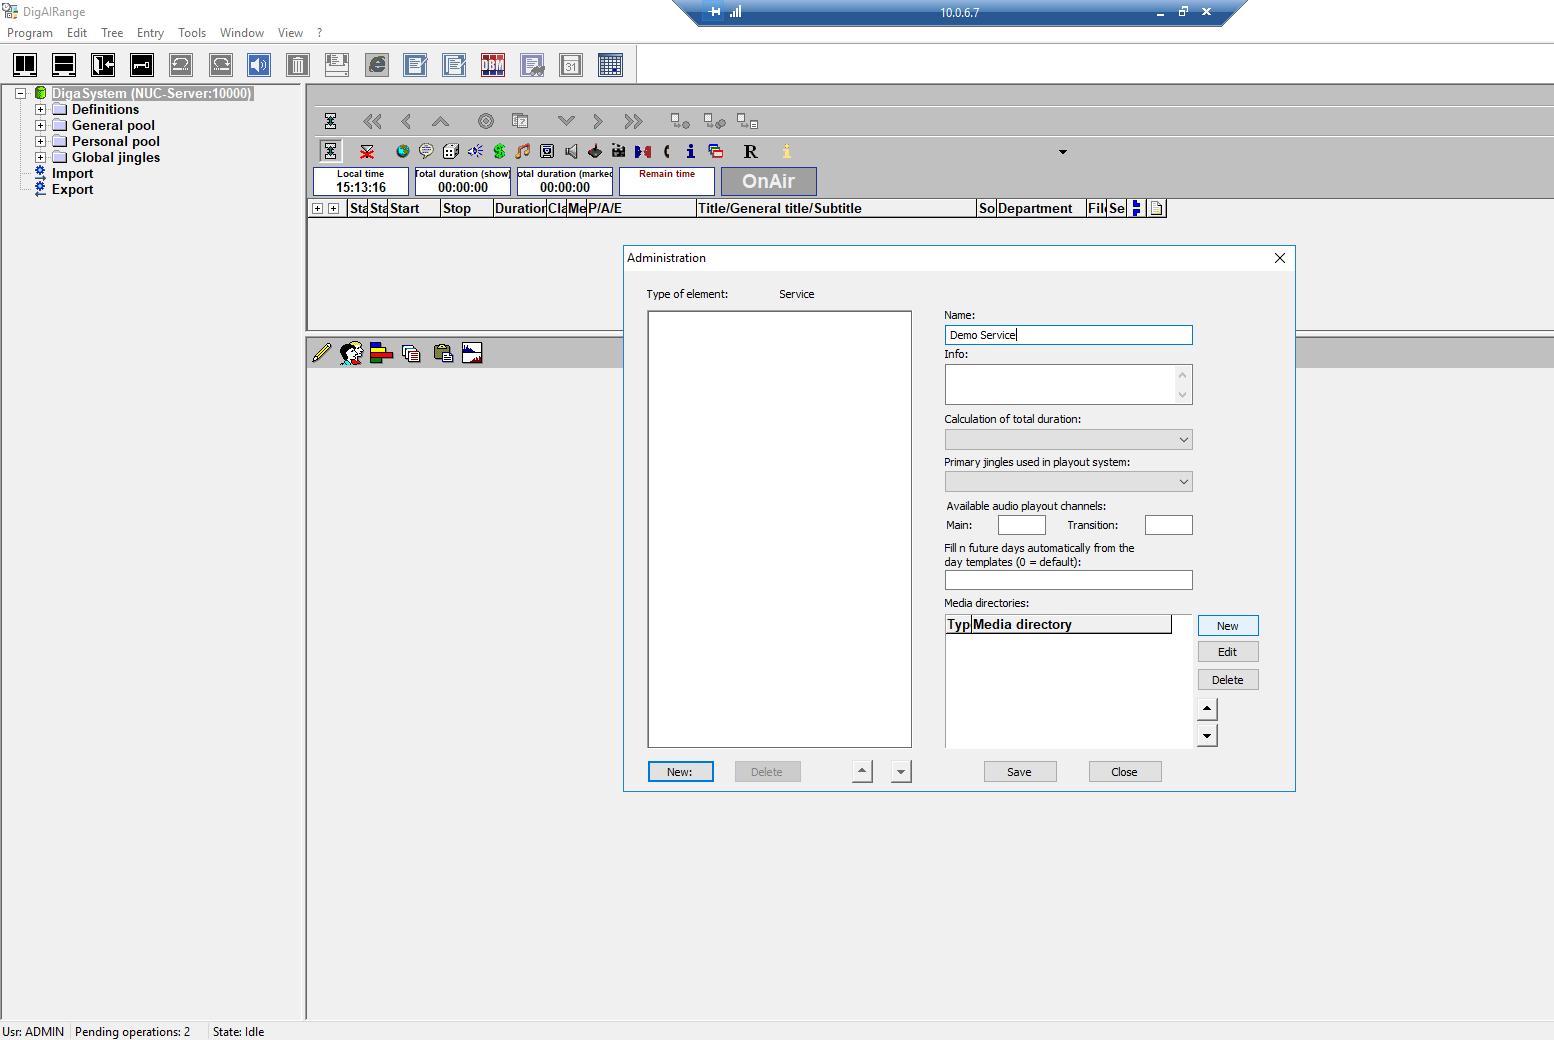
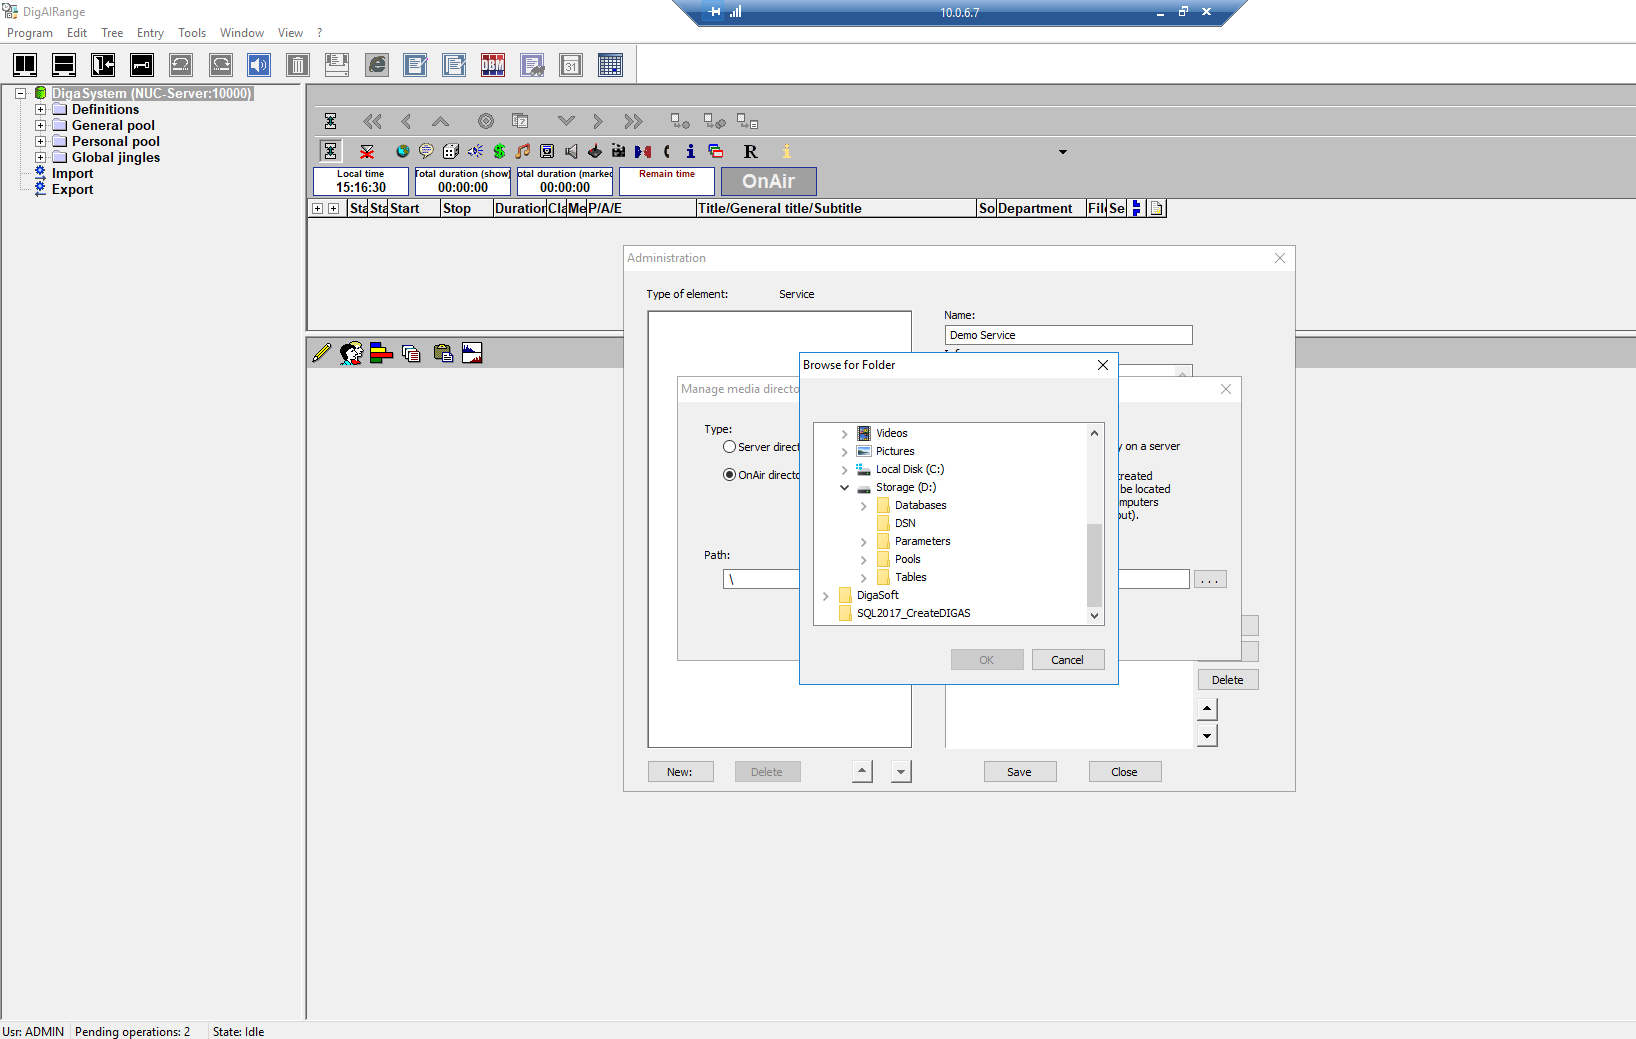
13. Right click the db root entry and select 'Manage'. This window will open.

14. Click new and enter a name for the service that will contain your templates.
15. Click the name of your service, then click 'New' beside 'Media Directory'. Create 'OAMedia' and 'ServerDirectory. entries by entering the paths to those directories.. If they do not exist, create them and share them.

16. For this example, they will be located on the D drive.
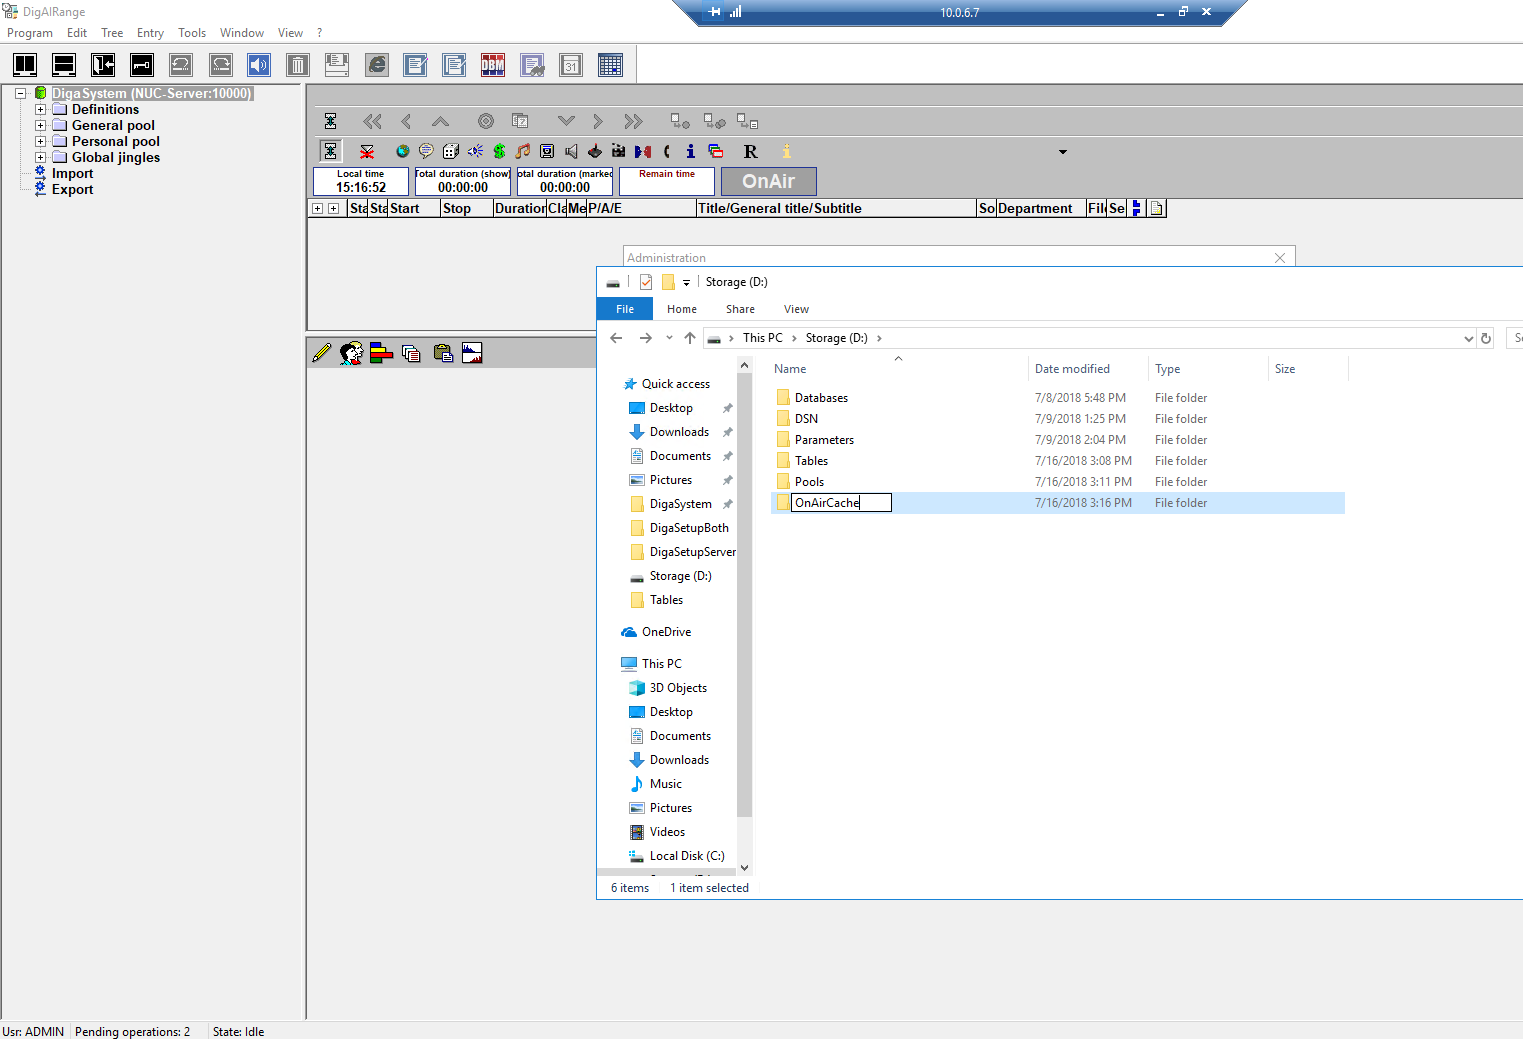
17. Creation of the relevant folders.
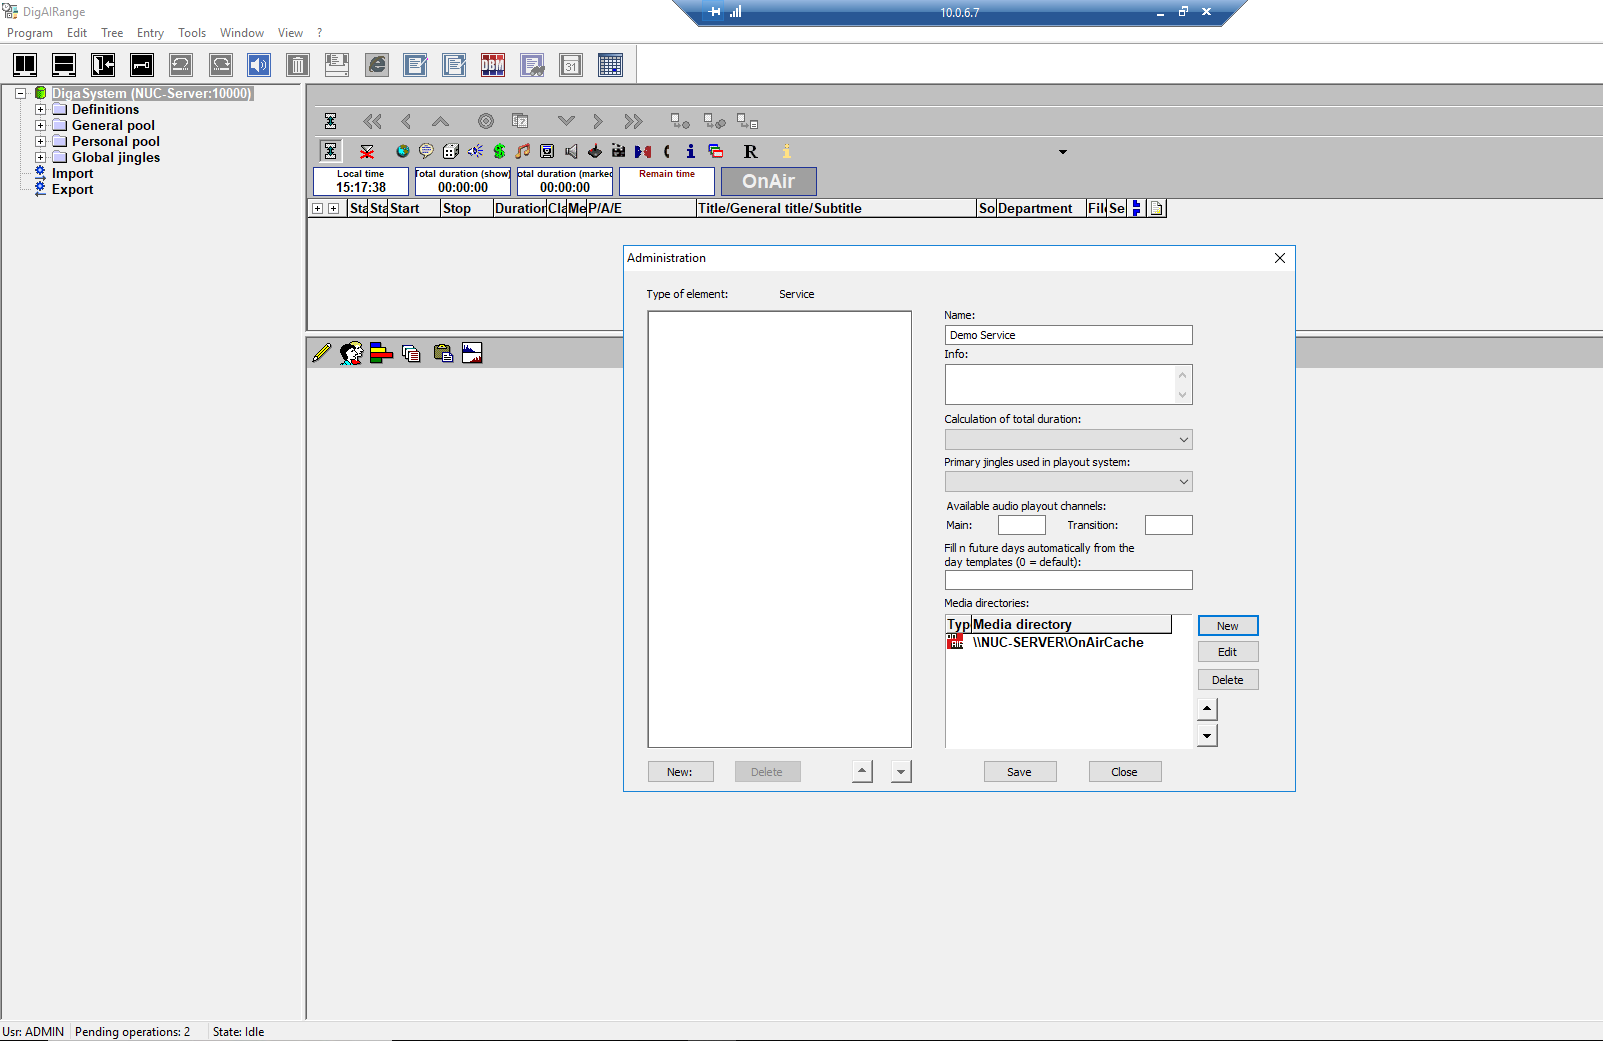
18. After entry of a directory, it should look like this.
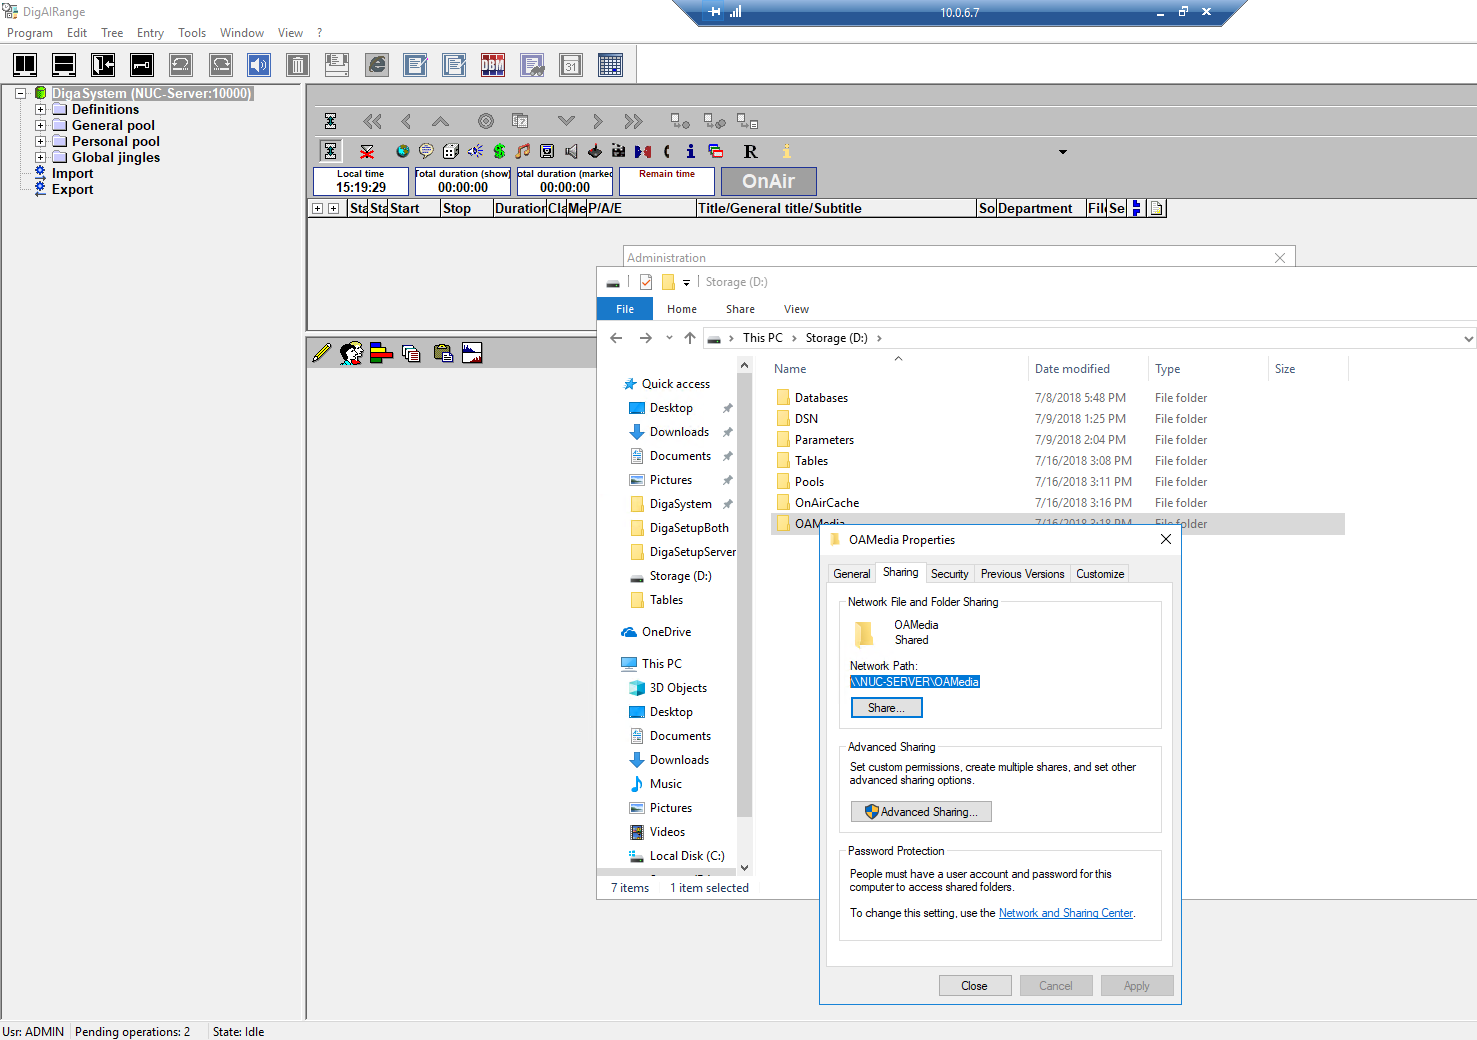
19. Repeat for the other directory. You can make multiples of each on different locations, if you so choose, to provide redundancy.
20. Appearance after last steps.
21. Configure 'Jingles' and 'Fillers'. The defaults are fine. Just click new and enter the relevant names ('Jingles' and 'Fillers').
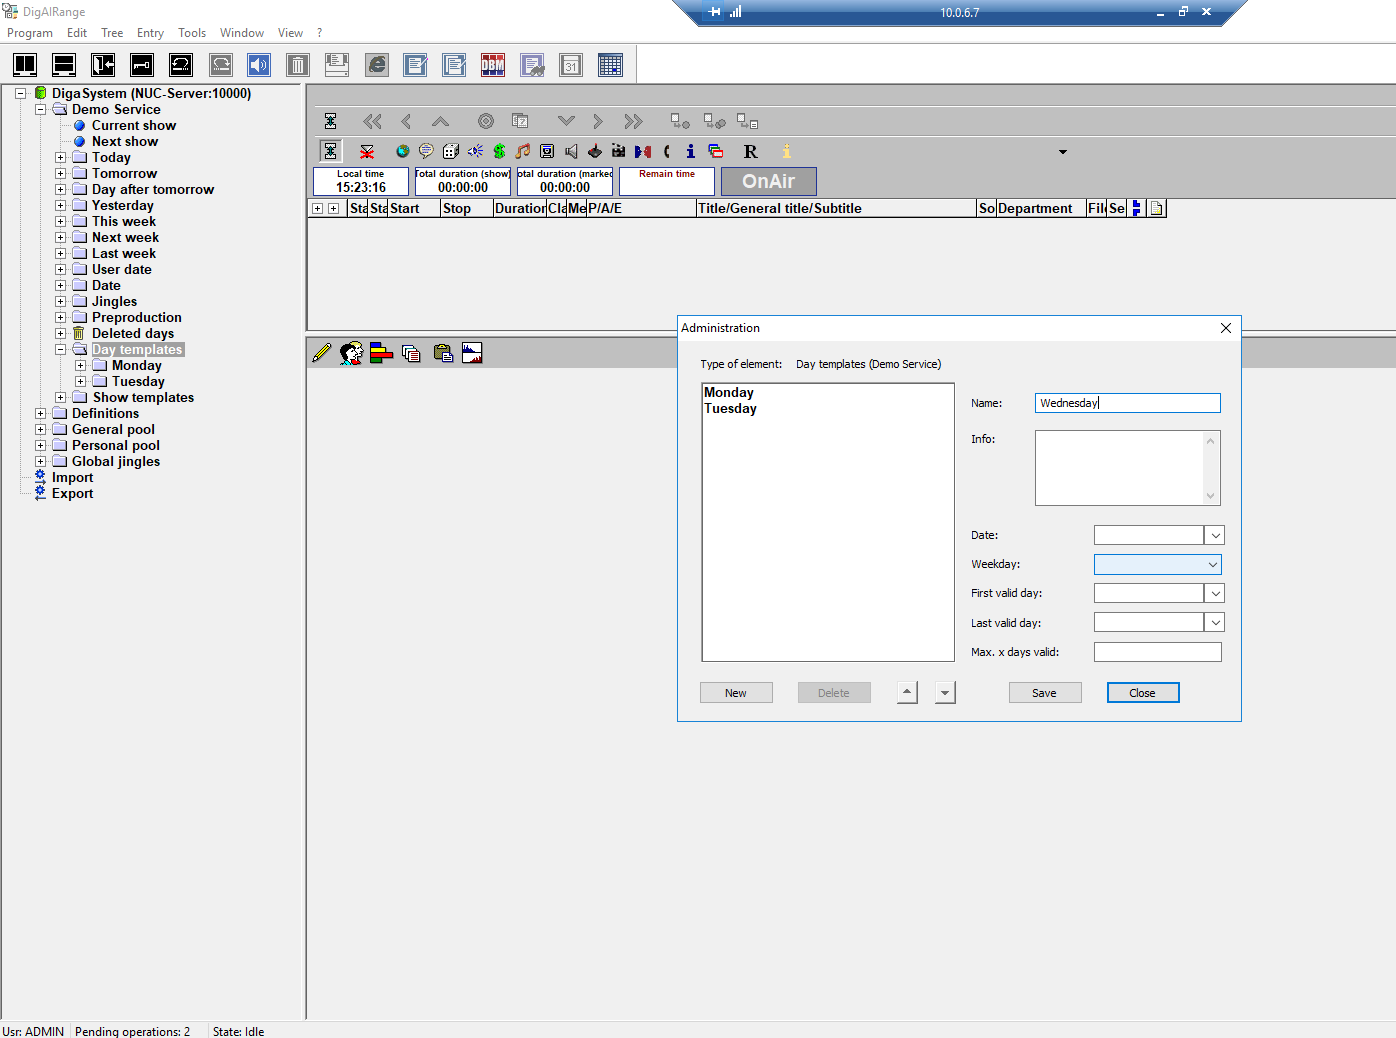
22. Create day templates. Right click on day templates, and select manage. Click 'New' and enter the day of choice. Be absolutely certain to select the related weekday in the drop menu.
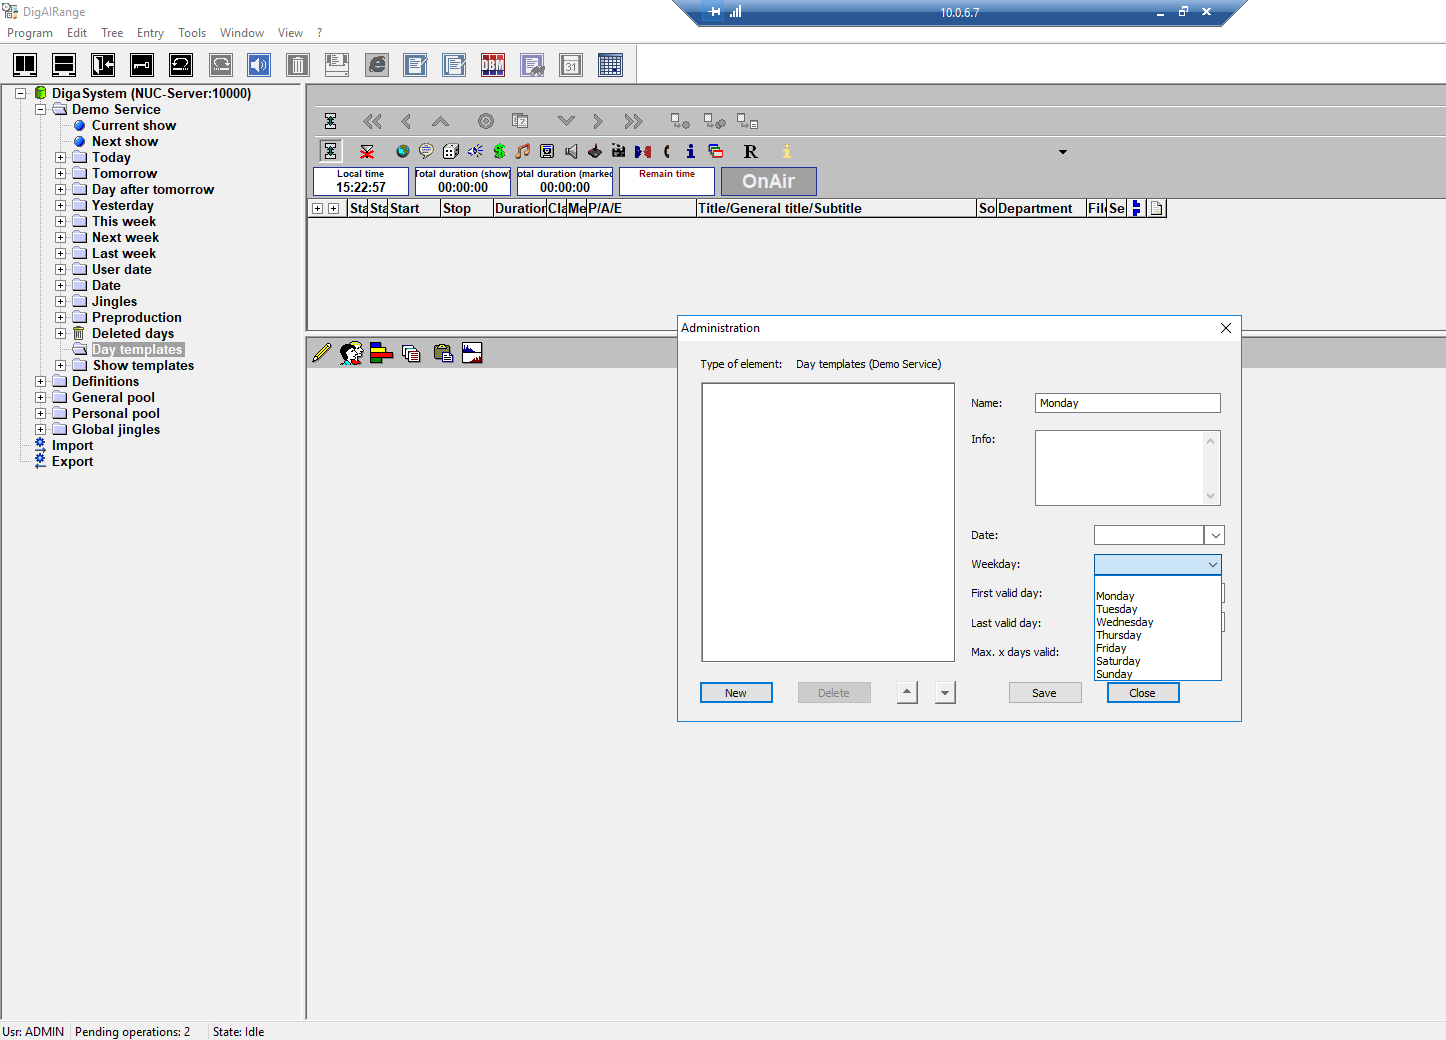
23. Observe that the weekday selected matches the name of the day template. The schedule will not correctly populate if you don't do this.
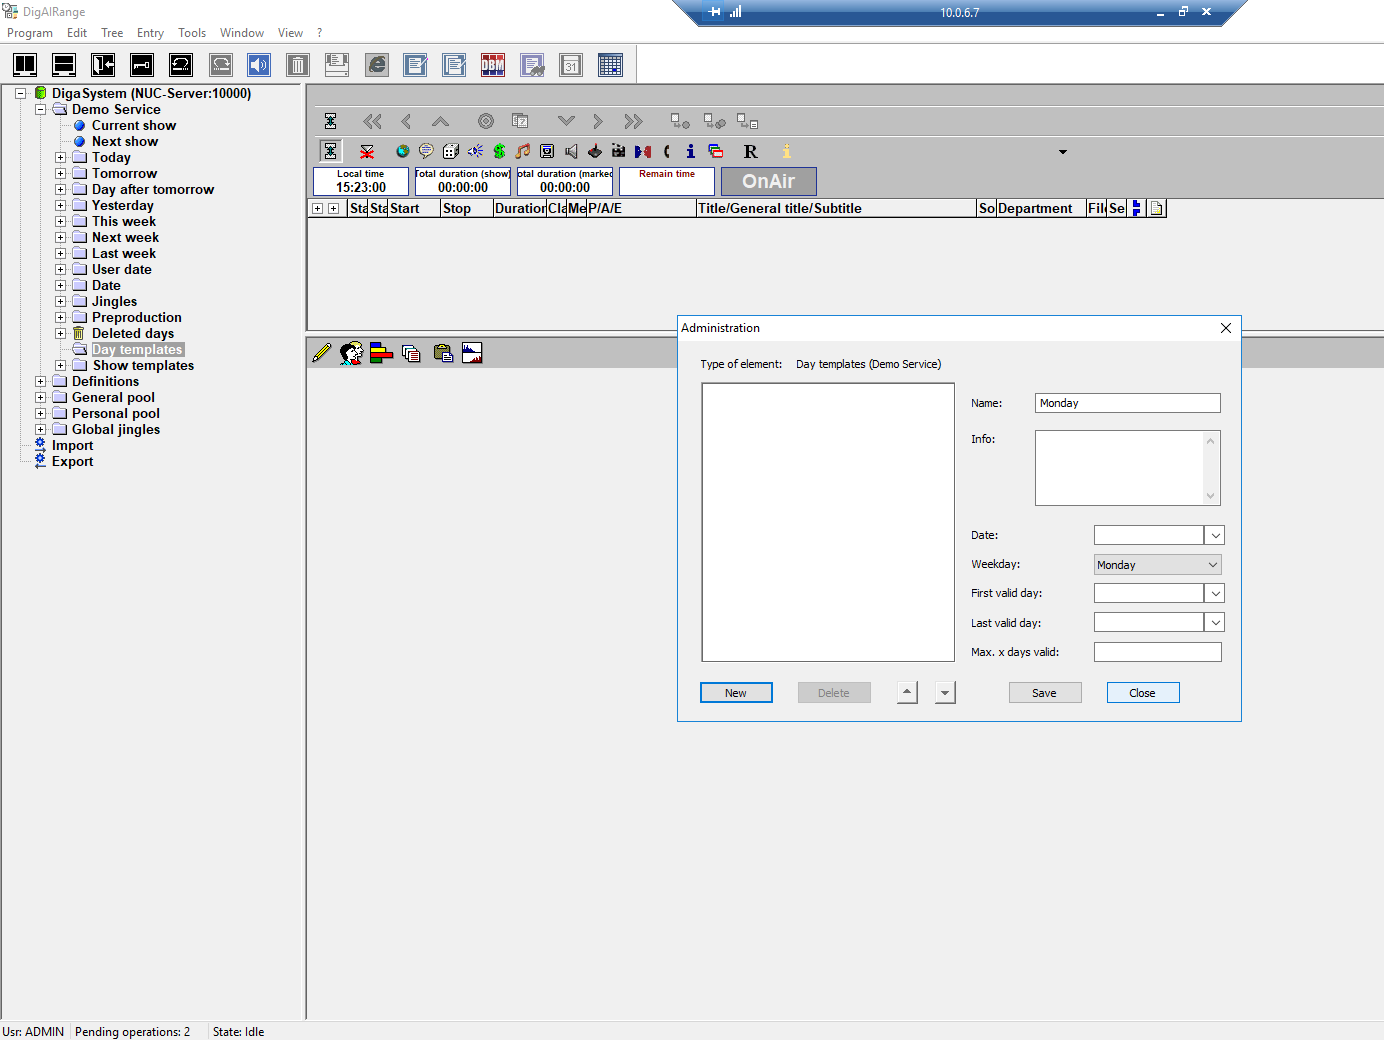
24. Repeat for the other days.
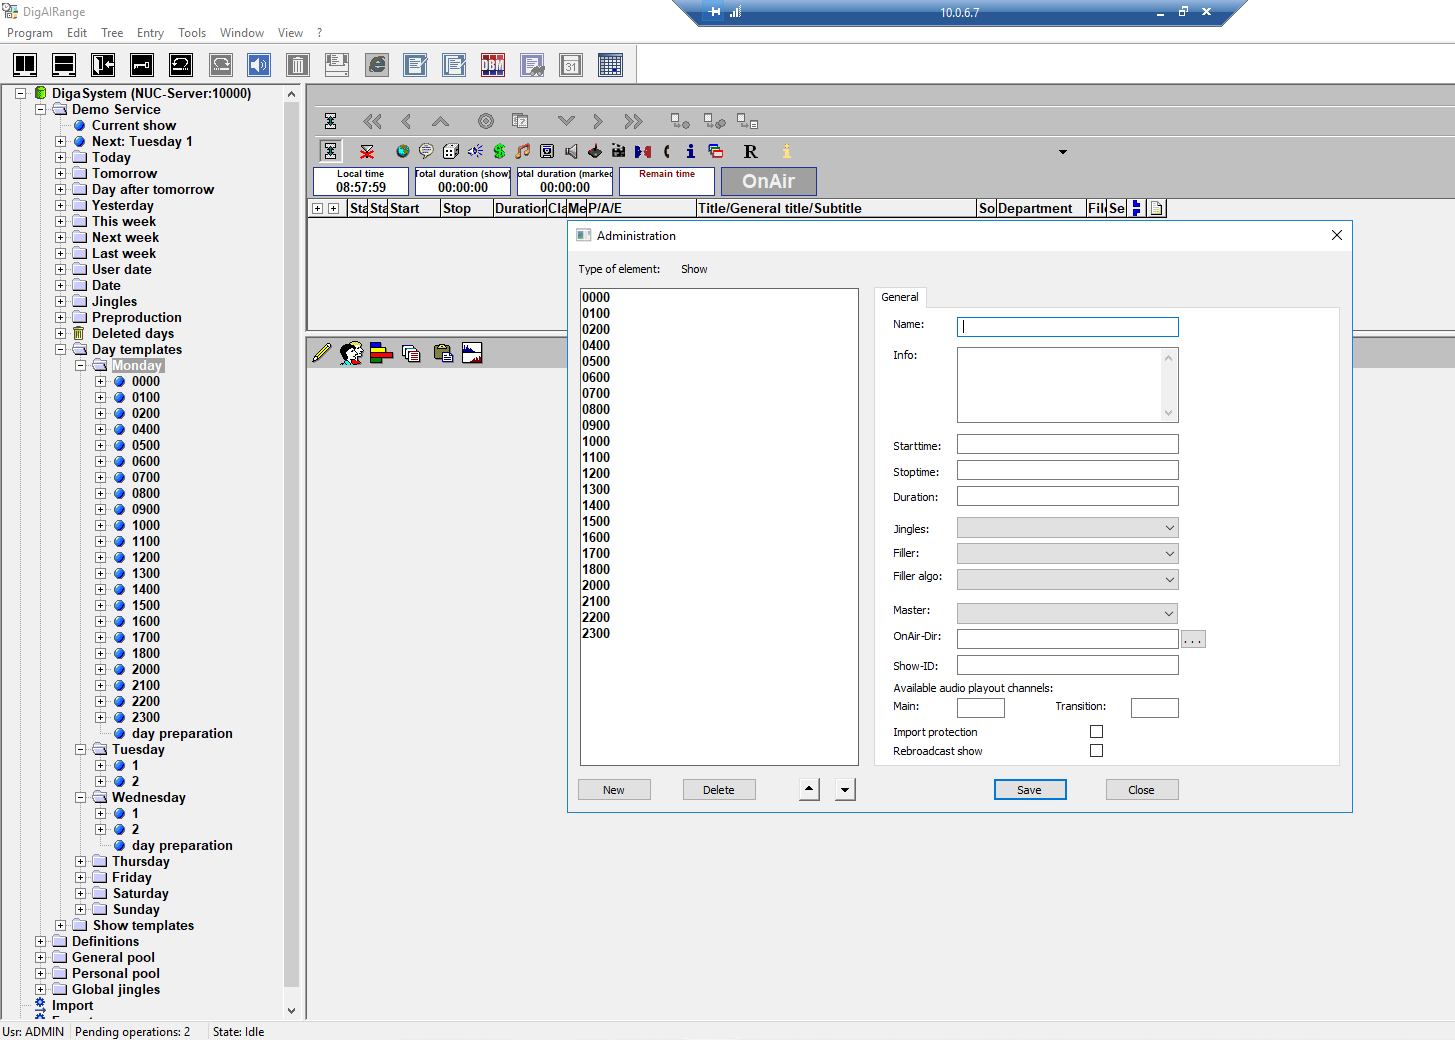
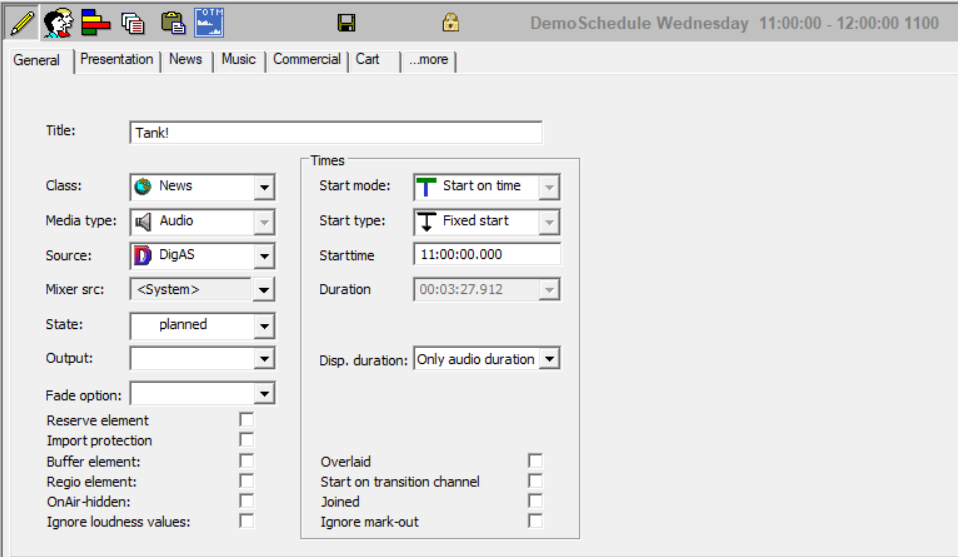
25. Create the schedule elements for the days. Right click on the day template and select 'Manage'. Click new and populate the time fields. It is only necessary to fill the start and stop times— duration will calculate itself.
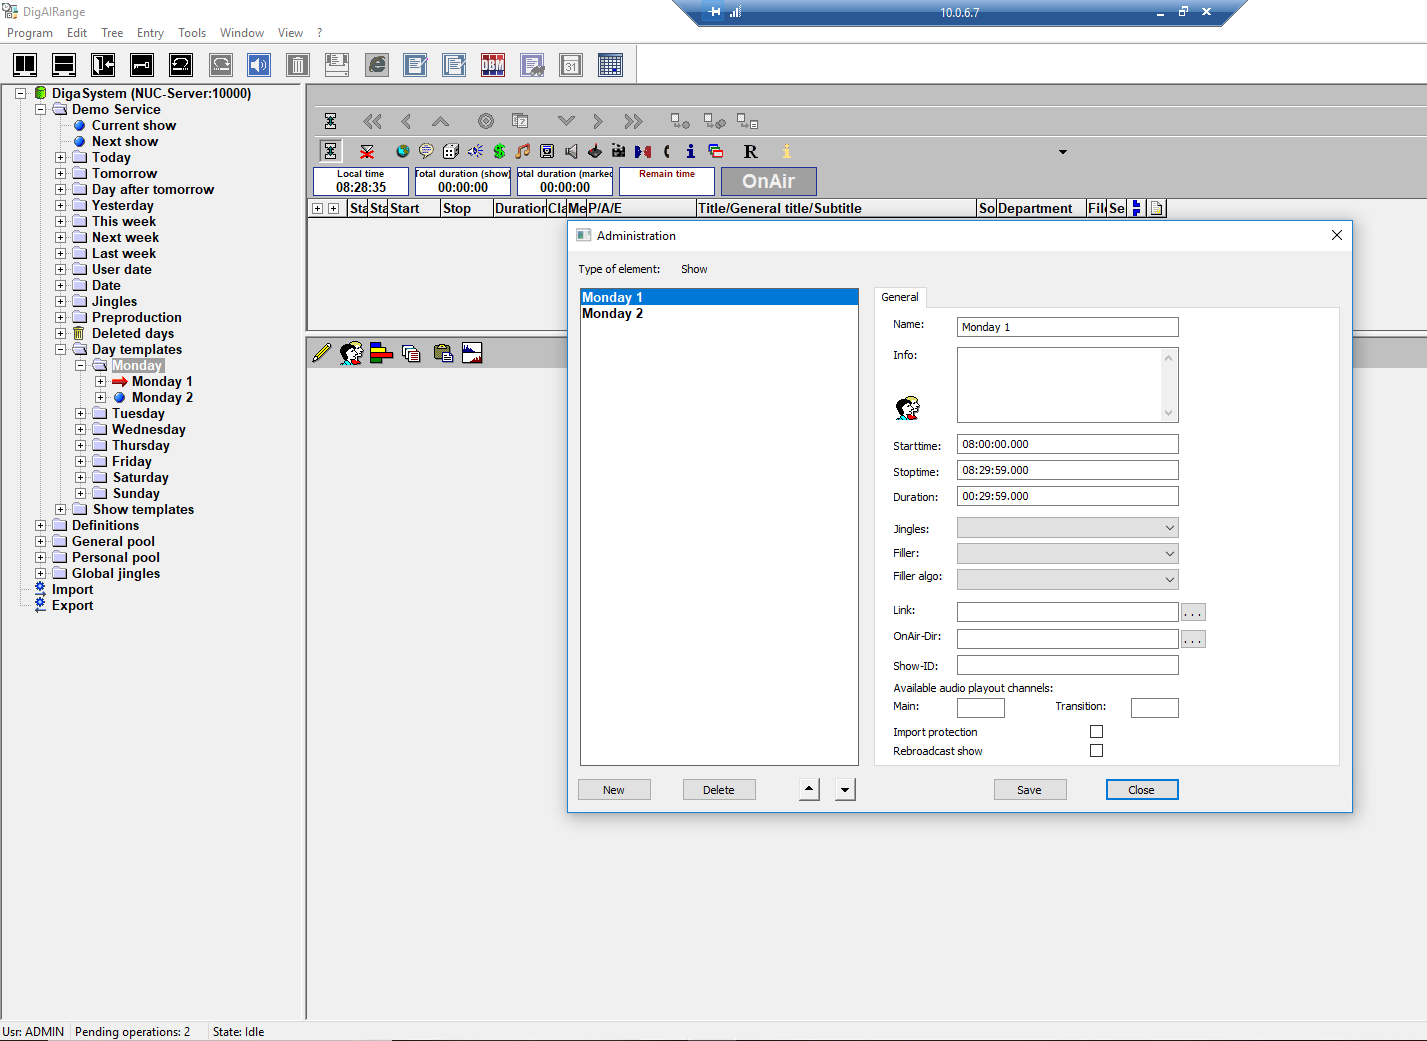
26. Select your Jingle and Filler banks.

27. A standard filler algorithm is fine. If a different On Air Directory than the default is to be used, enter it in the related field. We are not using a different OAD for this example. Click 'Save'.

28. Repeat the process for however many elements you need.
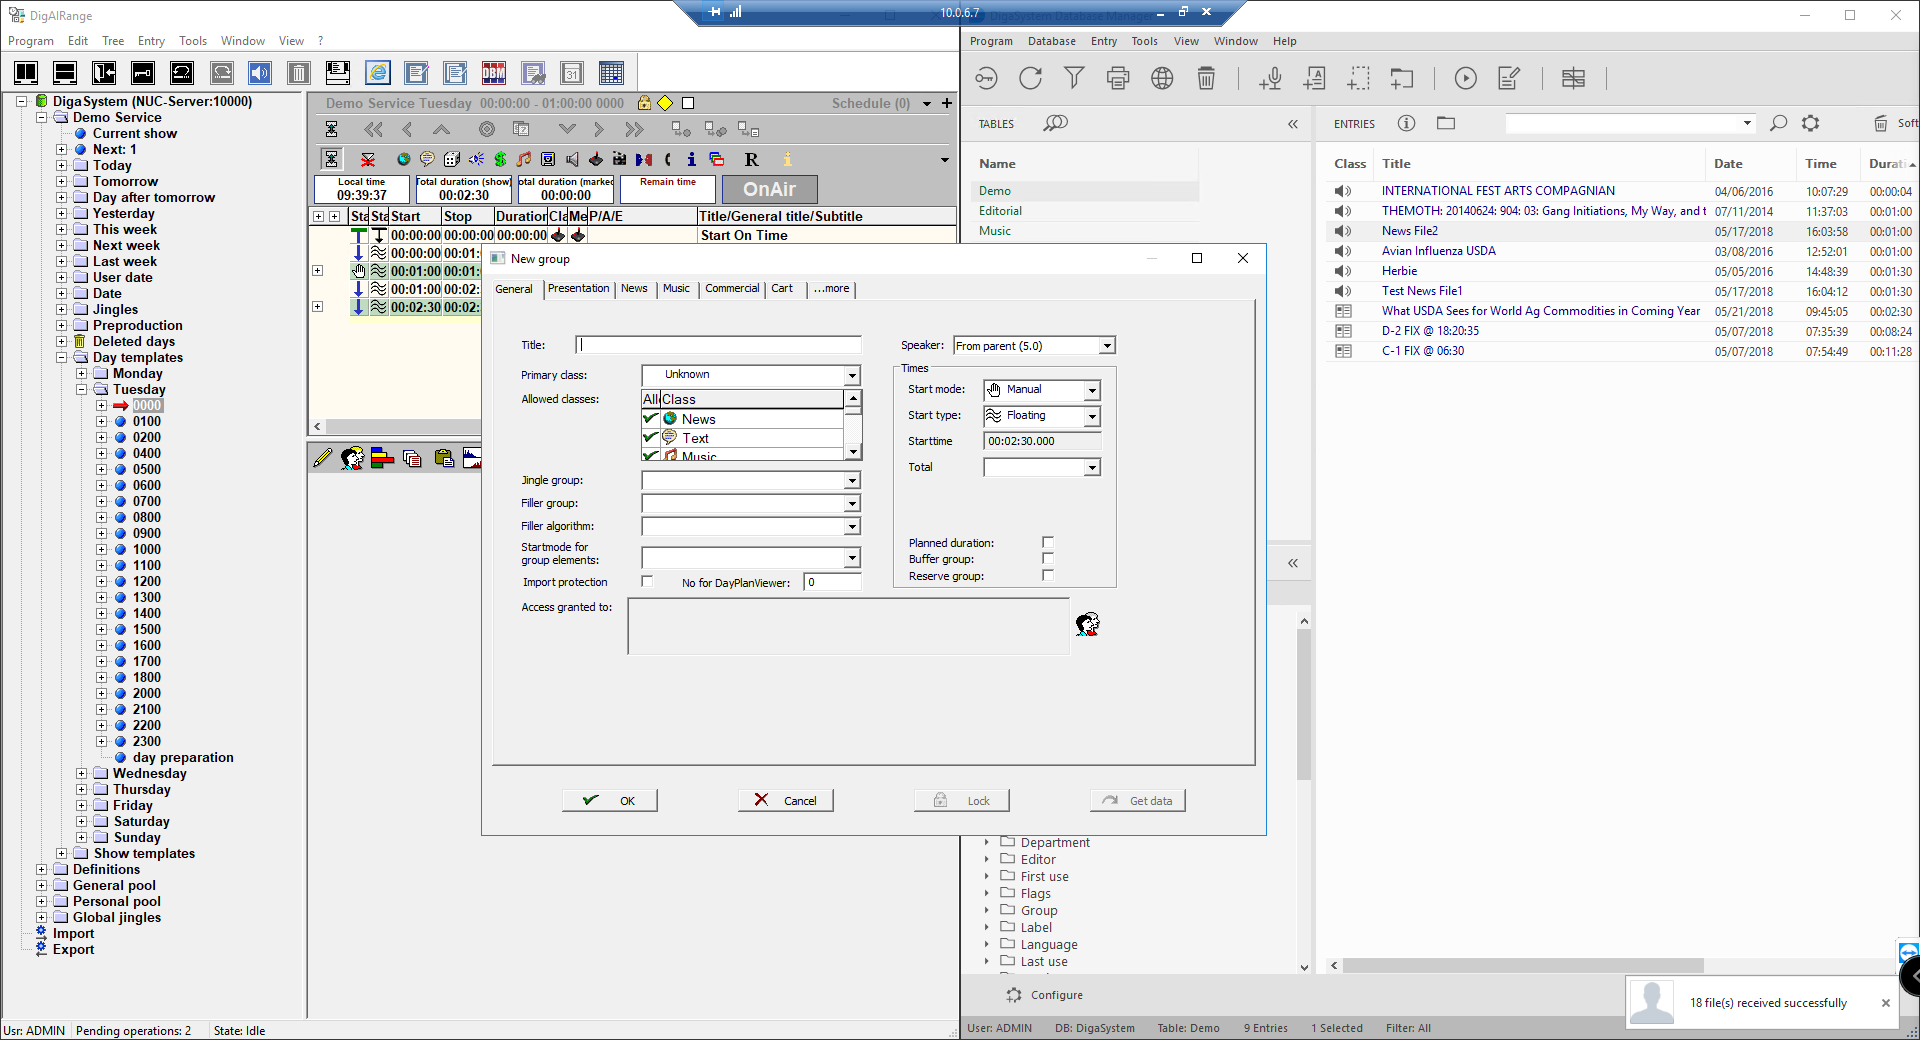
29. To create a show group— click and drag the element of choice into the schedule pane. Right click an empty area and select 'New Group'. Enter the title of the group and the classes to be used in that particular group. Select the start mode for the group under 'Times' and the start type of such. Start mode for group elements sets the default mode to be populated when elements are added. Click 'Ok'.
30. Add elements by dragging the desired file into the group from DBM.
*.mp3 files will not work in Turbo.
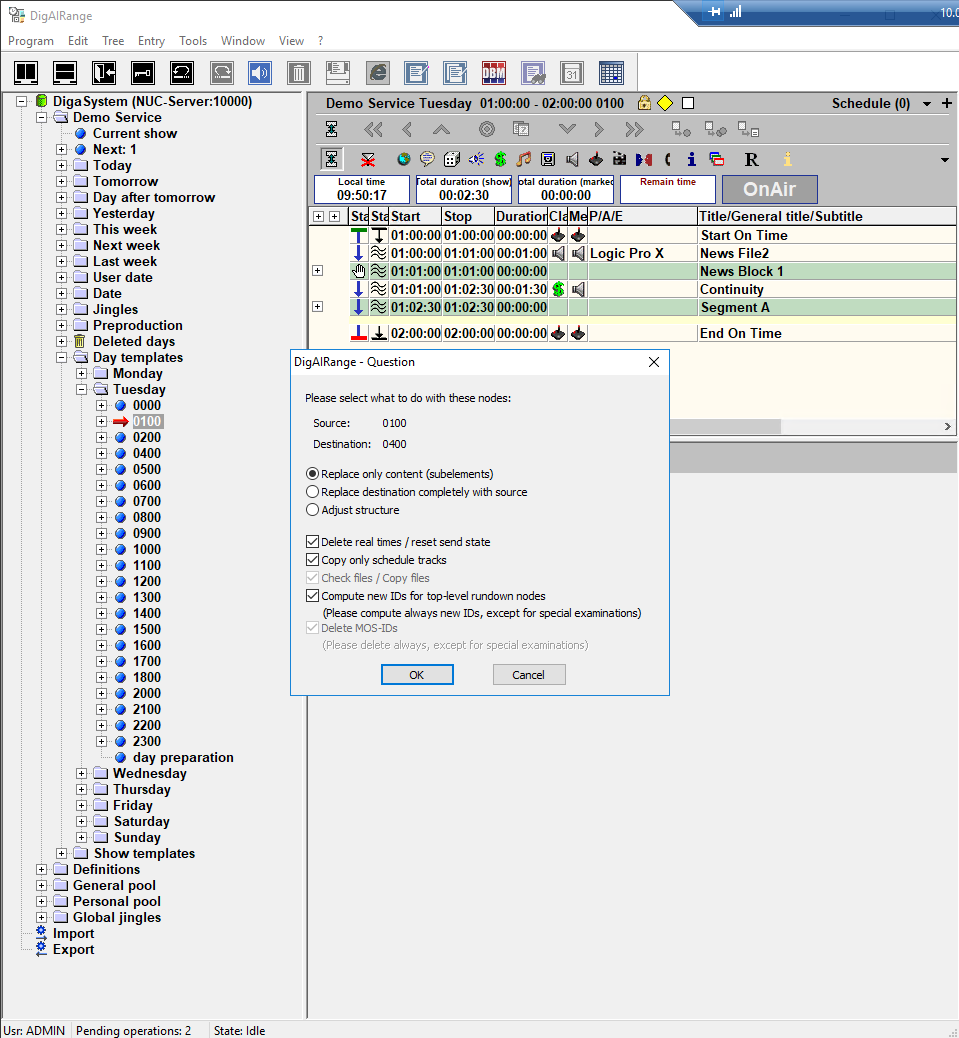
31. When an element is added, the bottom frame will populate with some information. Select the modes for the element, here.
32. To make more days when they are using the same show, drag the completed element onto the element to be populated. This window will appear— clicking 'Ok' with these settings will use the same schedule, but adjust the times to fit in the element being copied to.
33. Be sure to check that the copy was successful.