A MongoDB service has to be accessible for the ROAD Service. It can be already installed and running in the network or on the local machine. For installation of MongoDB see Installation Guide.
Installation Procedure
The ROAD setup wizard consists of RoadSetup.exe, RoadSetup.msi, Visual C++ Runtime and Microsoft .Net Framework. We recommend to copy the complete installation folder into a local directory, because access to mounted network drives may conflict with elevated privileges required during the installation process.
Double click on RoadSetup.exe. to start the ROAD setup
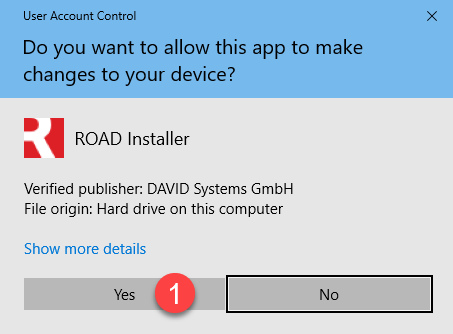
(1) Click Yes (or Ok in some versions of Windows) to confirm the User Account Control dialog.
On the Welcome Dialog Press the (2) Next> button.
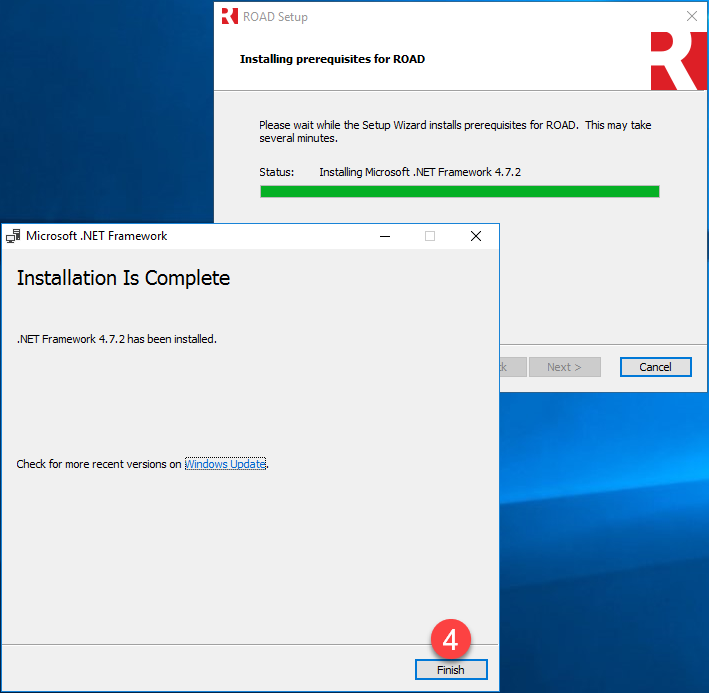
(Optional) In case the Windows version does not have .Net Framework 4.7.2 (or later) installed or Visual C++ Runtime x64 14.26 then the Prerequisites dialog is shown.
The missing components are selected and will be installed if you press the Next > button. Follow the instructions on the screen.
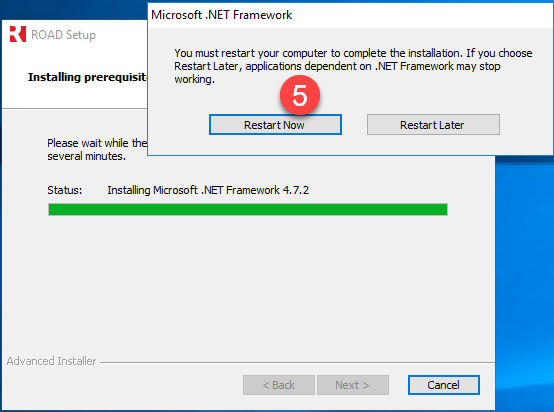
If the setup asks for a reboot. Confirm to reboot with (5) Restart now. The setup will automatically continue after the login.
TODO Microsoft Visual C++ Redistributables
On the Features dialog ROAD Main Components is required to be selected.
Optionally choose LogExpert, if you want to install LogExpert. LogExpert is a log file viewer, which is recommended for ROAD.
Press the (6) Next> button
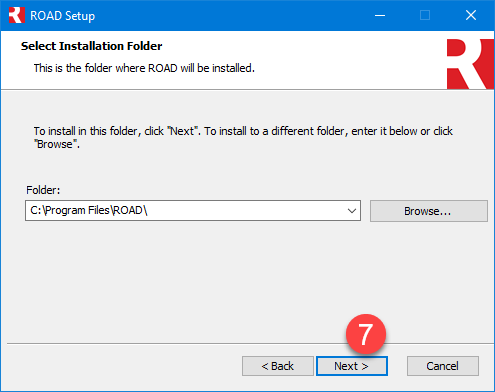
On the Installation Folder dialog press the (7) Next> button.
Configuring the Database
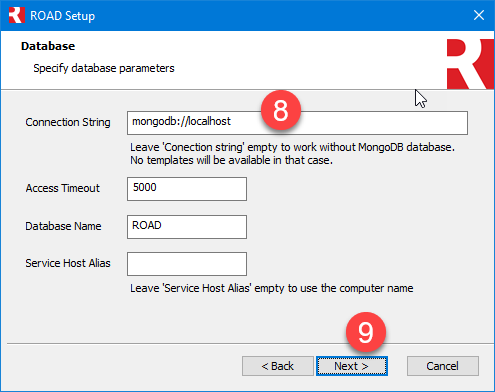
On the Database dialog you have to specify the (8) Connection String to the MongoDB database this ROAD backend instance should connect to.Enter mongodb:// and the server name where you have installed the MongoDB (e.g. mongodb://mydatabaserver). In case you have specified a port different from the default (27017), add the port number with a colon as separator (e.g. mongodb://mydatabaseserver:12345). If you have installed MongoDB server on the same machine, enter mongodb://localhost. Leave the connection string field empty to work without a MongoDB database. ROAD's backend will work with reduced functionality in that case (e.g. no templates and no scheduling will be available).
The Access Timeout should not be changed unless you experience slow response of the MongoDB server. Access Timeout is specified in milliseconds.
The Database Name can be chosen at will, but we recommend to leave it at ROAD unless you want to host more than one ROAD cluster on this database server.
The Service Host Alias is the name by which your workstation is known to the ROAD service; leave it empty to use the computer's network name unless you company's policy requires a specific name.
After pressing the (9) Next> button, the connection to the MongoDB server is checked, indicated by blue text . The database connection check can last several seconds.
If the connection to the MongoDB server cannot be established, an red error text Database connection test failed is displayed. If the connection test fails, the setup can not be continued.
DPE default credentials
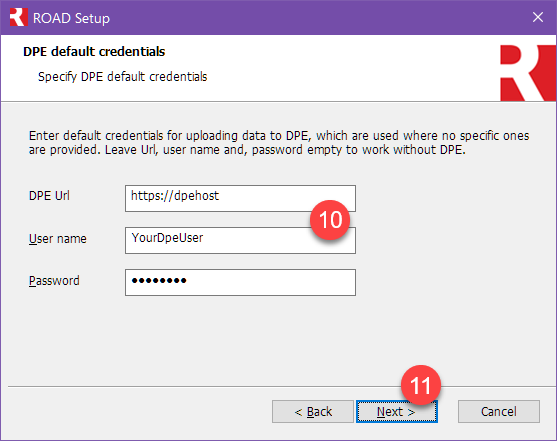
If you use DPE and and have a valid MongoDB database, default DPE credentials can be set which are used when no specific DPE credentials are provided by a ROAD client.
Enter (10) DPE URL, User name and Password as DPE default credentials
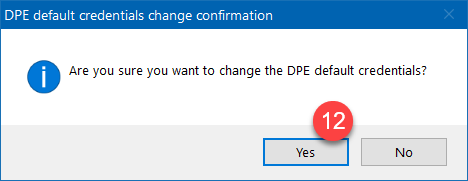
After pressing the (11) Next> the DPE default credentials change confirmation dialog is shown.
If you you make an upgrade installation, confirm the changed DPE default credentials with Yes (12)
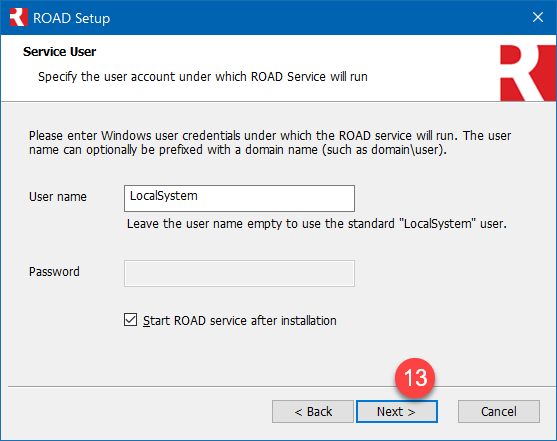
Service User
The ROAD core component runs as a Windows service. Services can run under a specific Windows account which you can specify in the Service User dialog. The account is automatically given the "Run as a service" privilege. The accounts LocalSystem and LocalService are special accounts provided by Windows for running services; you don't need to enter a password to use these accounts. If you want to run the service under a domain account, you must specify this account in one of these forms: domain\username or username@domain. Anything that does not contain a backslash (\) or an at character (@) is taken as a local user name. Choosing a specific user to run the service is useful if it needs access to files, directories, network shares, and mounted network drives, which usually depends on user rights. This applies to all ROAD jobs, which will be processed on this host machine.
After pressing the (13) Next> button on the Service User dialog, User name and password are verified, which can last several seconds.
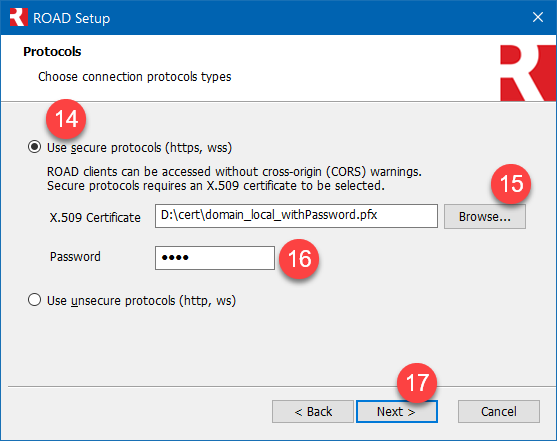
Protocols
The Protocols dialog provide the option to choose between using secure protocols (https, wss) and unsecure protocols (http, ws) for the communication between the ROAD Service and ROAD clients. Using secure protocols requires a pfx certificate to available and valid for the domain name.
Choose (14) Use secure protocols, to use https and wss encrypted connections
When using secure protocols, you have to specify a X.509 SSL certificate. Click on the (15) Browse... button to open the Browse for X.509 Certificate dialog
Select a SSL certificate for this computers DNS name (pfx-file) and click Open.
Enter the (16) Password
Click (17) Next button
Connections
The Connections dialog, provides the option to specify the DNS name and the port numbers of connections.
In (18) DNS name field enter the domain name which is used to access this service. For secure connections this must match the CN (common name) value of the subject property or one of the subject alternative names (SAN) of specified in the SSL certificate.
Press the (19) Next> button
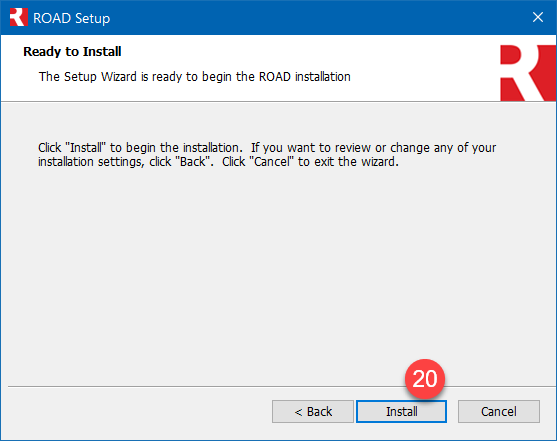
On the Ready to Install dialog (20) press the Install button
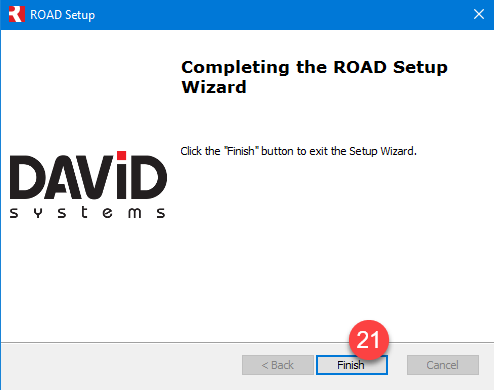
After the installation process, (21) press the finish button Finish
ROAD is now ready to use, and the Windows service is installed and running.
If you now modify the service configuration file, you must restart the ROAD service because the configuration values are only read when the service starts up.
After Successful Installation: Next Steps
See Installation Guide for next steps on optional configuration and basic testing the ROAD Service.
Troubleshooting: Installation Log File
In case the setup fails and there is no obvious reason, a log file can help to diagnose the problem. By default, the setup doesn't write log files. Use the following procedure to create a setup log file:
Open a console window with elevated rights: Press Windows+R, type cmd, press Ctrl+Shift+Enter.
Change to the directory where the "RoadSetup.exe" file is located: Type cd/d, a space character, and the full directory name into the console window, and press ENTER.
Type the following command into the console window: RoadSetup.exe /L*V setup.log and press ENTER.
This procedure creates the file "setup.log" in the current directory while the ROAD setup is running. This log file is a great help when it comes to finding the reason for failure.
Troubleshooting: Service Log File
The setup also could fail in case the ROAD service can not be started.
The reason for not starting ROAD service is written to the most recent service log file located in %Programdata%\ROAD\Logging\Service directory.
JavaScript errors detected
Please note, these errors can depend on your browser setup.
If this problem persists, please contact our support.


 If the setup asks for a reboot. Confirm to reboot with (5) Restart now. The setup will automatically continue after the login.