TurboPlayer Service Setup (with UI / Wizard)
Installation Procedure
The TurboPlayer Service setup wizard consists of TurboPlayerServiceSetup.exe, TurboPlayerServiceSetup.msi, the .Net 6.0 Runtimes (x86, x64) and the ASP .NET Core 6.0 Runtimes (x86, x64). We recommend to copy the complete installation folder into a local directory, because access to mounted network drives may conflict with elevated privileges required during the installation process.
Double click on
TurboPlayerServiceSetup.exeto start the TurboPlayer service setup
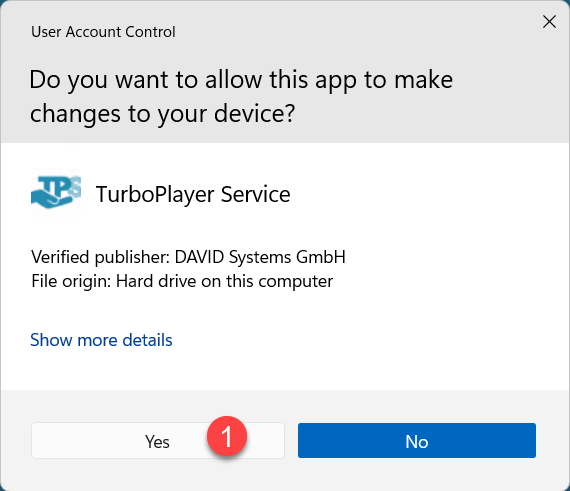
User Account Control
(1) Click Yes (or Ok in some versions of Windows) to confirm the User Account Control dialog.
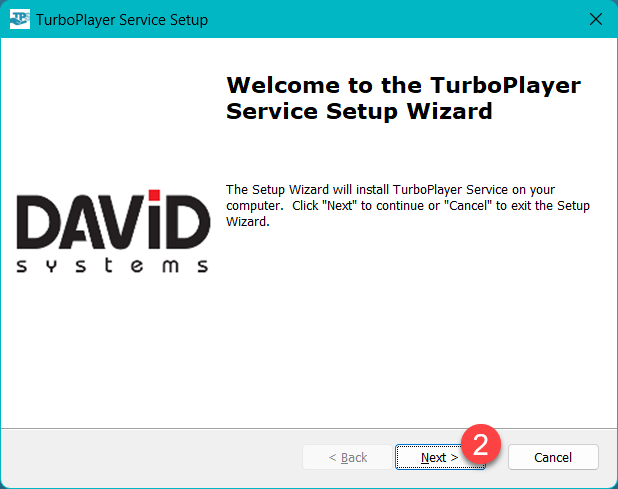
Main Installation
The setup proceeds with the main installation
On the Welcome dialog, click the (2) Next> button
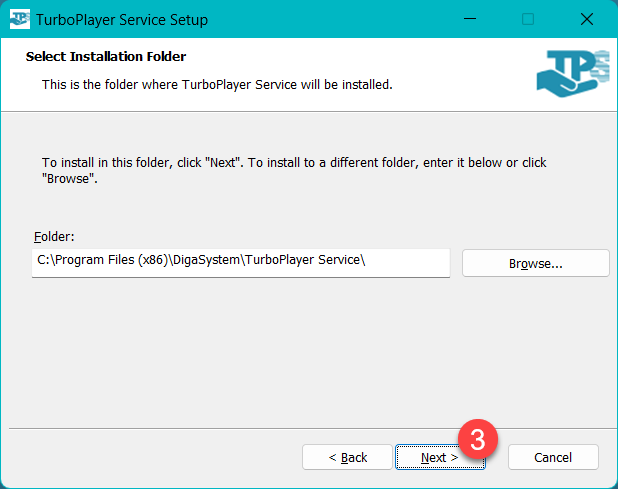
Installation Folder
On the Select Installation Folder dialog, click the (3) Next> button.
Service Logon Information
On the Logon Information dialog enter the credentials under which the TurboPlayer service will run. If you leave (4) User Name, Domain and Password empty the service will start using the LocalSystem account. Choosing a specific user to run the service is useful if the service needs access to files, directories, network shares, and mounted network drives, which usually depends on user rights.
Leave Domain field empty if you want to use a local user account.

If the installation completes successful and if Start TurboPlayer service after installation checkbox is checked, TurboPlayer service will start at the end of the installation.
Click the (5) Next> button to check the credentials. While checking, the text Testing Service Logon credentials… is displayed.
If the credentials are not valid, an red error text Password does not match or Invalid User Name is displayed. If the credential check fails, the setup can not be continued.
DPE credentials
DPE service connection is required because TurboPlayer service uses the DPE Parameter service, the DPE Rights service and optionally the DPE Logging service.
Enter (6) DPE URL, User Name and Password as DPE credentials
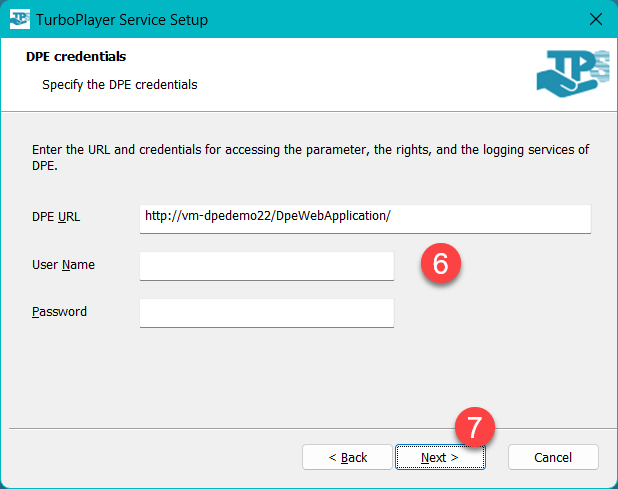
After clicking the (7) Next> button, the connection to the URL and the credentials are checked, indicated by blue text Testing DPE credentials….
If the credentials are not valid a message box is shown which displays the error. It also contains the option to skip the validation if you want to install DPE later.
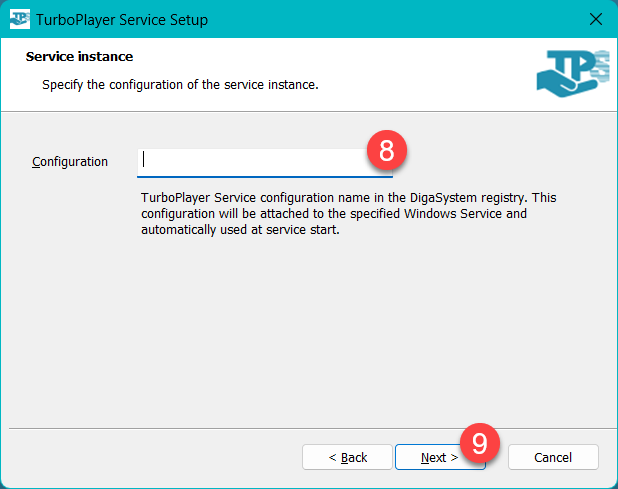
Service Instance Configuration
TurboPlayer Service uses the configuration parameters which are stored in the local DigaSystem Registry under Local Settings/TurboPlayerService/<Configuration>. This configuration will be attached to the specified Windows Service and automatically used at service start.
Enter a (8) new Configuration name (new is currently a requirement, will be fixed in a later version, if you enter an existing configuration, parameters are not updated).
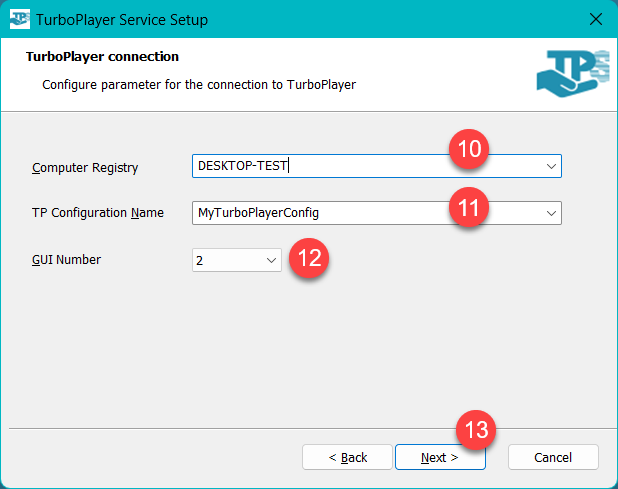
TurboPlayer connection
TurboPlayer Service can reuse existing TurboPlayer configurations to avoid specifying each connection parameter individually.
Select a (10) Computer Registry from the drop-down list, to specify which computer the TurboPlayer service should connect to. After selecting the Computer registry the list of TurboPlayer Configuration Names are filled with the configurations from that computer.
Select a (11) TP Configuration Name from the drop-down list , to specify which TurboPlayer configuration should be used to connect.
 All GUI Numbers of TurboPlayer GUIs and TurboPlayer Services which connect to a specific TurboPlayer Engine must be different. Change the (12) GUI Number if required.
Click the (13) Next> button on the TurboPlayer connection dialog.
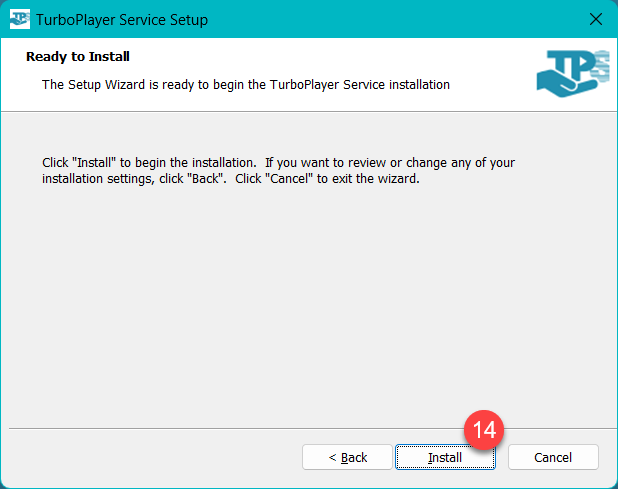
Ready to Install
On the Ready to Install dialog (14) click on the Install button
Prerequisites (Optional)
The setup first checks if all prerequisites are met and installs them if not available.
In case the Windows version does not have ASP .NET Core 6.0 Runtimes (x86, x64) then installation dialogs of the Runtimes are shown.
Check the (15) I agree to the license terms and condition.
Click on (16) Install. Follow the instructions on the screen.
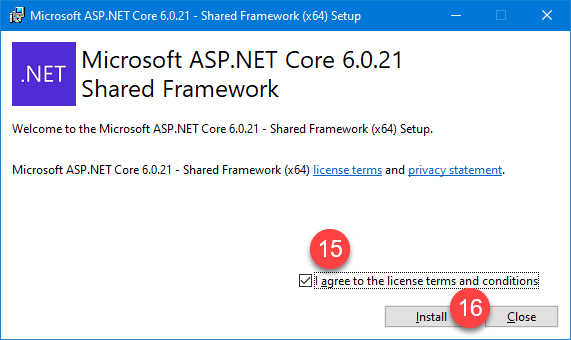
After the installation of the runtimes click on (17) Close.

In case the Windows version does not have .Net 6.0 Runtimes (x86, x64) installed then installation dialogs of the Runtimes are shown.
Click on (18) Install. Follow the instructions on the screen.
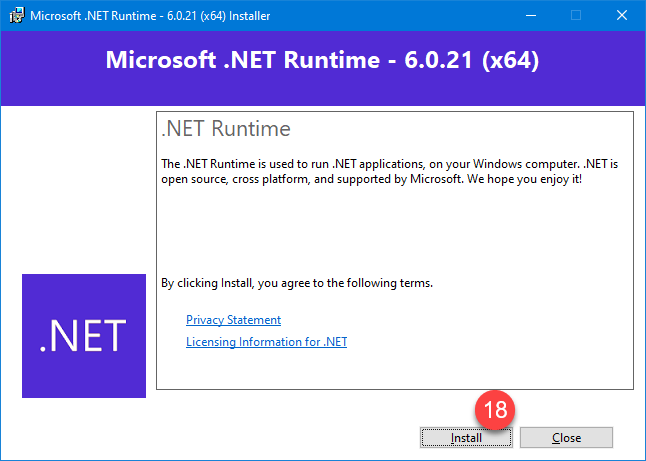
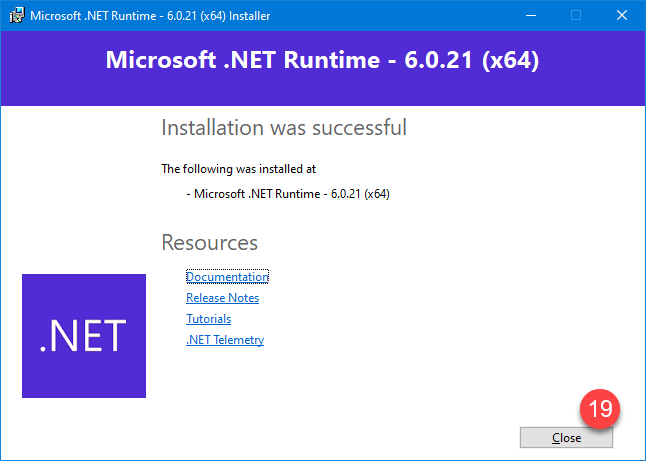
After the installation of the runtimes click on (19) Close.
Main dialog
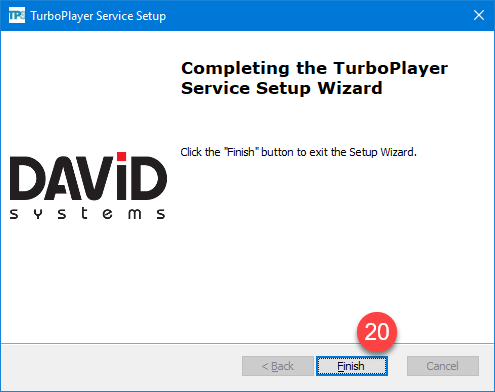
After the installation process, (20) click on the Finish button.
License file
After a successful installation you need the license file TurboPlayerServiceLicense.dll to use TurboPlayer Service.
The license file has to be copied to the installation folder.
You can request the license from support@davidsystems.com ![]()
Troubleshooting: Installation Log File
In case the setup fails and there is no obvious reason, a log file can help to diagnose the problem. By default, the setup doesn't write log files. Use the following procedure to create a setup log file:
Open a console window with elevated rights: Press Windows+R, type
cmd, press Ctrl+Shift+Enter.Change to the directory where the
TurboPlayerServiceSetup.exefile is located: Typecd /d "<Full path to the TurboPlayerServiceSetup.exe>"and press Enter.Type the following command into the console window:
TurboPlayerServiceSetup.exe /L*V setup.logand press Enter.
This procedure creates the file setup.log in the current directory while the TurboPlayer service setup is running. This log file is a great help when it comes to finding the reason for failure.
Troubleshooting: Service Log File
The setup also could fail in case the TurboPlayer service can not be started.
The reason for not starting TurboPlayer service is written to the most recent service log file located in <TPS Installation folder>\Log\<Configuration Name> directory.