Window Areas and Elements
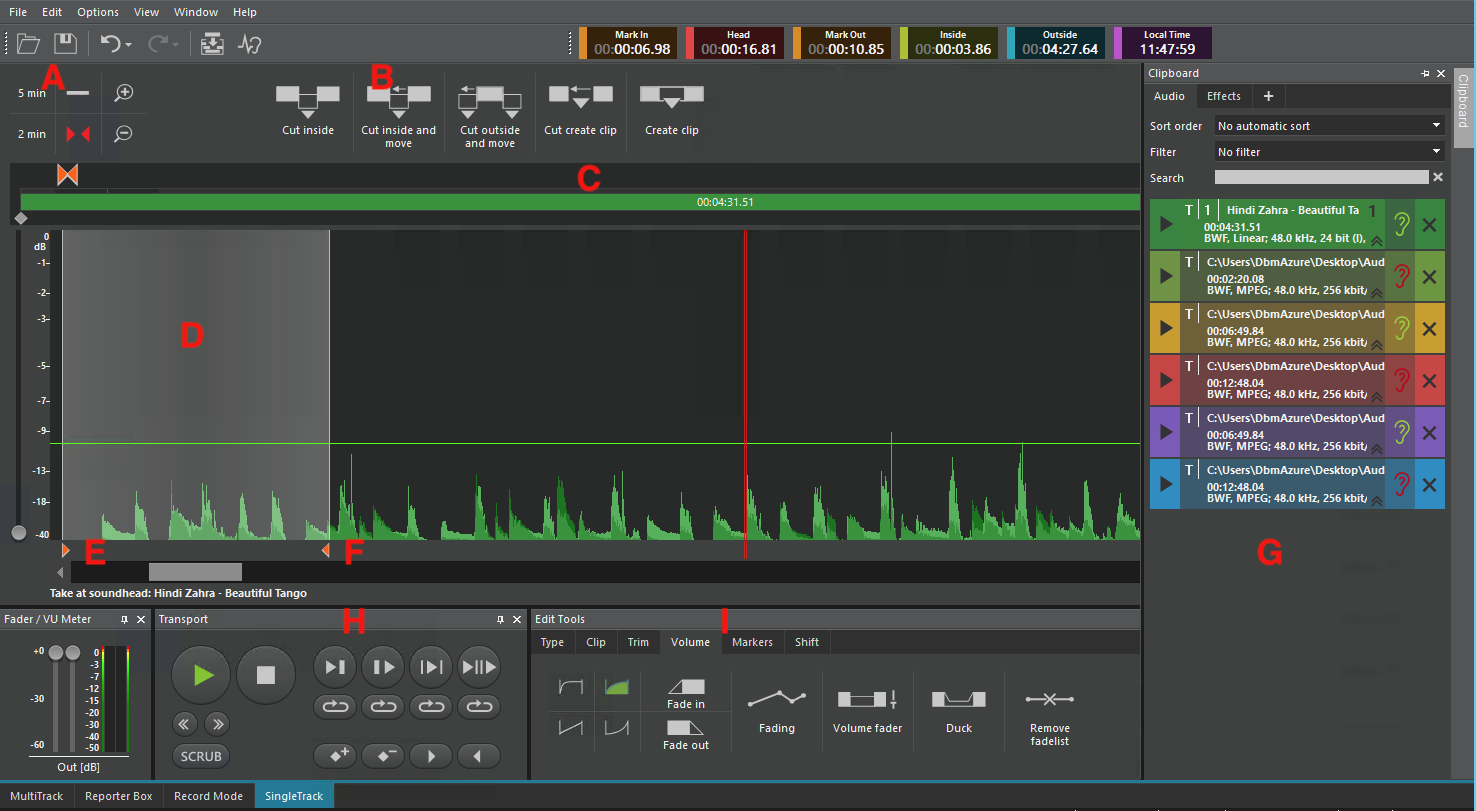
A typical window of the SingleTrack screen with its sections, elements and buttons is shown below:
|
A |
Resolution |
|
B |
Edit Buttons |
|
C |
Take Overview |
|
D |
Waveform Display |
|
E |
In Marker |
|
F |
Out Marker |
|
G |
|
|
H |
Transport Buttons |
|
I |
Edit Tools |
Toolbar
The Toolbar holds the commands for the currently selected screen. There is one STS specific tool: Copy to track screen. For explanations on other tools see section Toolbar in page Main Menu, Toolbar, Timebar.
|
|
Copy to track screen The whole displayed track is copied to the MultiTrack or EasyTrack screen. When the track has previously been imported from MultiTrack or EasyTrack screen to the SingleTrack screen, this track will be replaced by the currently edited version. When the track has been taken out of the clipboard and therefore it shall be added as additional object to the MultiTrack screen, there will be a new track added to MultiTrack screen. |

Objects from SingleTrack screen can be transferred to the target screen as one grouped object.
Timebar
C.f. section Timebar in page Main Menu, Toolbar, Timebar.
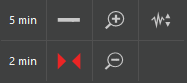
Resolution
|
|
For the selection of the waveform displayed in the timeline, two values may be preselected by buttons. These values may be individually set in the menu Options –> Settings –> Track –> Zoom. The buttons in the middle column display the complete content or the edit area. With the buttons, Zoom In and Zoom Out, the area may be halved or doubled (also with Shift + mouse scrolling). With the button at the right the waveform offset may be activated or deactivated. |
Edit functions
The most important cut functions Cut inside, Cut inside and move, Cut outside and move, Cut create clip, and Create clip are selectable by big buttons just above the track display sections. C.f. section Edit Tab in page Edit Tools.
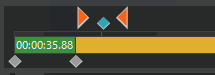
Take overview
|
|
The take overview displays the complete take with its fields and audio objects, as well as cut markers and marks. |
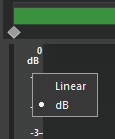
Volume scale
|
|
By right click on the volume scale, you can choose between a Linear and a dB display. |
In marker
|
|
The button In marker sets the In point of a take’s selected area at the actual sound head position. This position will be indicated by a red triangle to the right in the sound head line of the timeline. |

Out marker
|
|
The button Out marker sets the end point of a take’s selected area at the actual sound head position. This position will be indicated by a red triangle pointing to the left, in the sound head line of the timeline |

Phase indicator
|
|
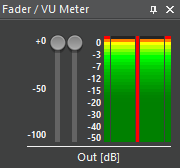
The VU meter for recording and playback has an integrated phase meter that checks audio files for phase inversions. A phase shift in recordings or playbacks will be indicated by a red bar in the space between the two Out channels. |
Transport buttons
Clicking the audio button, the take may be replayed. The buttons' functions are explained in page Transport.
Edit Tools
Most of the commands are organized by the 6 tabs shown. Depending on the actual work step, the required tab will be selected automatically. However, any tab may be manually selected at any time. For more details, see in page Edit Tools.