EasyTrack Screen
Window areas and elements
In the image below you can see a typical EasyTrack screen with its window areas, elements and buttons.
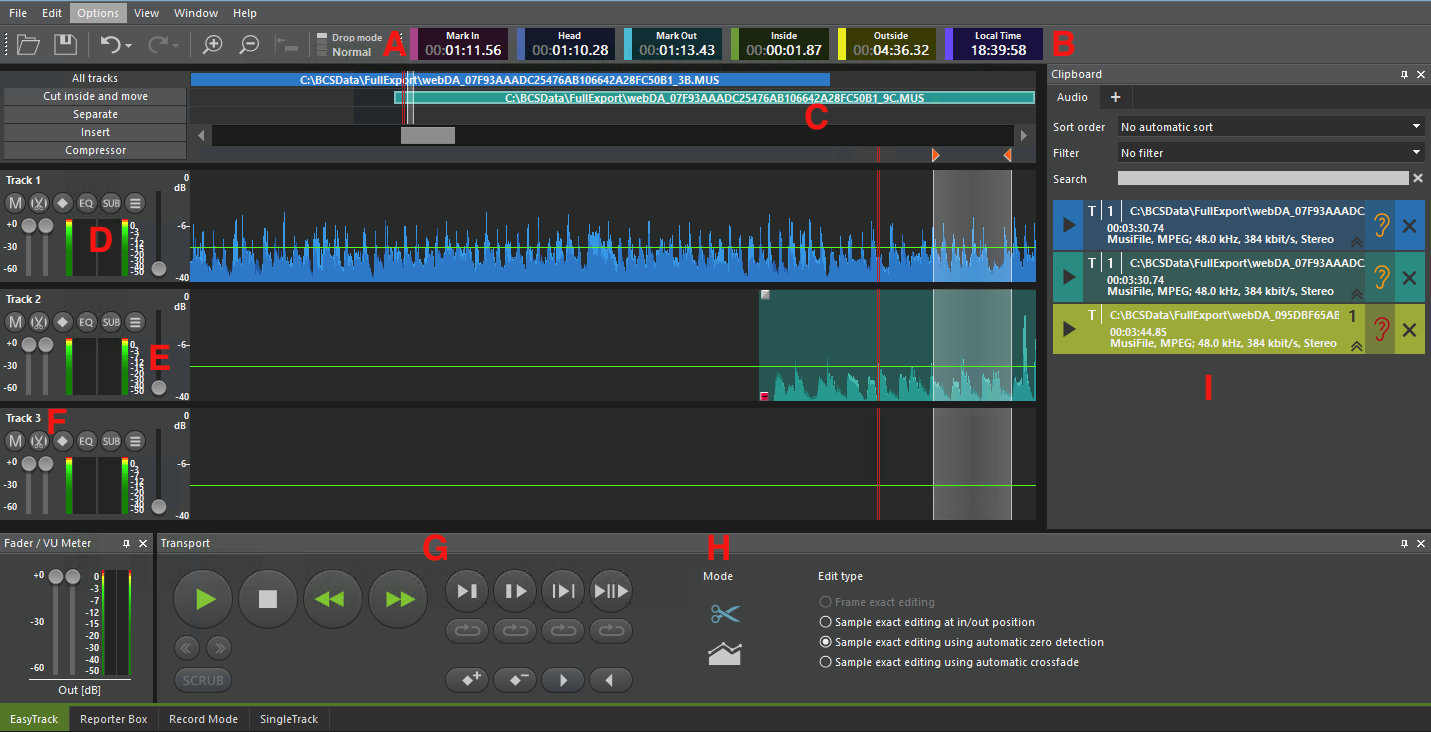
Window elements in the EasyTrack screen.
A | Toolbar | The Toolbar shows all applicable commands (see below). |
B | Timebar | The timebar may be individually labeled with time information for the project, or with real-time statements. C.f. section Timebar in page Main Menu, Toolbar, Timebar. |
C | Track Overview | The track overview shows the complete project (all tracks, end-to-end). Clips may be imported with drag & drop from the clipboard, and moved within the track overview. |
D | Volume Display | Shows the level of the current audio signal in the track. |
E | Vertical Zoom | Each track has a vertical zoom bar, allowing to vertically stretch the waveform, with the volume remaining unchanged. |
F | Track Buttons | Each track has its special buttons, depending on the selected mode, with its track-applicable functions (see below). |
G | Transport Buttons | This field contains buttons for monitoring different areas. |
H | Functional Mode | The important cut function and fader editor. C.f. page Edit Tools |
I | Clipboard | The clipboard contains all clips, used in the project. C.f. page Clipboard |
Toolbar
The Toolbar shows the applicable commands:

For explanations on the tools see section Toolbar in page Main Menu, Toolbar, Timebar.
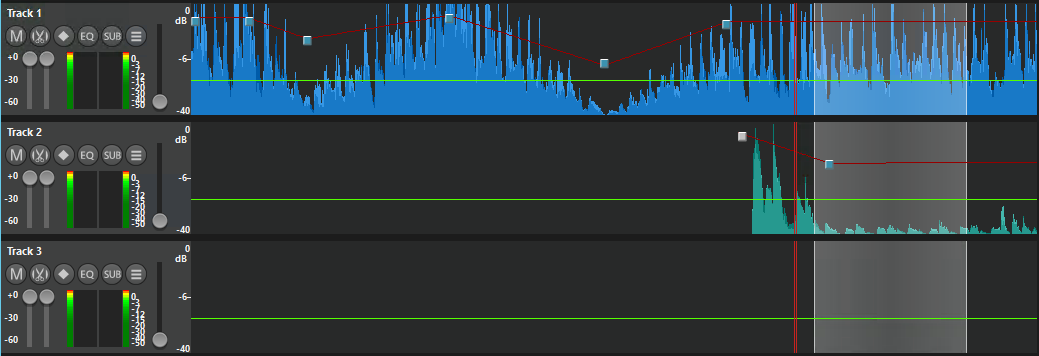
Track Overview
The track overview is a representation of the whole project over all 3 tracks, and the scrollbar.
On the left side, there are 3 buttons with cut commands, referring to all 3 tracks.

The track overview shows all objects of the actual project. Audio objects may be imported into this overview, and be marked and moved there.
The highlighted area (between 2 vertical light lines) represents the timeline displayed.
The vertical double red line shows the sound head position.
Marked audio objects are identified by white borders.
Cut inside and move | The areas of the 3 tracks marked by in and out markers will be cut at all 3 tracks. |
Separate | The audio blocks will be separated at the actual sound head position in all tracks. |
Insert | A pause will be inserted over all tracks, starting at the position of the in marker, and ending at the out marker. |
Compressor | The compressor effect may be applied to all 3 tracks. |
Visible area | The currently visible area in the tracks. |
Audio objects | Display of all audio objects and their relative positions. The audio objects in the overview may be moved and copied with drag & drop, and also imported from the clipboard. |
Soundhead | Actual soundhead position. |
Edit area | The (edit) area marked by in and out markers. |
Soundhead bar | Contains the soundhead icon, which can be moved via the slider. There are also the in and out markers, which are set in this bar and - differently from the MultiTrack Editor - not in the waveform. |
The Track section
The track section is the core working area of the EasyTrack screen. It is comprised of the waveforms and function buttons for each particular track, and the sound head bar with in and out markers.
In contrast to the MultiTrack Editor, in the EasyTrack screen one does not choose between different track displays, but chooses the functional mode, which then shows the required elements.
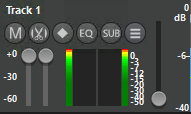
| On the left side of every track there are different buttons, sliders and a menu button with commands referring to the according track. The track name is a text field, in which you can enter an appropriate name for the track. This field is also used to change the track's position (up, middle, and bottom) by drag & drop. |
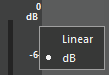
| Switching the Y-Axis Scaling of the Volume scale Right click into the scaling area to switch between dB and linear (%) display. |
Functional Modes
Editing of audio in the EasyTrack screen is really simple. The 2 functional modes are activated with buttons next to the transport buttons, titled Mode. After selecting one, you can work directly in the tracks by using mouse buttons only.
| By clicking on the Edit mode button, the Edit mode is activated. In the Edit mode audio objects can be cut via two possible methods:
With regard to the way the cuts are performed, the default setting Frame exact editing allows cutting at the borders of the MPEG Frames. For other editing ways please c.f. section Type Tab and Available Edit Types on page Edit Tools. |
| By clicking on the Volume mode button, the volume mode is being activated. In the volume mode audio objects may be faded:
|


