The MultiTrack Editor provides a clipboard tab “Effects”.
Open the Effects tab in the clipboard.
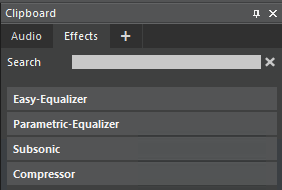
Here, the four standard effects Easy-Equalizer, Parametric-Equalizer, Subsonic filter and Compressor, and all installed DirectX and VST effects are shown.
Apply Effects to Tracks
Open the TrackMixer by clicking its icon 
FX placeholders appear for holding max three effects per track:

Drag the effect from the clipboard to the FX placeholder of the desired track. Effects being integrated this way are processed from top to bottom.
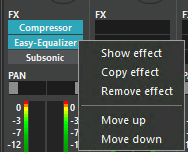
Active (highlighted) effects are deactivated (bypassed) with a left click (here Subsonic).
A right click opens a menu which allows you to
-
Show effect opens the effect window.
-
Copy effect to another placeholder
-
Remove effect from the FX-placeholder; the effect below will move up into that slot to fill the gap.
-
change the order of the effects by selecting move up/down.
Correct/Delete Effects
Apply Effects to Objects
Drag the effect to the desired audio object (in block view). The effect properties box opens.
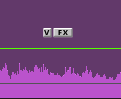
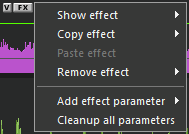
Additionally, a new “FX” icon in the block view indicates that at least one effect has been added to the object.
Left clicking the FX icon opens the context menu for changing or removing the applied effect:
Correct / Remove Effects
The Volume and channel Balance may be edited also in real-time (see chapter “Real-time Editing”). Real-time Editing is only available for effects delivered by DAVID.
Repeat Effect
Select the desired effect parameter:
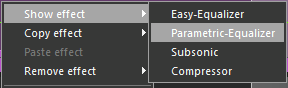
In block view, drag the effect to the desired object. Select the parameter under “Add Effect Parameter”.
Preset Administration
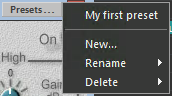
All DAVID-supplied effects provide Preset Management, to be activated with the Preset button 
-
Open an effect and set the parameters
-
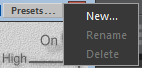
Click the Preset button in the title bar of the effect dialog. The following context menu appears:
-
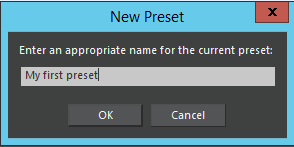
Click New and enter a name for the actual setting. Clicking ok saves the setting.
-
To apply a saved preset, click the Preset button and select the desired preset.