How-to migrate and host DPE v3 frontends within IIS
Introduction
In this documentation, we will guide you through the process of installing the frontends for DPE v3, including instructions on how to host them using IIS.
By the end of this guide, you will have both the v2 and v3 DPE frontends running concurrently, connected to a single v2 DPE backend, allowing you to access and use both versions simultaneously.
Are you currently using DPE v2 at your organization and considering a migration to DPE v3?
If so, a recommended first step is to migrate your frontend to DPE v3.
The DPE v3 frontends include DPE Admin and Content Manager.
Unlike DPE v2, the DPE v3 frontends (Content Manager and DPE Admin) are now separate from the DPE Backend. Additionally, DPE Admin and Content Manager are completely isolated from each other in DPE v3.
The DPE v3 components, including the Backend (DPE Setup) and the two frontend packages (DPE Admin and Content Manager), are delivered as separate packages and hosted independently.
The DPE Backend requires a setup file for installation, while the frontends do not, as they are relatively straightforward to install and configure.
Hosting & configuring DPE v3 Frontends
Installing DPE v3 Frontends
Within the software delivery packages for Content Manager and DPE Admin, you will find a folder named “webapp.”
This folder contains everything necessary to host the frontend on an IIS site.
A recommended first step is to copy the contents of the "webapp" folder to a designated location on your machine where the frontends will be hosted.
For example, you might create the following directories for the versions you are currently installing:
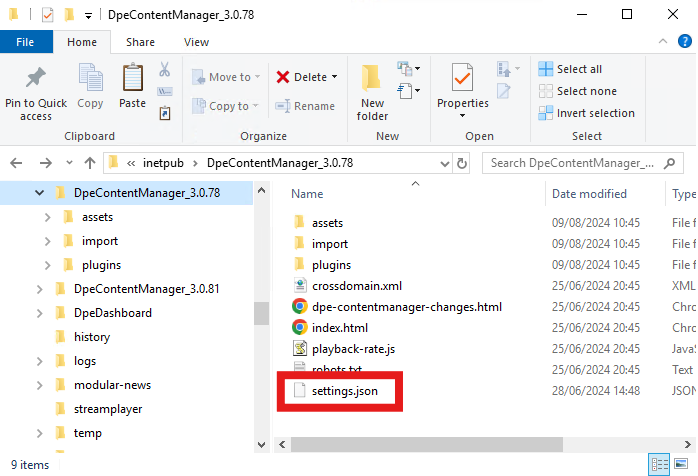
C:\inetpub\DpeContentManager_3.0.78C:\inetpub\DpeAdmin_3.0.37
After creating these directories, copy the contents of the webapp folders for Content Manager and DPE Admin into their respective directories.
The directory structure should resemble this:

Configuring IIS
Now, we'll configure IIS to host each site from the folders you’ve created.
Open Internet Information Services (IIS) Manager.
Set Up Content Manager:
Right-click on Sites in the left-hand pane.
Select Add Website.
You can name the site according to its version, such as “CM_3.0.78.”
Click the three dots next to Physical path and navigate to the folder you just created. For example, you would select
C:\inetpub\DpeContentManager_3.0.78.Choose HTTP or HTTPS for the connection type, specify your Host Name, and select the appropriate Port.
For instance:
Use HTTPS for a secure connection with an SSL certificate.
Set the Host Name to something like “cm3.radiostation.com”.
Use Port 443, the default port for HTTPS.
Set Up DPE Admin:
Repeat the process by adding a new website for DPE Admin.
Connect to the physical path of the folder you created for DPE Admin.
Create the site binding with the appropriate host name and port.
Connecting new v3 Frontends to v2 DPE backend
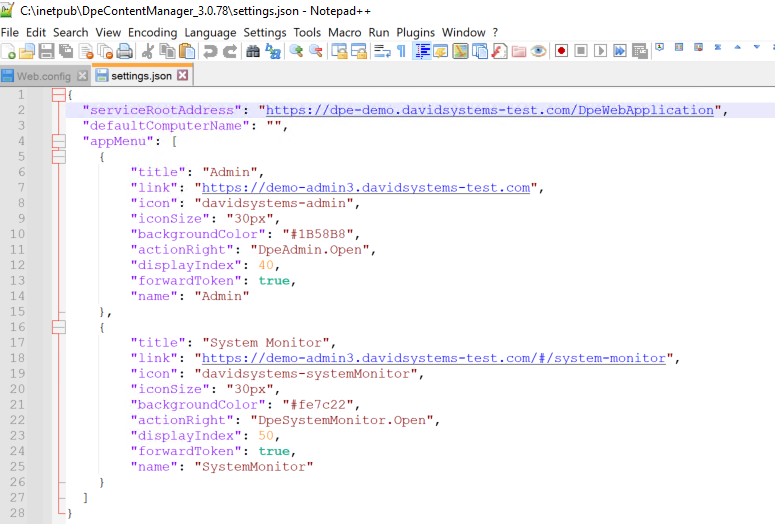
The connection to the backend is configured in the “settings.json” file, which is now located in the folders you created in the previous step.
Locate the “serviceRootAddress” parameter within the settings.json file. This parameter tells your frontend where to find the DPE backend.
Tip: One easy way to find your “serviceRootAddress” from your DPE2 installation is to simply open your content manager URL, then copy the URL up until the end of “…/DpeWebApplication/”.
Here is an example ““serviceRootAddress”:
Enter the service root address for your DPE v2 backend into this field.
Repeat this process for the settings.json file in the DPE Admin folder.
Configuring the appMenu of Content Manager
You can also configure the app menu in the settings.json file for Content Manager:
Under the “link” parameter for Admin, enter the URL you configured for DPE Admin v3 in IIS.
For the System Monitor, copy the same URL and append “/#/system-monitor” to the end.
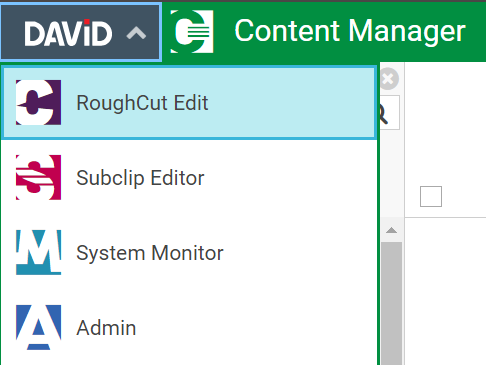
Make sure to adjust the URL for the SubClipEditor and RoughCut as well.
Additionally, you can add custom icons or links here. For example, you could include links to CAE, another internal website, or any other resource relevant to your organization.
Repeat this process for the settings.json file in the DPE Admin folder, adjusting all of the URL’s in the file accordingly.
Note: Once you have migrated all users to the v3 frontends and are no longer using the DPE v2 backend, you can use the PAR files to configure the App Menu. These PAR files apply globally.
Accessing the New DPE v3 Frontends
You can now open the new link you created in IIS for the v3 Content Manager. You should see Content Manager in its new v3 version, complete with all the latest features.
You can also use the App Menu to open DPE Admin—this should direct you to the new URL you configured for DPE Admin v3.
The previous URL for DPE v2 will still function, allowing you to continue using the DPE v2 frontends. This means your organization can run tests with the new v3 frontends, gradually roll them out to selected users, and then eventually deploy them to all users.
Next Steps
A future step would be to install DPE v3 (NANO) and connect it to the new v3 frontends.
Additional Hosting Options for DPE Frontends
While IIS is a common choice for hosting the DPE frontends, there are other viable options:
Using NGINX:
NGINX is another powerful web server option for hosting the DPE frontends.
Hosting with Docker:
Hosting the DPE frontends in a Docker image can be a simpler alternative to IIS.
To use Docker:
Pull the necessary image from our Docker registry.
Run the image using command-line instructions or a Docker Compose file.
The files will be copied from our Docker registry and hosted on the designated port.
Each of these options offers flexibility depending on your infrastructure and preferences.