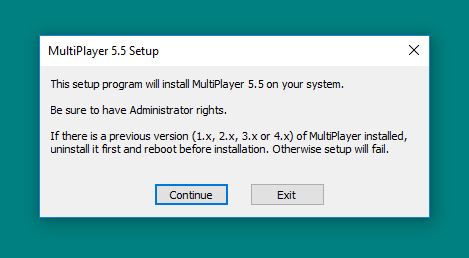
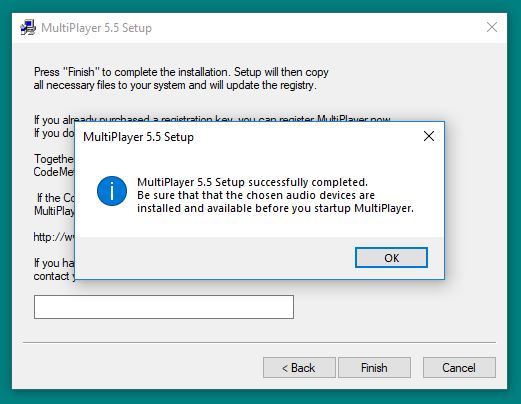
To install MultiPlayer, execute the MultiPlayer installer. You will be presented with the following dialogs. Typically the defaults are fine, except for audio devices. This will be noted at the related image.
1.
2.
3,
4.
5.
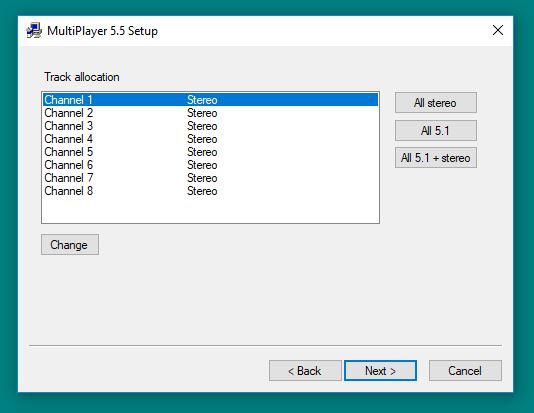
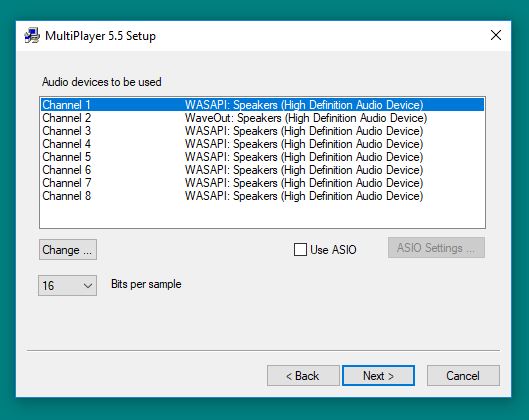
6. The only option where the default may not be the best choice is in 'Audio devices'. Select the audio device to be used for playout.
7.
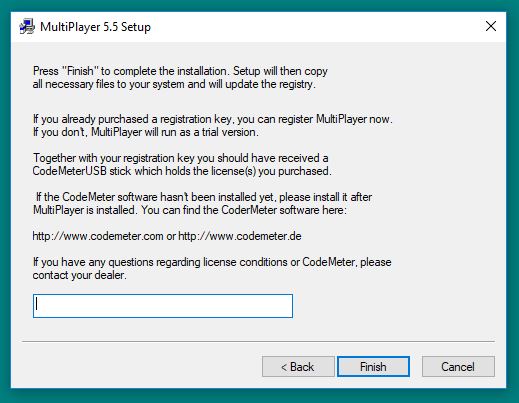
8. If you have a license for MultiPlayer, enter it here. If it is being used in trial mode, leave this field blank and it will function until the cutoff date for that particular version.
9. Verify that everything is functioning.
10. You may wish to create a shortcut for MultiPlayer and place it in the Startup directory so it will activate on system start. That directory is located here: C:\Users\$username\AppData\Roaming\Microsoft\Windows\Start Menu\Programs\Startup.
11. Reboot.
TurboPlayer Installation
-
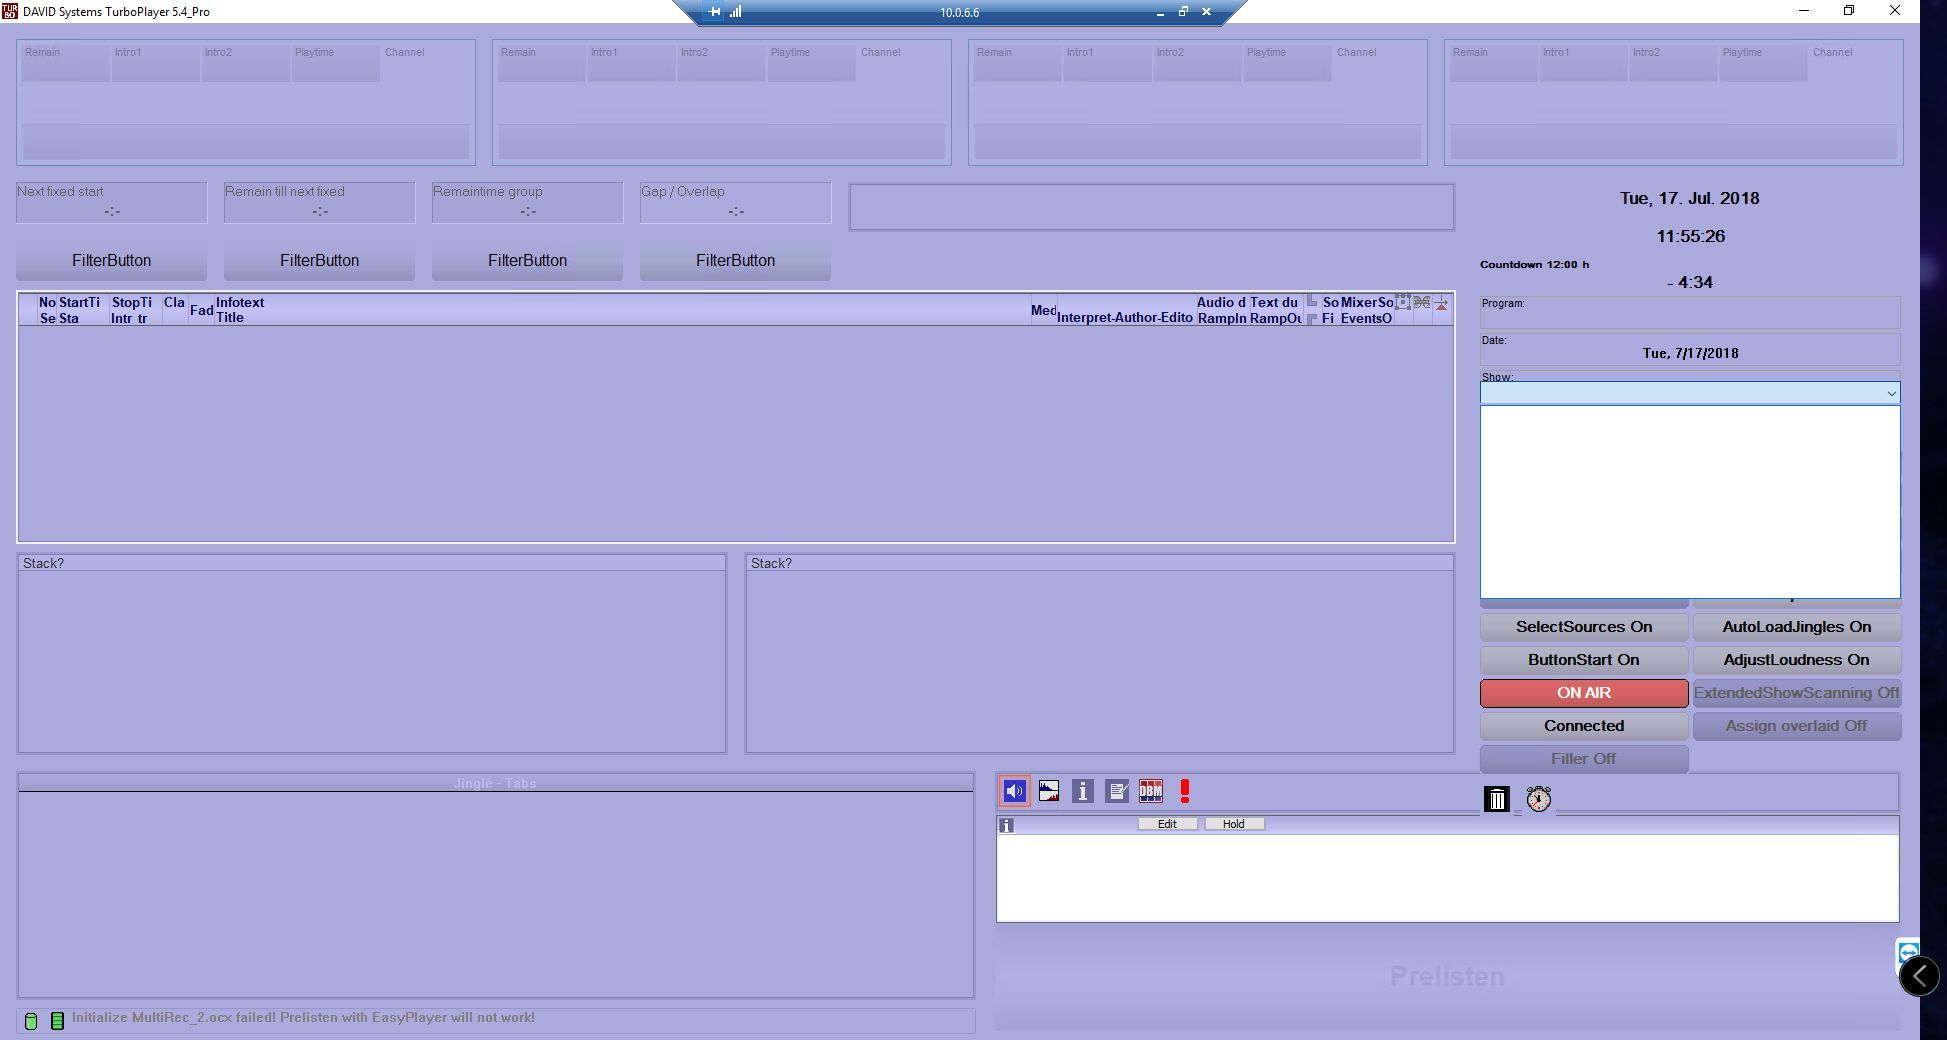
Observer that upon opening Turbo for the first time, there is no show available. We will be rectifying this.
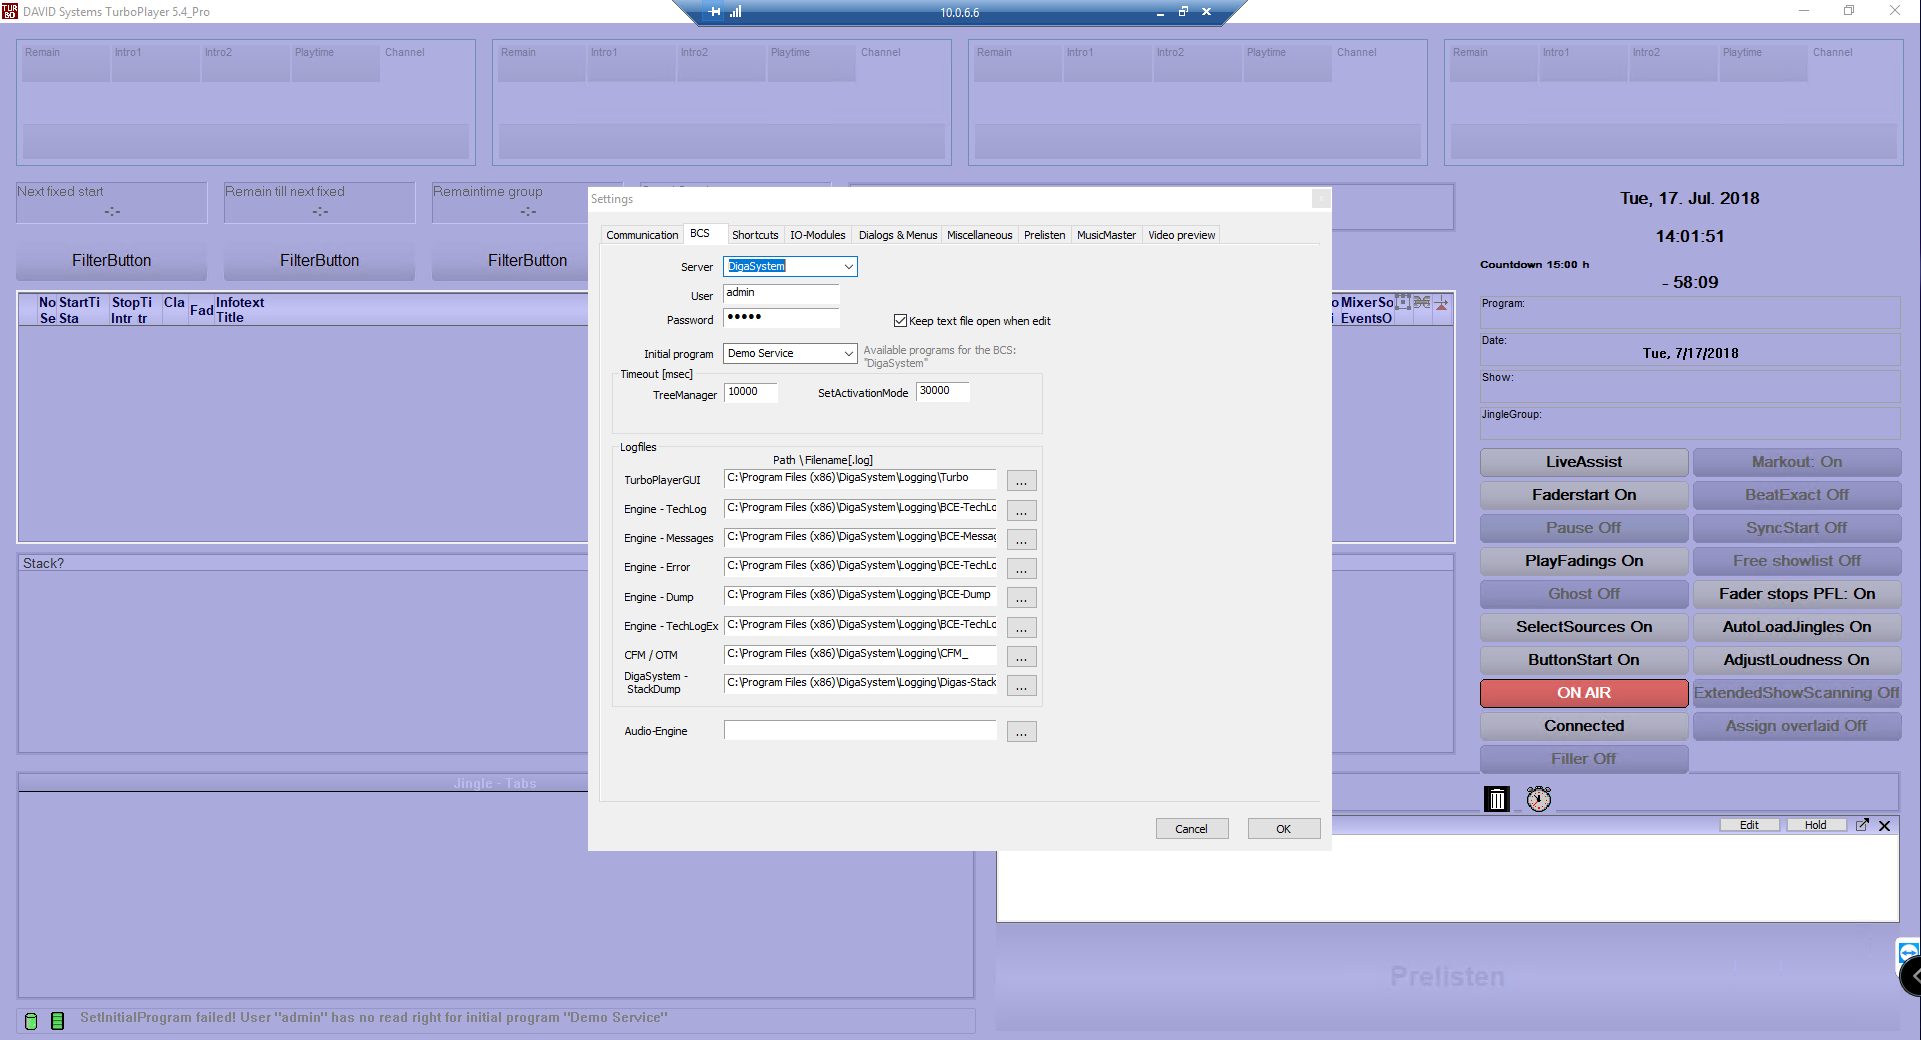
2. Right click on the top frame of TP's GUI and select Settings. In settings, navigate to BCS and enter the information for the BCS server to connect to, the user to be used, and the Initial Program to be loaded on Turbo start.
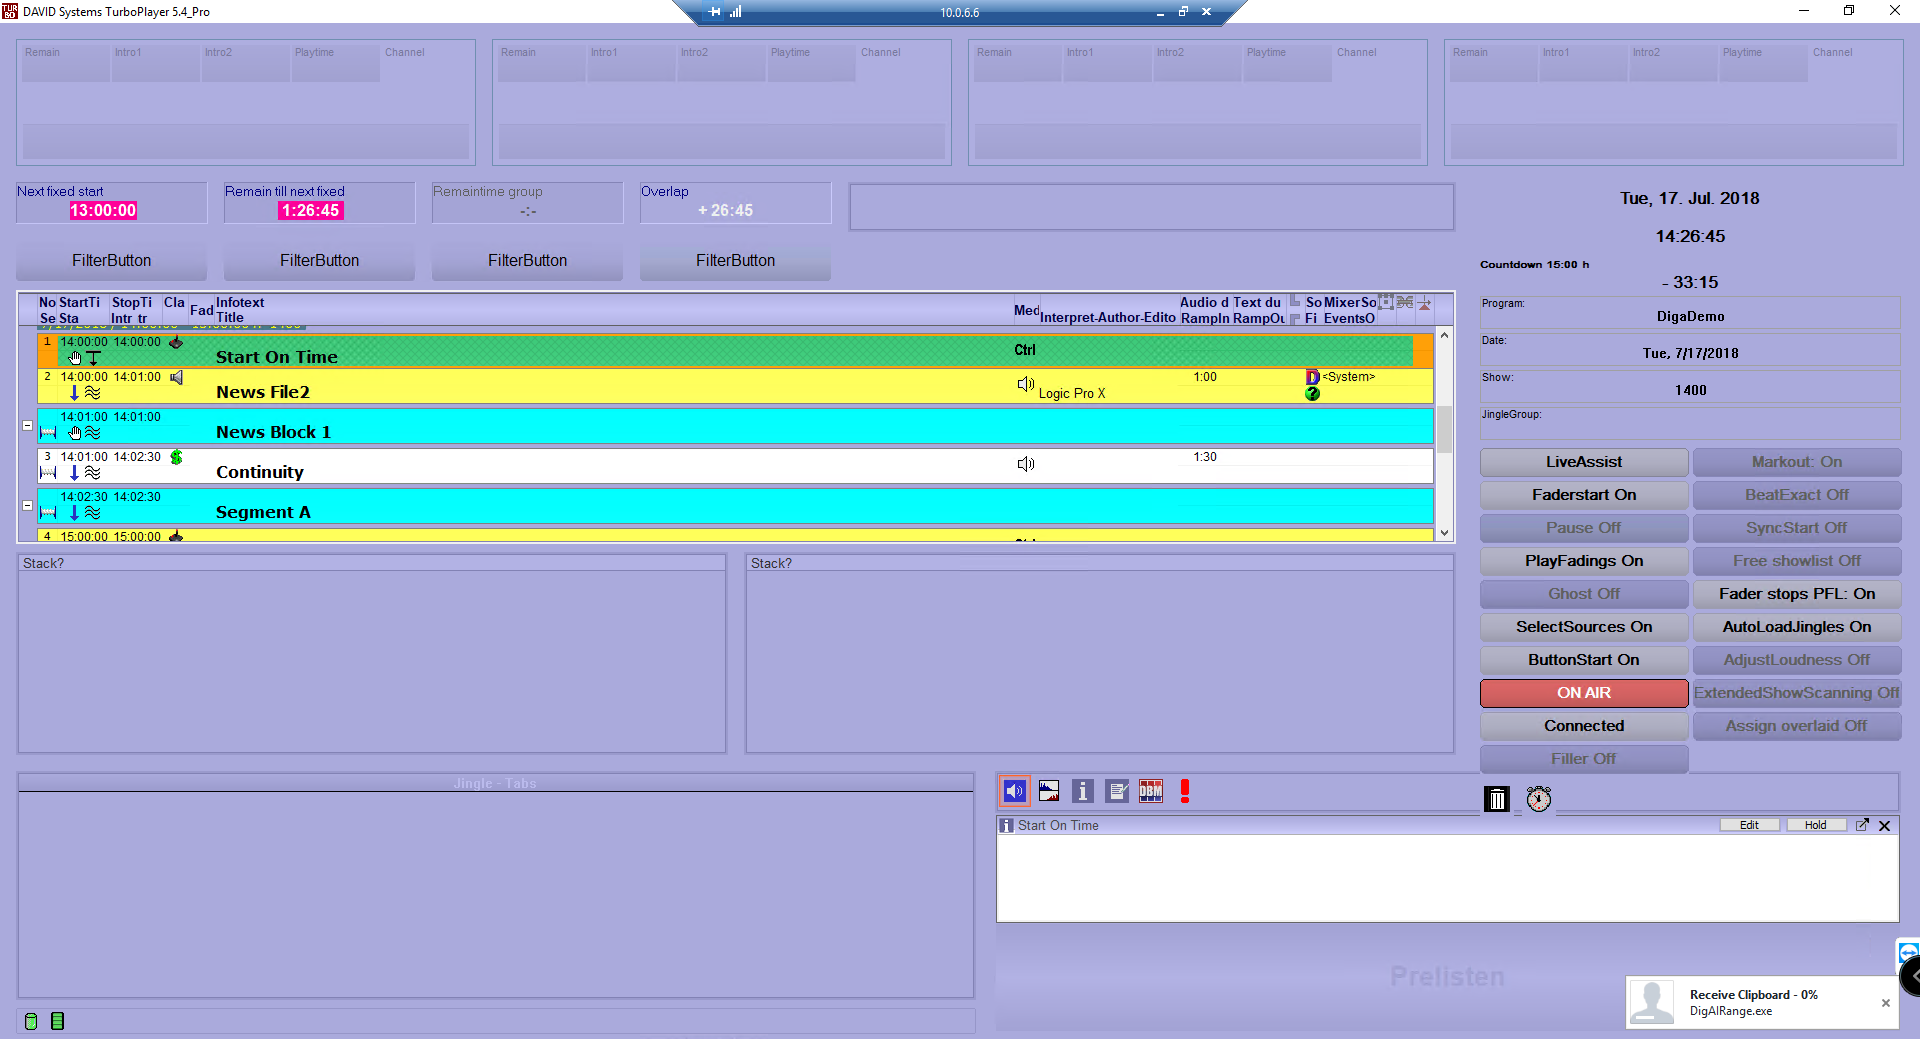
3. Upon doing so, Turbo will populate itself with that show when it is opened.
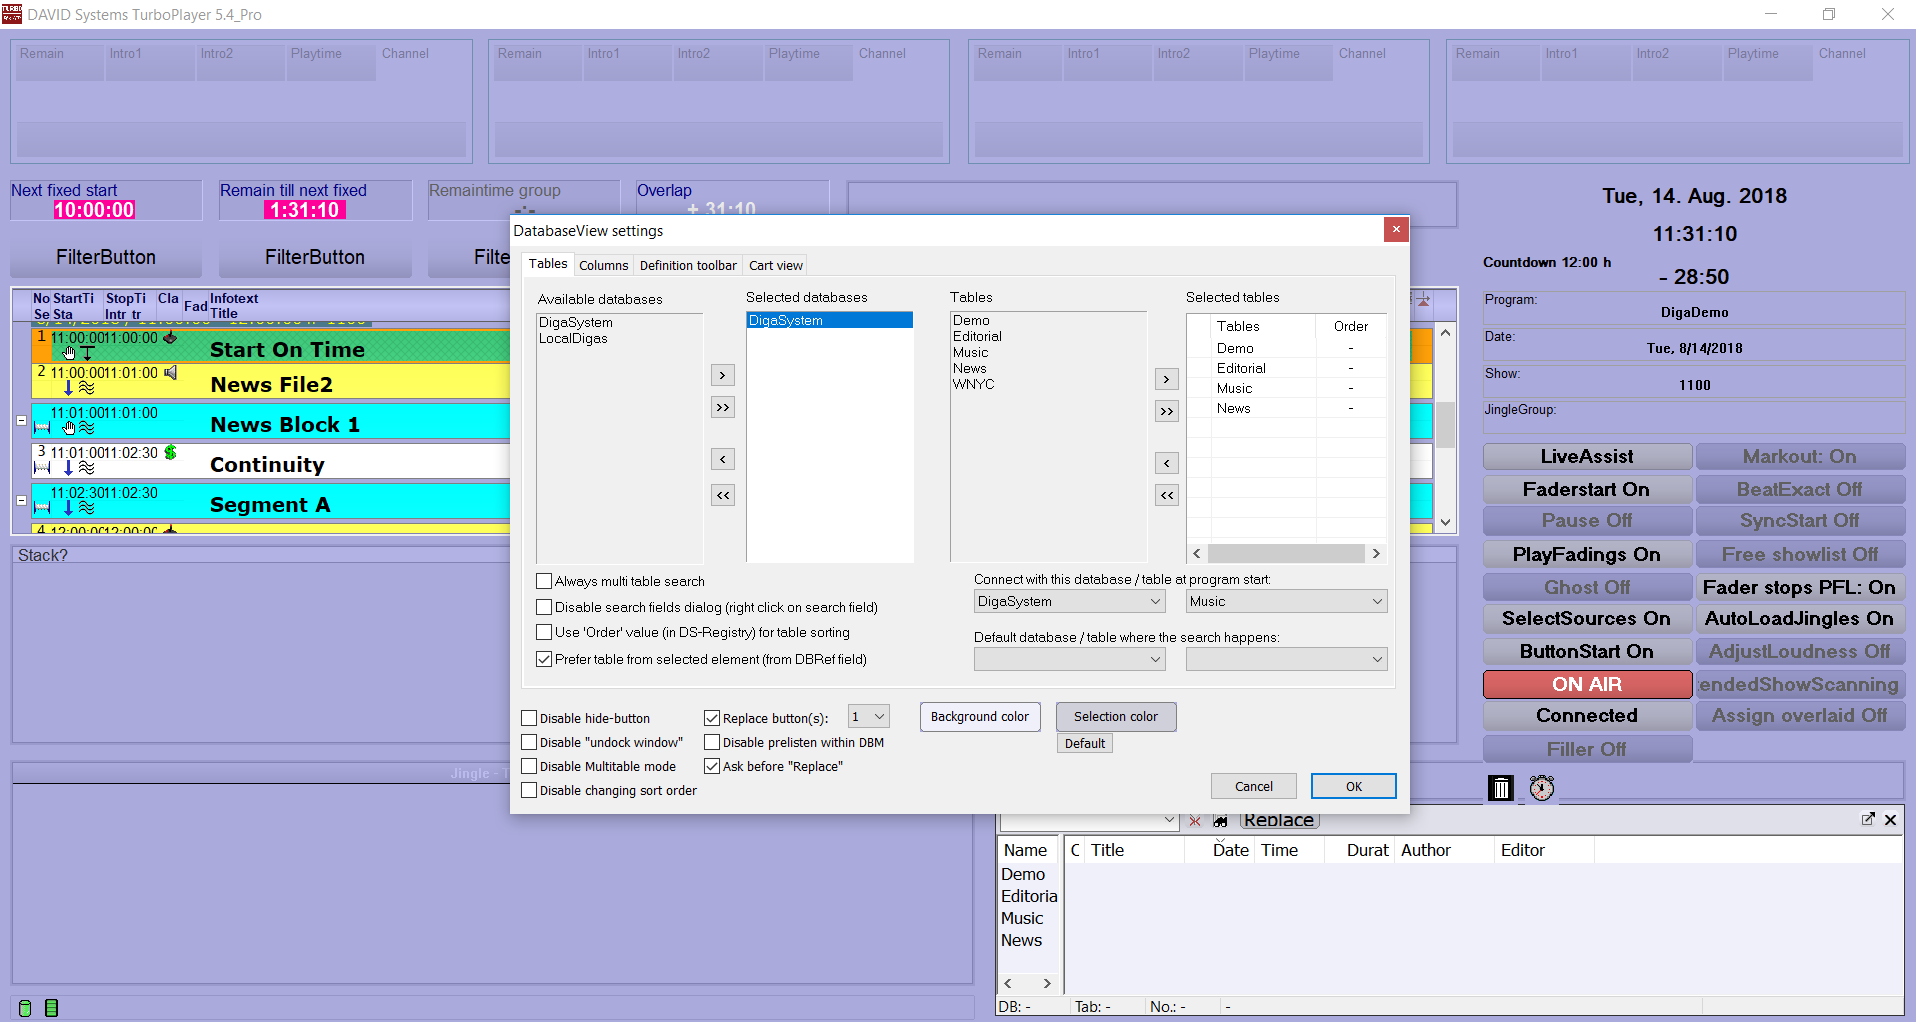
4. It is advisable to enable the Mini DBM in Turbo for easy insertion of things into the Rundown. To do so, click on the DBM icon in the multi-window in the bottom right, and right click in the empty space. This window will appear, in which you will select the database to be used (click the little arrow pointing to the right to add it, left to remove), and also the tables you wish to be available. It is advised to select all of them (click the double arrows pointing to the right). To insert things to the Rundown, simply drag and drop from Mini DBM.
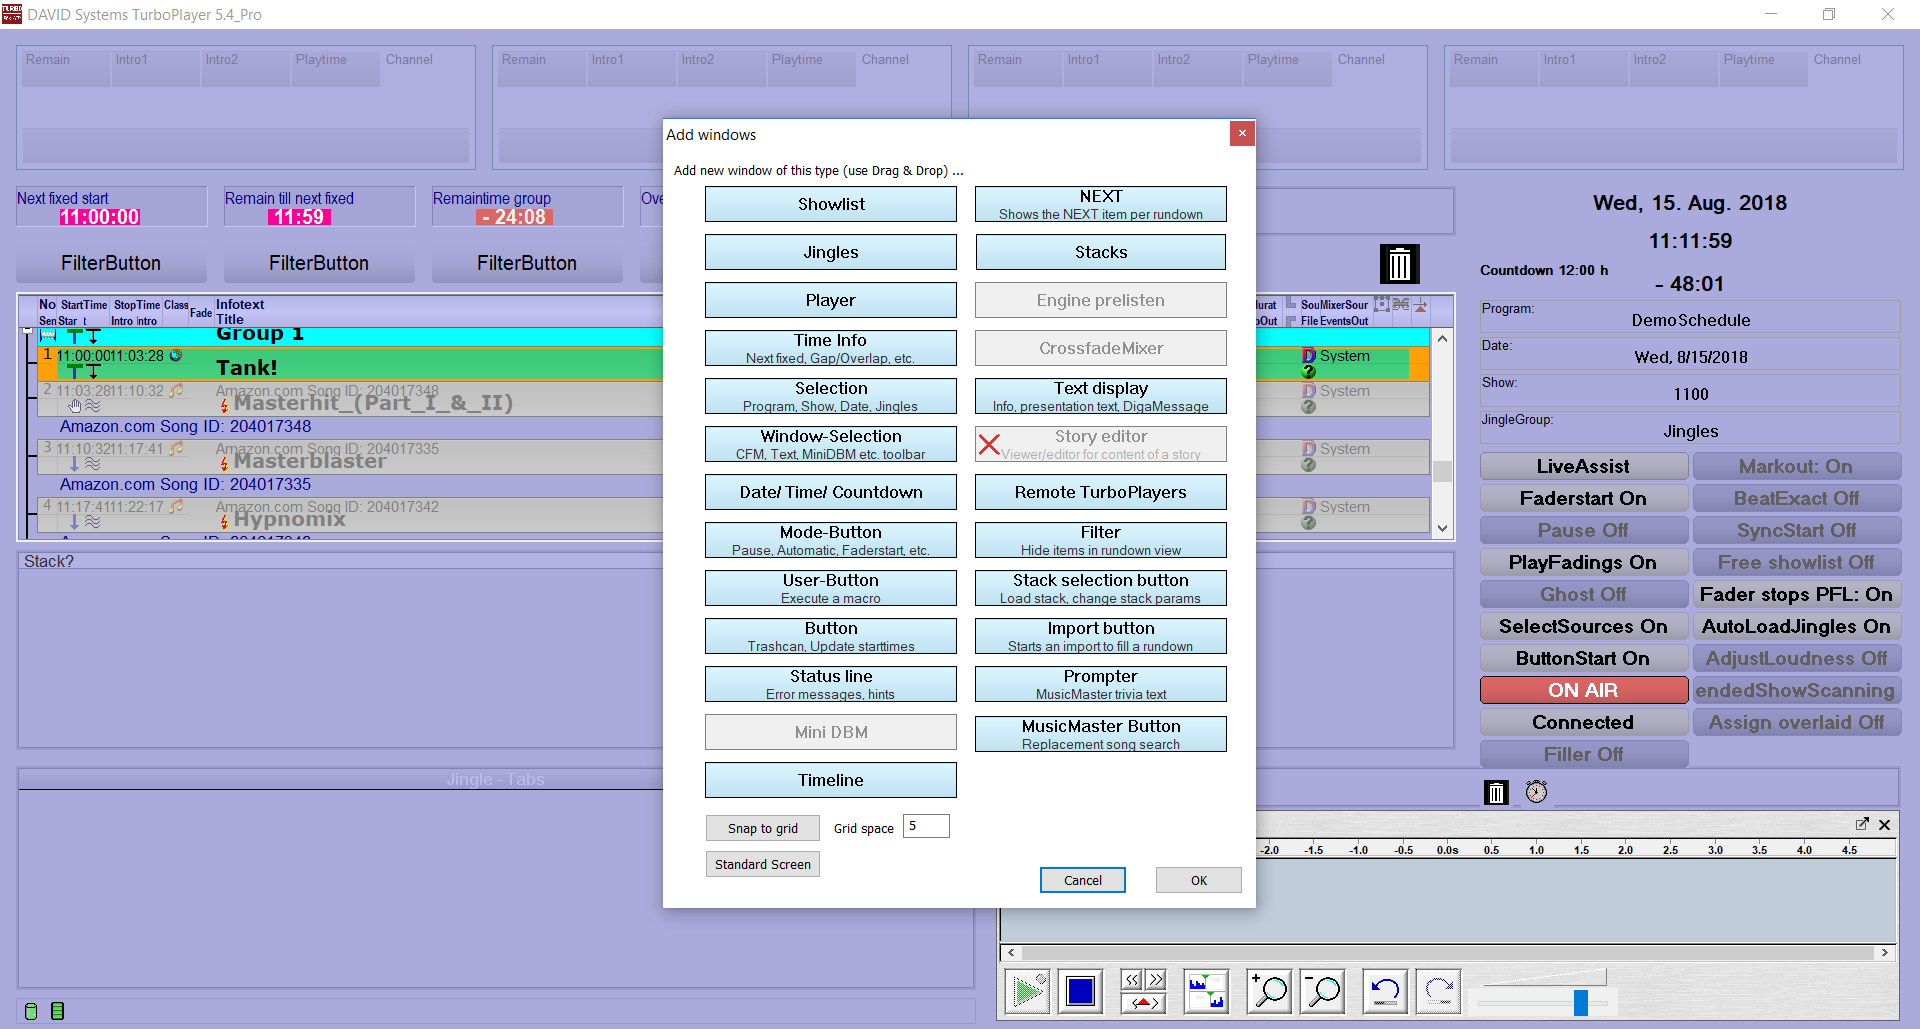
5. It is also advisable to add the Trashcan, so you can remove items from the Rundown. To do this, right click the top frame of Turbo and select 'Add Windows'. This is also how you add other items to the Turbo GUI. Click and drag the item you wish to add. For the Trashcan drag the one called 'Button' into the GUI and right click it, selecting Trashcan. To use the Trashcan, drag the element in question onto it.
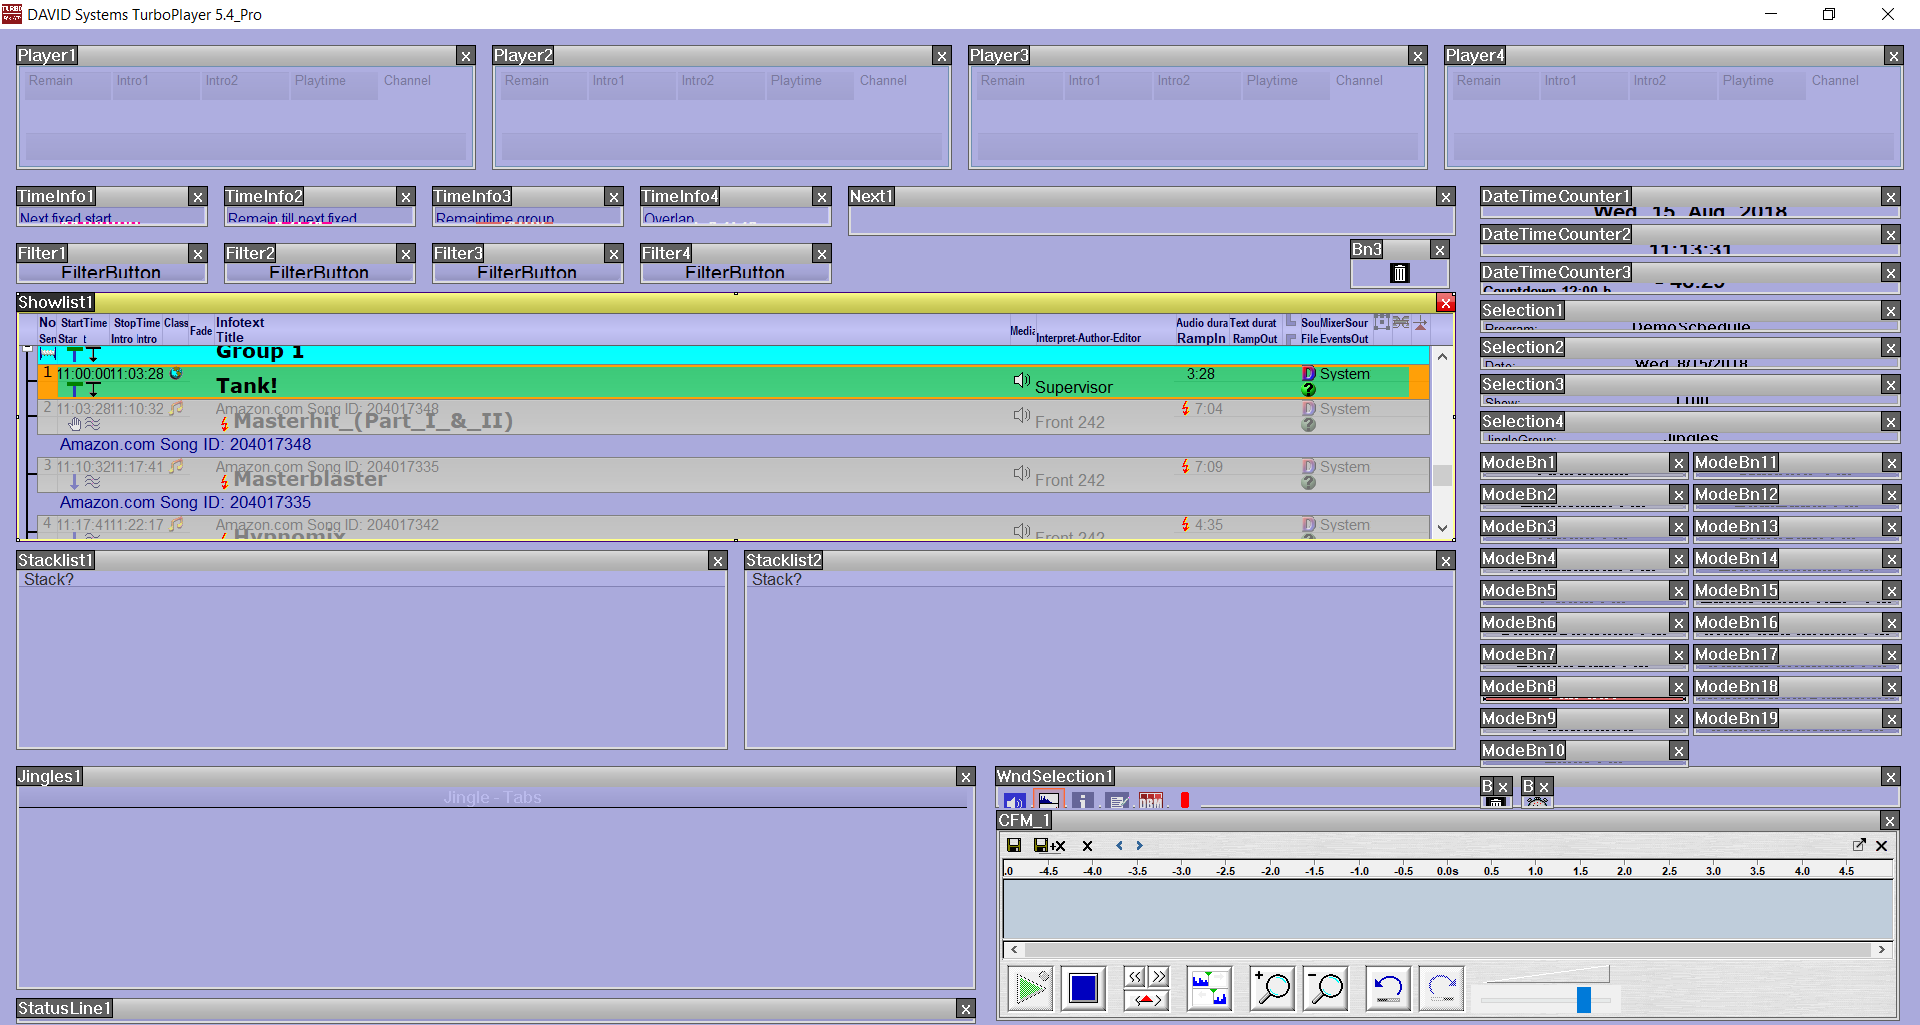
6. To remove or resize windows, right click the top of the Turbo GUI and select 'Resize/Remove Windows Manually'. Drag the edges of the windows around to change the size, and click the 'x' to remove them.
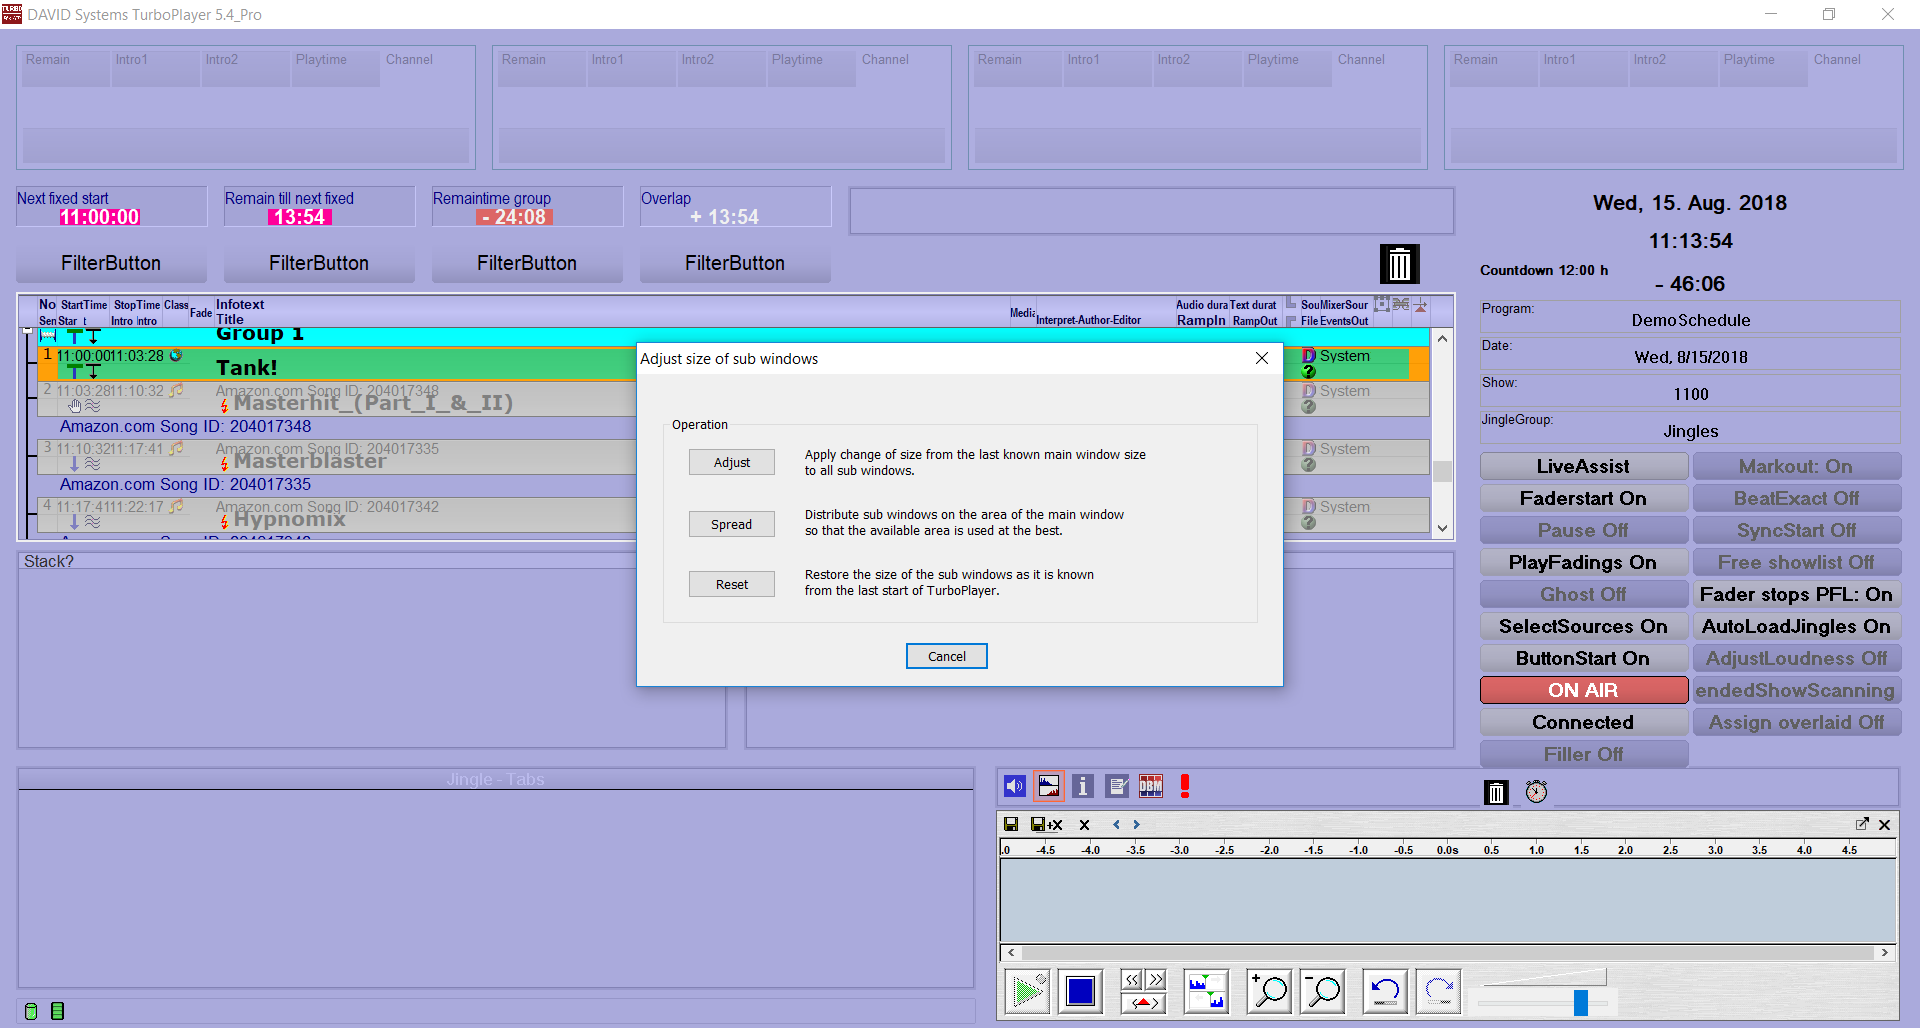
7. It is advisable to make use of the automatic resizing function to make everything fit as tidily as possible. Right click the top frame of the Turbo GUI and select 'Resize Windows Automatically'. You will be presented with this window. Selecting 'Spread' is the option of choice. 'Adjust' and 'Reset' are helpful if something gets out of sorts.
8. After adding these options, it may be necessary to alter the prelisten/editing funtions. To do this, select the waveform button in the multi-window, and right click the top frame of whatever is enabled. You will be presented with an options menu.
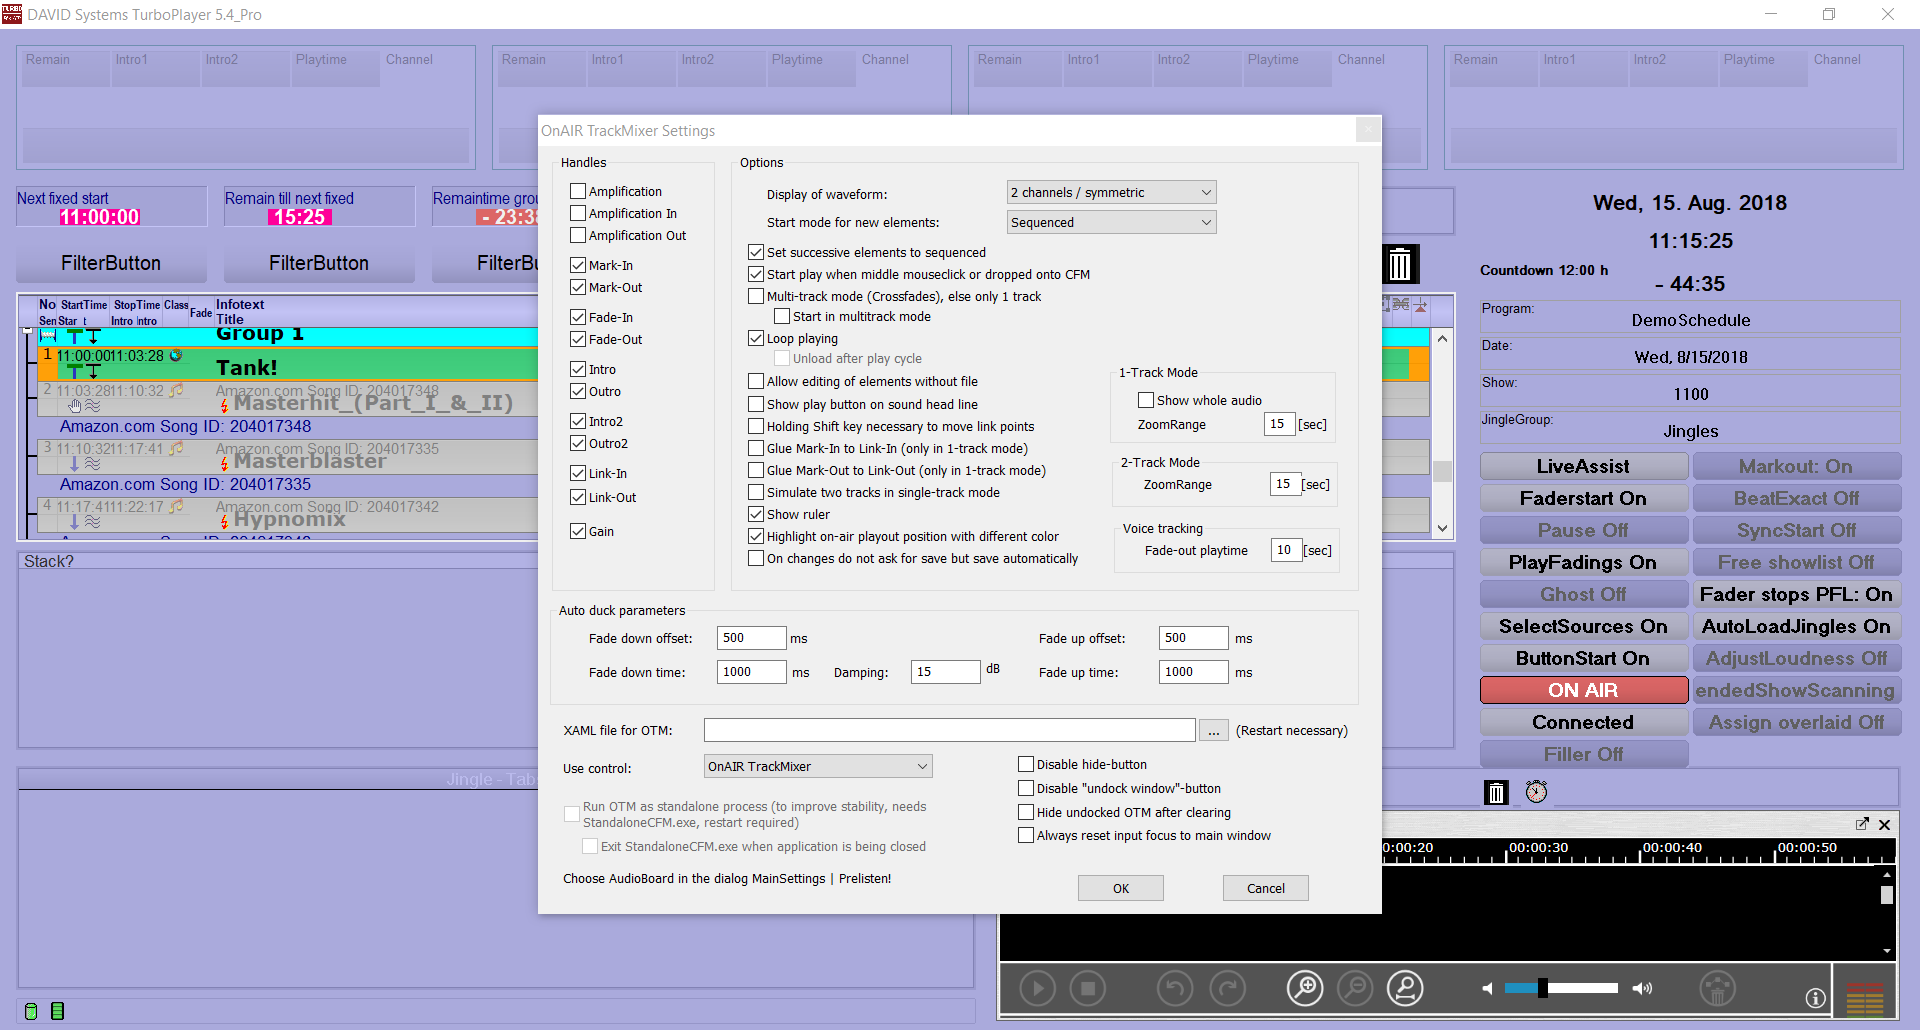
9. To enable I/O devices, click the top frame of the Turbo GUI and choose 'Settings'. Navigate to the 'IO-Modules' tab and click on 'New'. You will be presented with this window. Select the name to be displayed and the path to the module to be used.
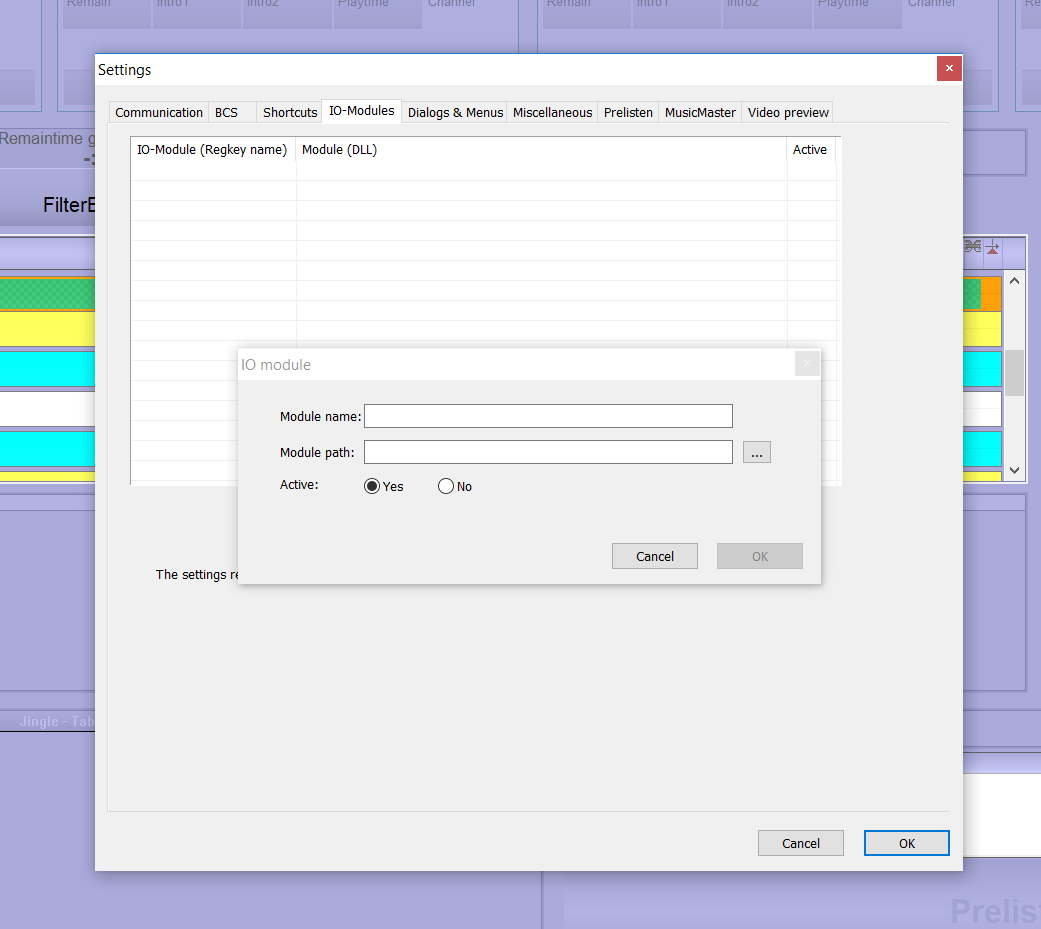
10. In this case, it is to be SimIO.
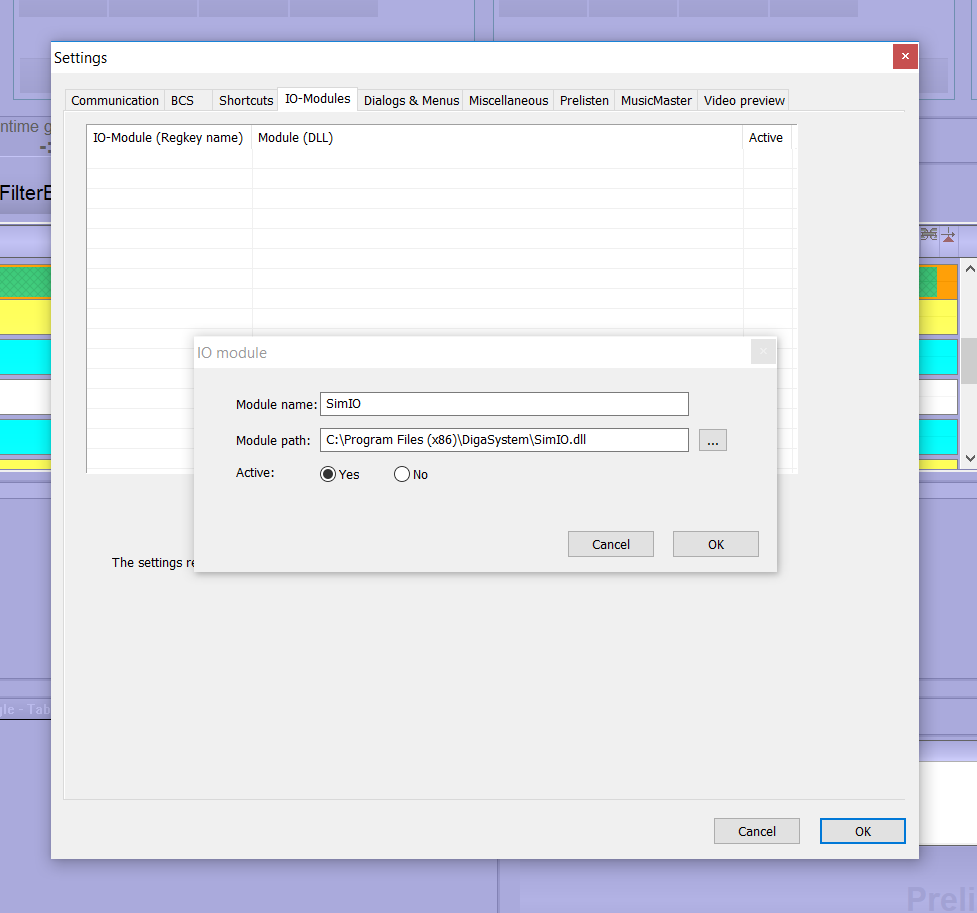
11. It will be listed as active, once added. The 'Edit' button is used to change the name and path, and 'Configure' is used to change settings for the module.
