Previewing Imported Clips, Segmented Clips and the Timeline
The previewing experience is greatly enhanced with the available keyboard shortcuts.
Select the Source for Previewing
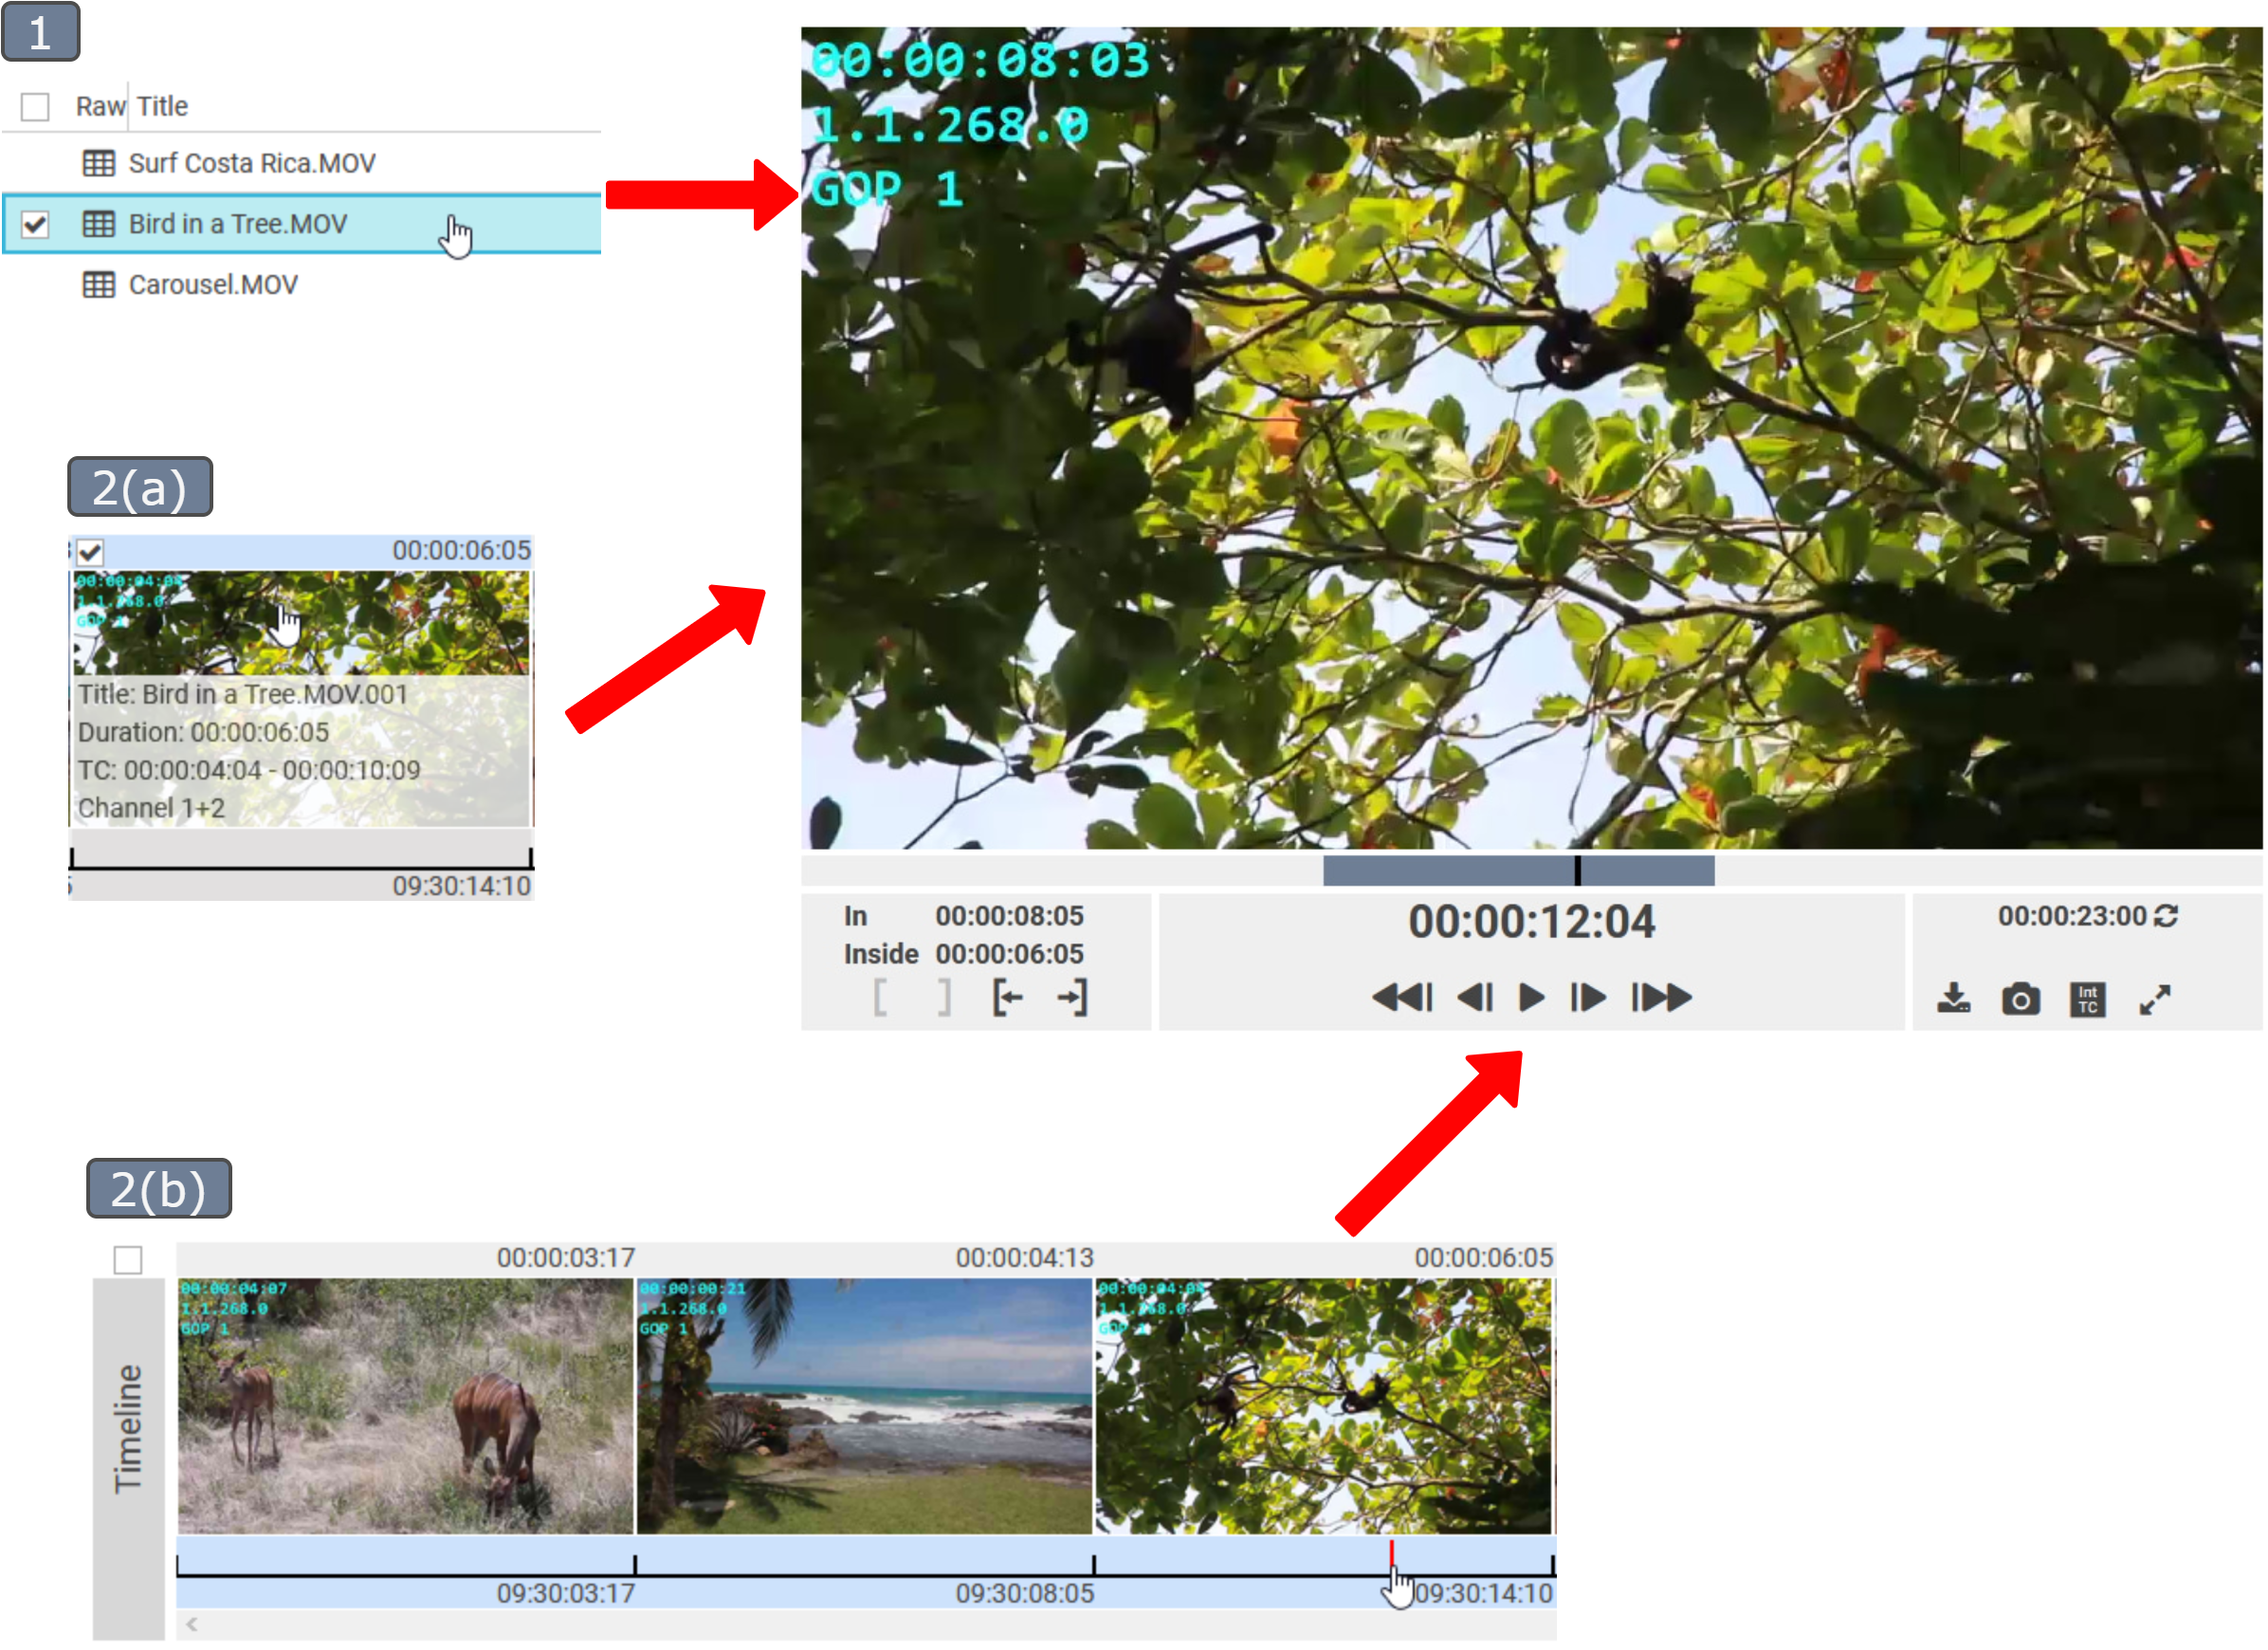
Various parts of the editing progress can be previewed in the player. Sources can be selected from either:
1. Clip Area
The video can be previewed by clicking on an imported video entry.
2. Timeline
Timeline allows to preview sources in two modes:
a) Select a video segment from the timeline.
Click on the thumbnail of the video segment.
b) Select entire timeline.
Click on the 'Timeline' sidebar or the lower timeline bar to select a starting position.
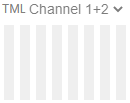
"TML" in front of audio channel selection reflects that the source being previewed is the entire timeline and not just one segment.

Preview functions
Various functionality in the preview area enhances the preview experience.
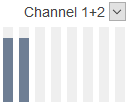
Audio peak meter

Shows audio waveform on decibel scale (from -60 to 0 decibel).
Change the audio channel with the drop down menu.
Selected channels are highlighted, while inactive channels are greyed out.
Technical: updates every 1024 samples and shows maximum value in this range, for sinking amplitudes, there is a delay of 20 decibels/sec.
The timeline only has two channels. If a clip is added to the timeline, the selected channels will be used for the stereo output.
Marker section

The upper time code refers to the Mark In position,
the lower one to the duration of selected region.

 Set In/Out Marker
Click to set the In and Out marker at the playhead position.

 Go to In/Out Marker
The playhead is moved to the position of the respective marker.
Playhead section position

Change the position of the playhead to navigate through the audio.
 Playhead position
Displays the timecode of the playhead position.
Edit position by clicking and typing in absolute or relative (+/-) values. See Time Conventions for more detail.

 Play / Pause
Play or pause the video in real time.

 Frame selection
Moves the playhead position by one frame.

 Seconds skimming
Moves the playhead position by one second.
Clip Functions Menu

 Add to timeline
Adds video segment between in and out markers to the timeline. See Adding and Removing Clips from the Timeline
 Save as image
Saves current frame as a high-resolution image to the table, where the project is saved. See Creating Screenshots.
Taking screenshots is only available if the user has sufficient action rights.
 Timecode
Toggle between the video files' (Scr TC) and the RoughCut Edit's (Int TC) time code.
Source Timecode - Scr TC, Internal Timecode - Int TC.
 Refresh Video Content
Loads remaining available content for growing video files.
 Full Screen
Enlarges the preview area to full screen.
 Trim mode/ Disable trim mode
Makes it possible to edit in and out markers of timeline segments. See Editing Clips

