Working with Tables
Individual Entries are located inside Tables, following a database structure. For information on searching, sorting, and filtering entries, please see the Finding Entries section.
Selecting Tables
Tables are created by administrators. Administrators define which users have the rights to access, write and delete tables. In addition, they can configure which Table Group (see below) and which table is selected upon initial login to the Content Manager.
An extensive list of available tables is displayed on the left side of the Content Manager.
Only a single table can be opened at a time.
Click on a table to view its entries and use the arrow keys to navigate between tables.
Selecting Tables
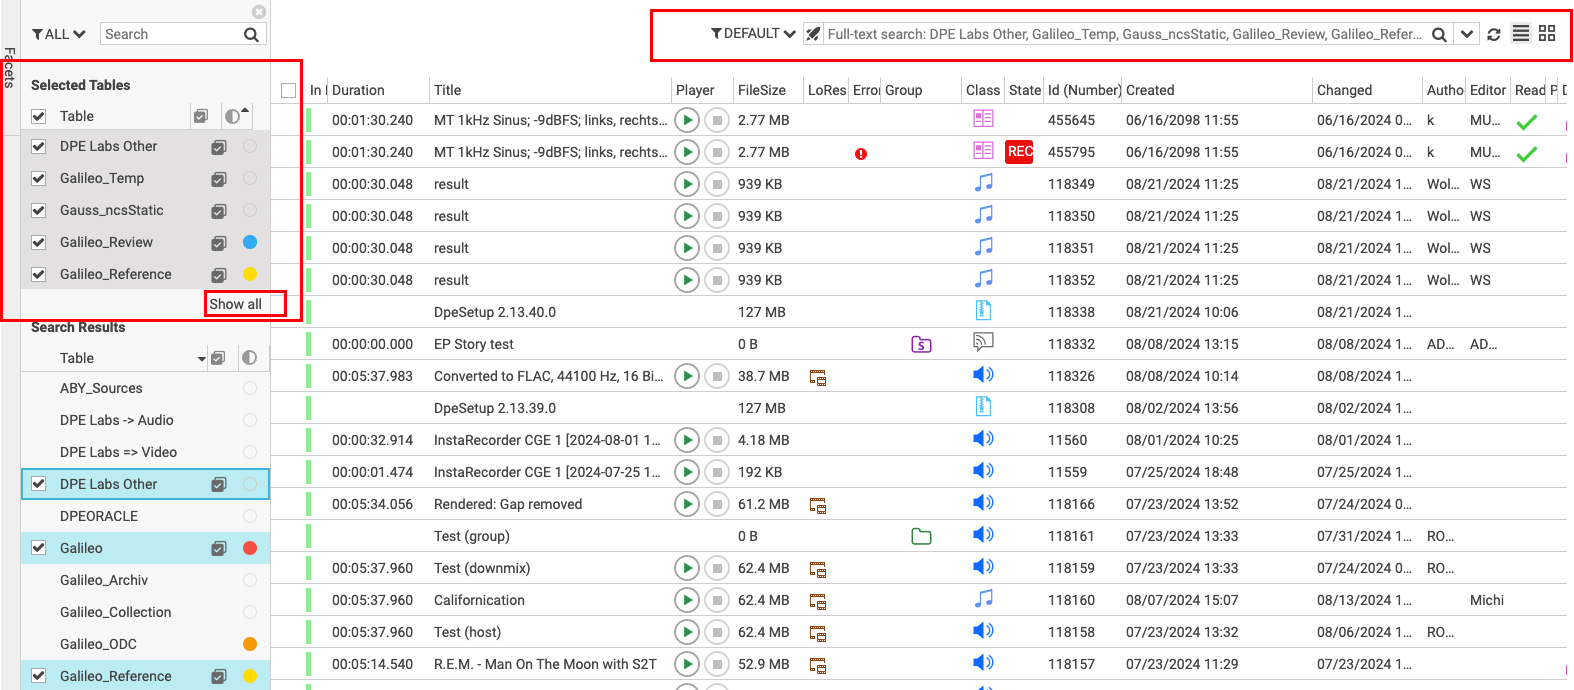
To enhance the user experience, particularly when working with a large number of tables, the selected tables section has been introduced that clearly indicate which table is currently selected.
Selected Tables Section:
This section helps users easily identify which table’s entries are being viewed in the main interface, reducing confusion when multiple tables are present.
By default, the section shows up to 5 selected tables, with the possibility to extend by clicking “Show all“ button.
The search box now includes a placeholder text that explicitly states which table’s entries are being displayed. This provides immediate clarity on the context of the data being searched and viewed.
Browser Tab Integration:
The names of the selected tables are now dynamically added to the header of the browser tab. This allows users to easily create and manage multiple browser tabs for different selected tables, facilitating smoother navigation and multitasking.

Browser tab indicating selected table’s name
Bookmarking
The path of the currently selected table can also be bookmarked (copied from the URL in the Browser itself) and open in another browser/machine. The copied URL will automatically open the same table as before.
Selecting a Table Group
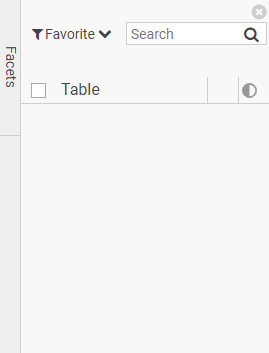
Table Groups are used to filter tables. If one or more Table Groups have been configured by the Administrator, a drop-down menu appears which lists all the available Table Groups. In addition, a generic "ALL" group allows you to access all tables which are available to you and "Favorite" group is added to help you see all colored tables for quicker access.
To display only tables from a certain table group:
Click on the currently selected table group
Select the table group from the drop down menu (e.g. 'Galileo' in the screenshot below).
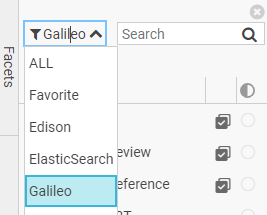
In the left top corner of Content Manager you can select a table group.
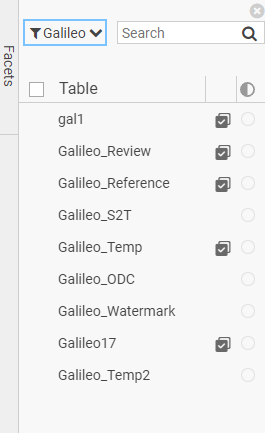
If you select one table group the Content Manager shows you every table in that group.
You can select a color for a table to add this table to your favorite group. When you select "Favorite" from the drop down, only colored tables are shown.
Deselecting a table color will remove this table from the favorite group instantly.
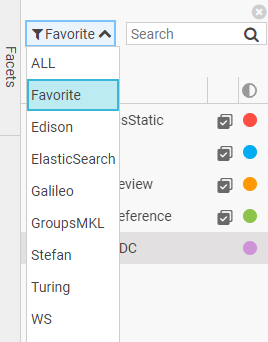
If no tables are colored or the last table color is deselected, this favorite group is empty and no tables are displayed.
Filtering tables
You can filter tables by using the search box on top of the list. The table list will be filtered and contain only tables having a name or alias containing your search.
Full-text Search enabled tables
Full-text Search is realized via Elasticsearch which is based on the Lucene library. It contains full-text index of configured tables and allows super fast search in large tables.
![]() symbol within the table list indicates which tables are full-text indexed.
symbol within the table list indicates which tables are full-text indexed.
You can change between SQL Search and Full-text Search by clicking onto the search mode icon on the left side of the Search bar in Content Manager.

Full text search-box with selected table names in the placeholder
Multi-table select mode
This feature is only available if ActionRight DpeContentManager.MultitableSearch is available and granted.
It is possible to select more than one table with a full-text index (Elasticsearch based), indicated by the ![]() symbol.
symbol.
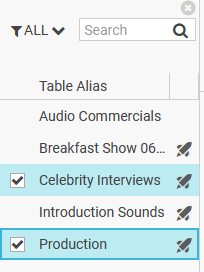
In any case of multi-selection, the search mode is switched to Full-text search and no switching to SQL search is possible.

