
Using Annotations and Comments in Audio
Annotations let you mark specific moments in an audio track and add comments for discussion. They make it easier for teams to share feedback, explain decisions, and collaborate directly in context.
1. Create a Comment
Select the relevant text in the audio transcript or annotation area, then open the context menu by right-clicking.
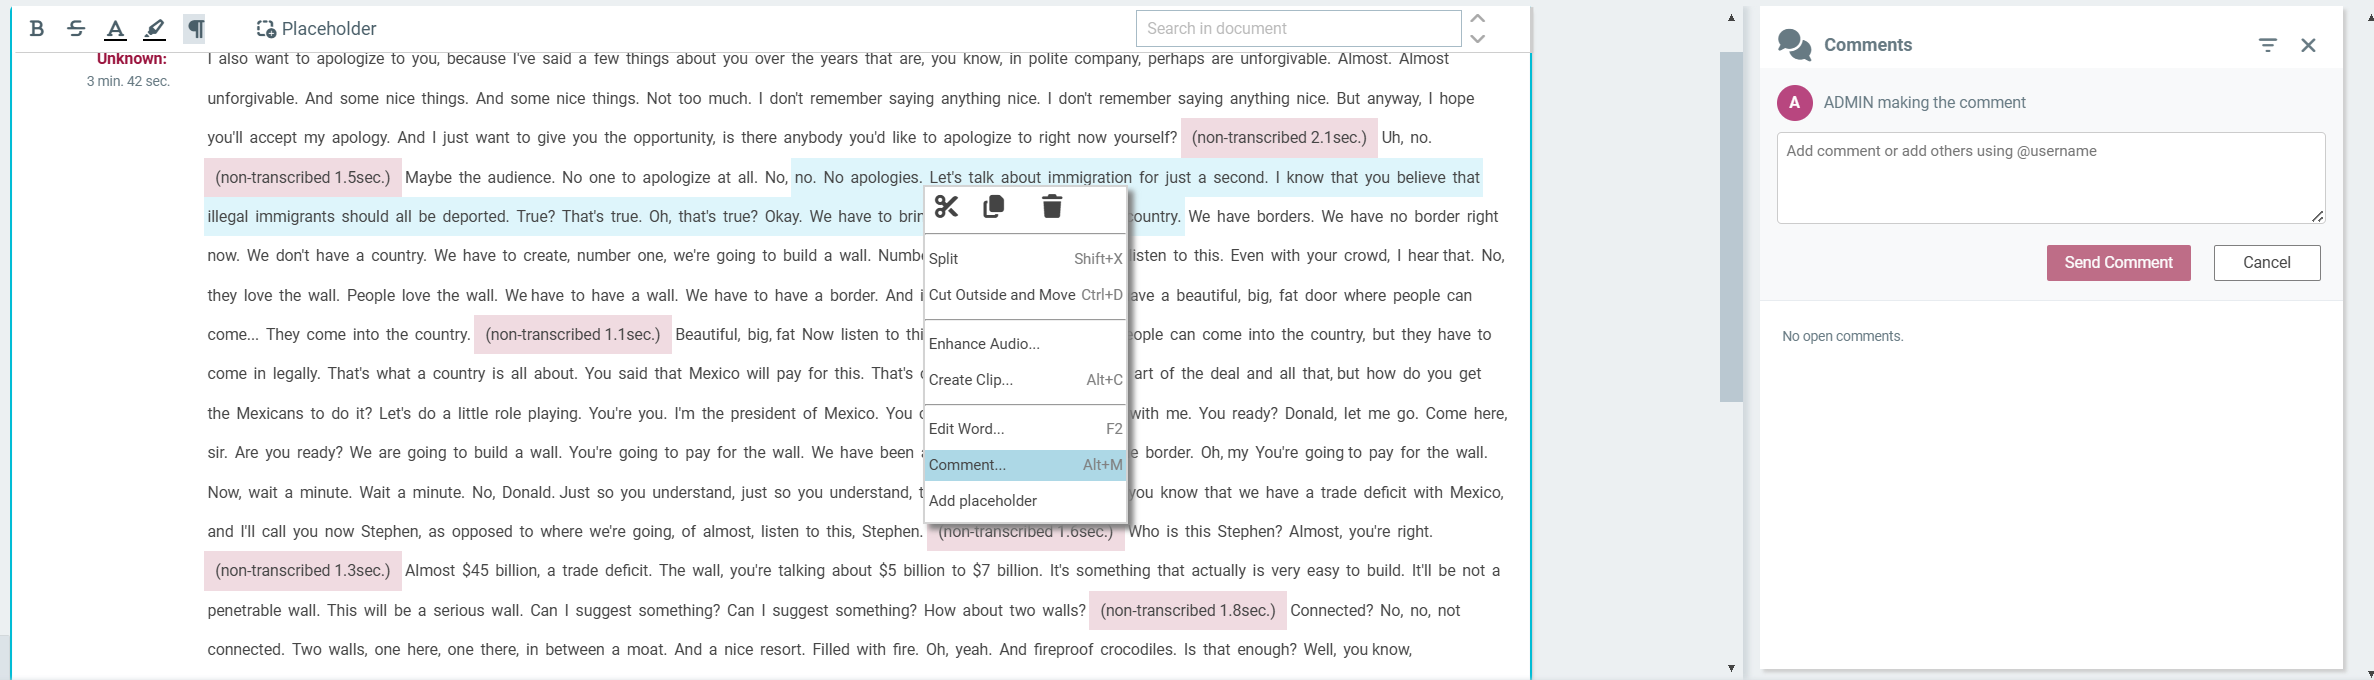
After You Submit a Comment, you will see a comment like this:
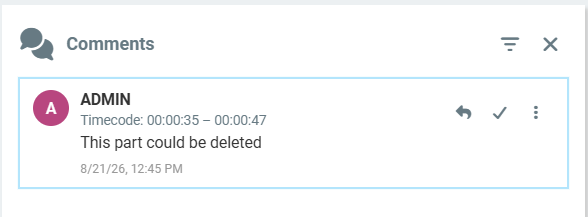
2. Reply to and Resolve a Comment
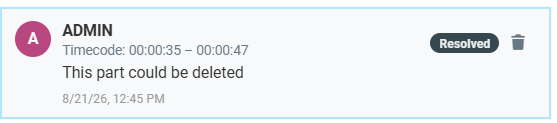
Comments support threaded collaboration. Other users can reply to continue the discussion, and you can select Resolve when the issue has been addressed. Resolving a comment closes the discussion without deleting its history.
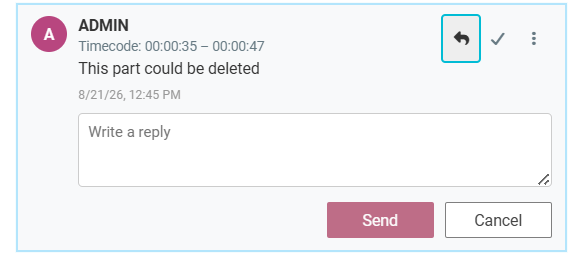
Reply:
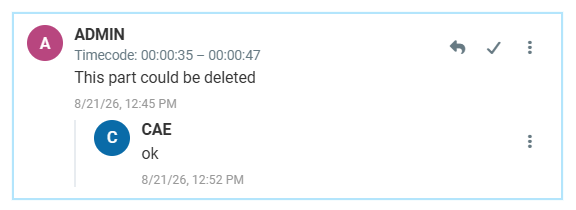
Resolve:
3. Edit or Delete a Comment
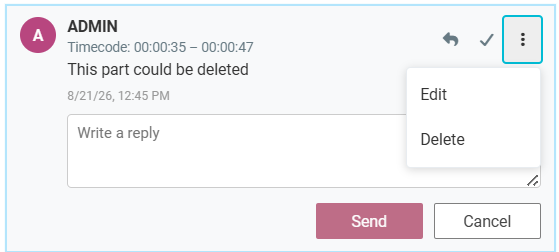
You can also reopen a discussion to edit its content or delete the comment when it is no longer needed. Use these actions carefully so that the conversation remains clear for collaborators.
4. Filter and Sort Comments
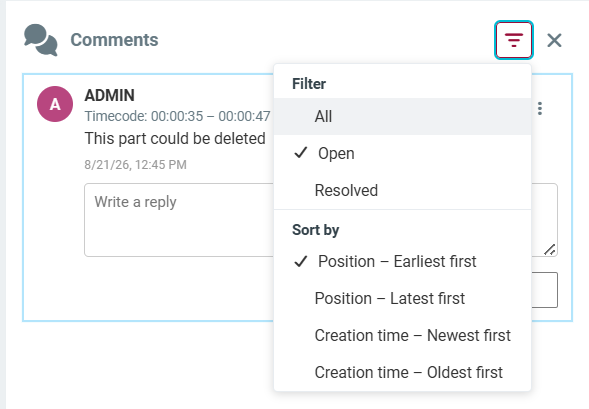
Use the icon in the upper-right corner of the comment panel to filter the list. You can display Open comments, Resolved comments, or All comments.
You can also sort comments according to the available criteria, making it easier to find the most recent, relevant, or actionable discussion.
5. Jump to the Related Timestamp
Select a comment to navigate directly to the corresponding timestamp in the audio. The associated text or annotation is highlighted, so you can immediately review the exact context discussed.